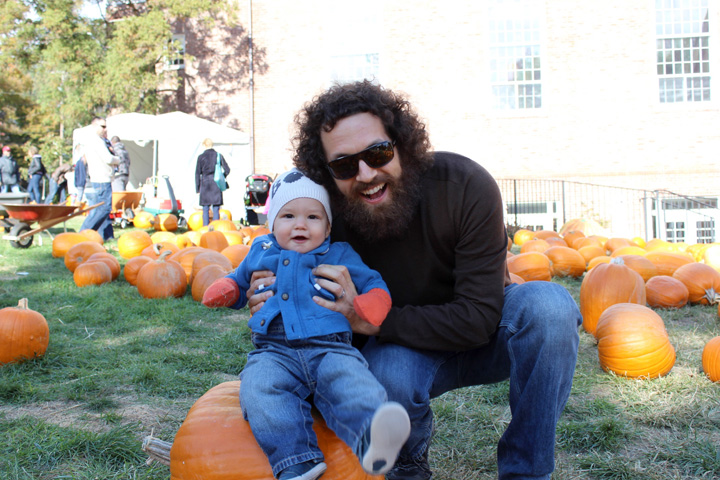
So I know I haven’t blogged in like 2 years, but my toddler has been keeping me on my toes. Yes, that’s right, Berkeley is going to be 3 (!) in a little over a month and he is the cutest, funniest, smartest little boy around. I’d love to do an update on him and life in general, but I just want to write down this birth story before I forget it!
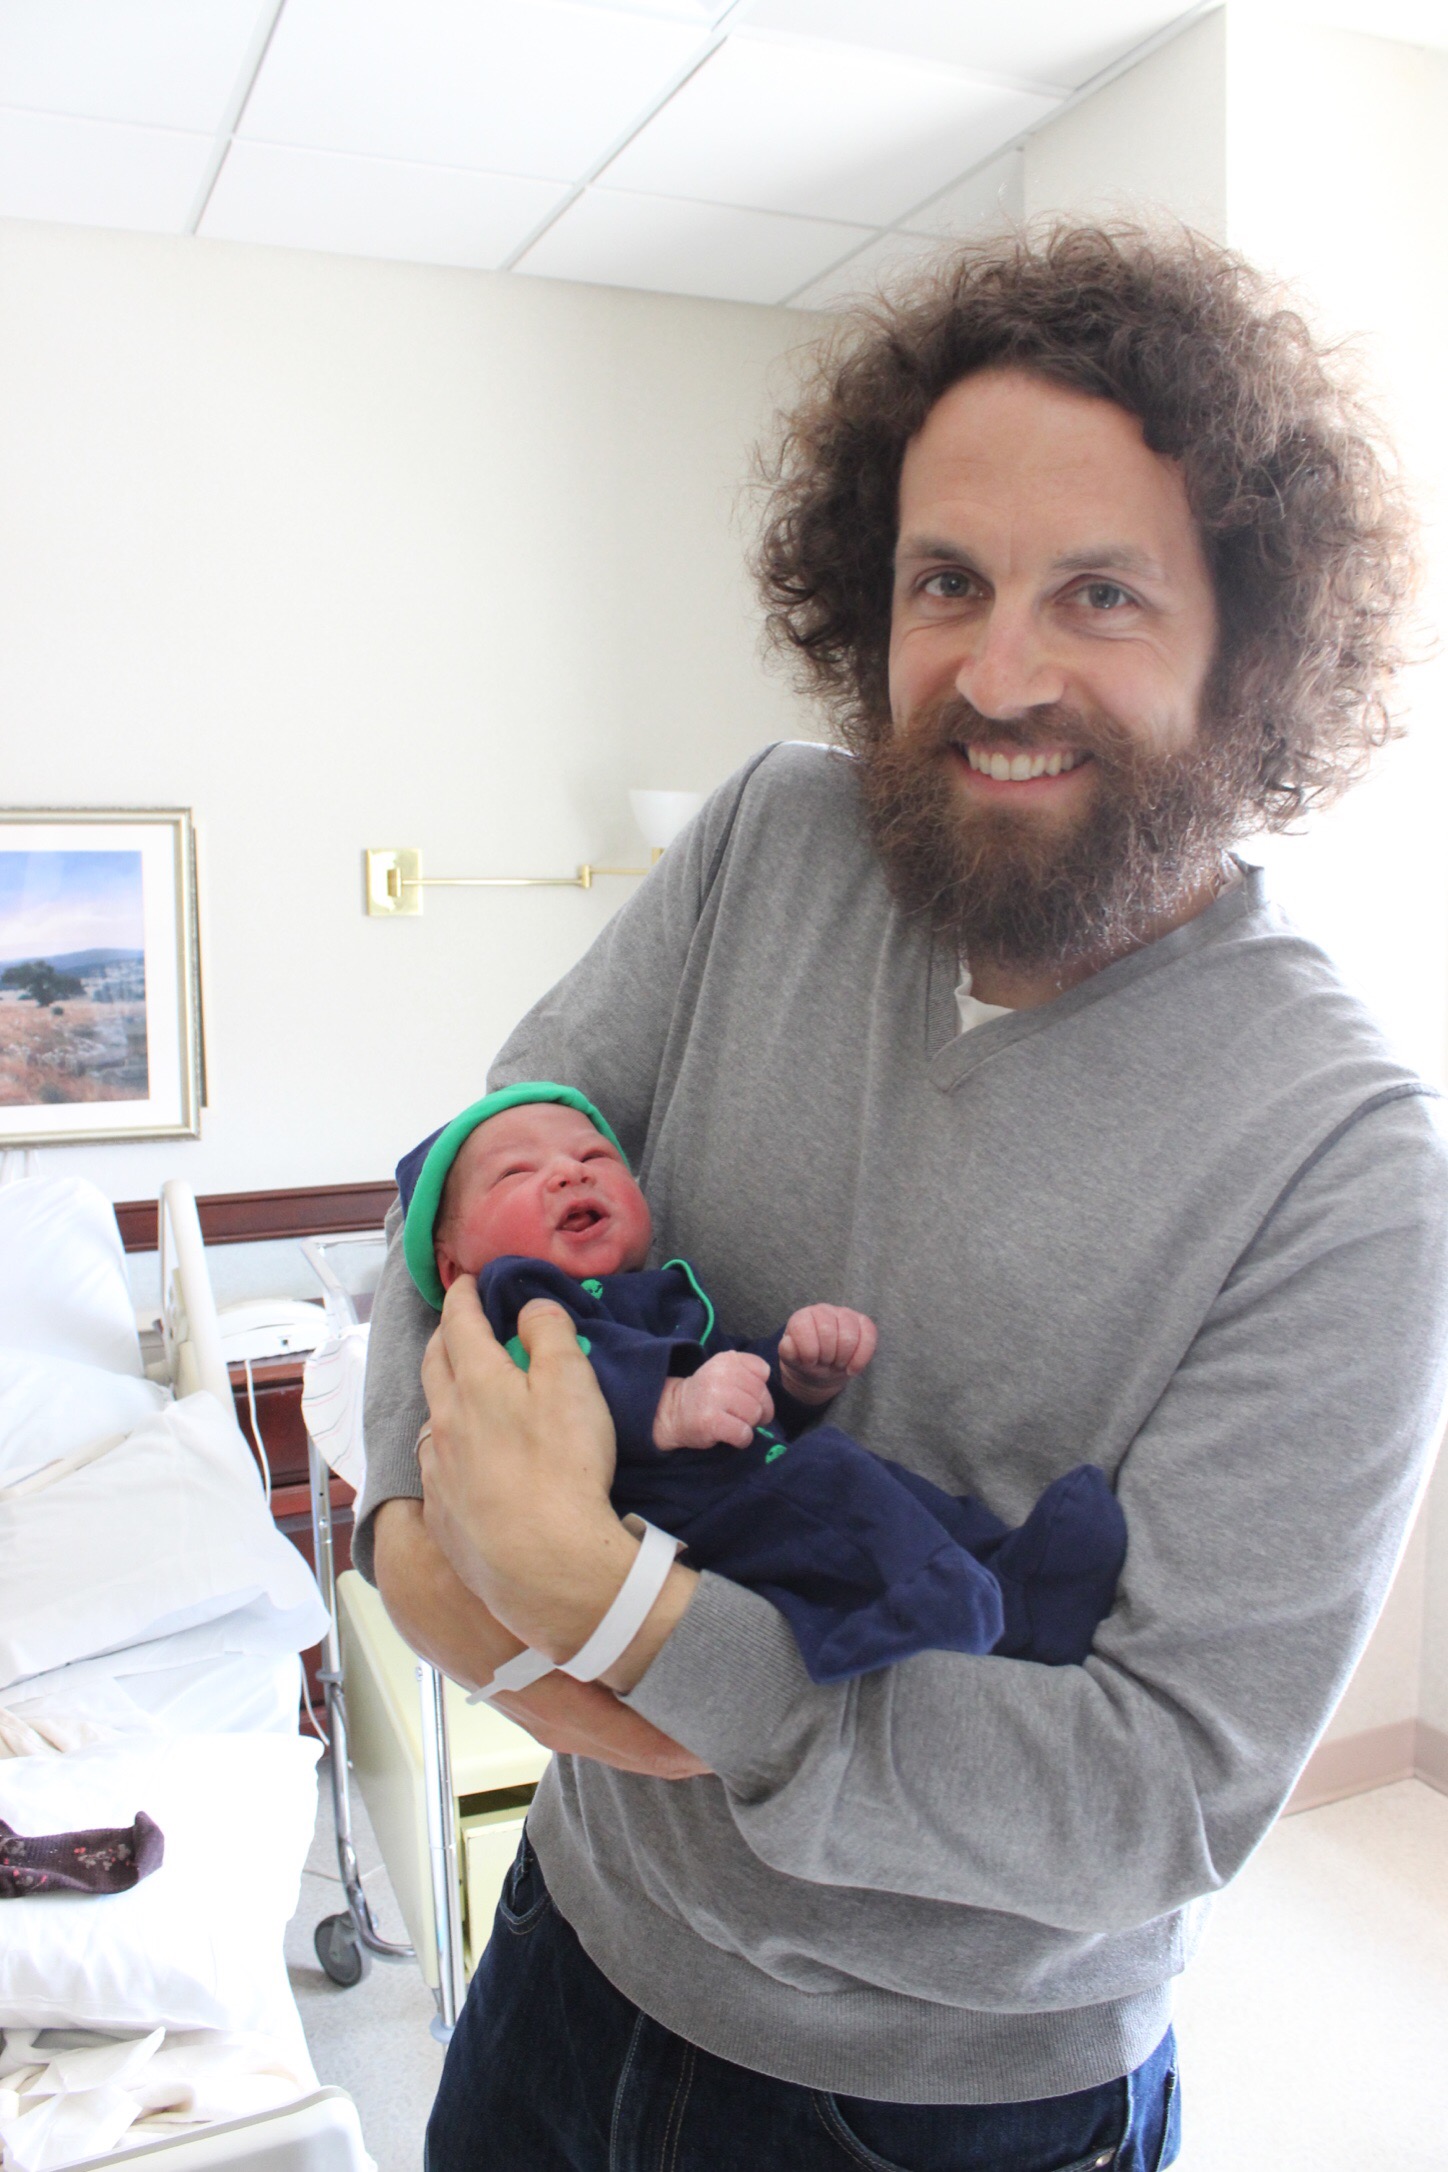
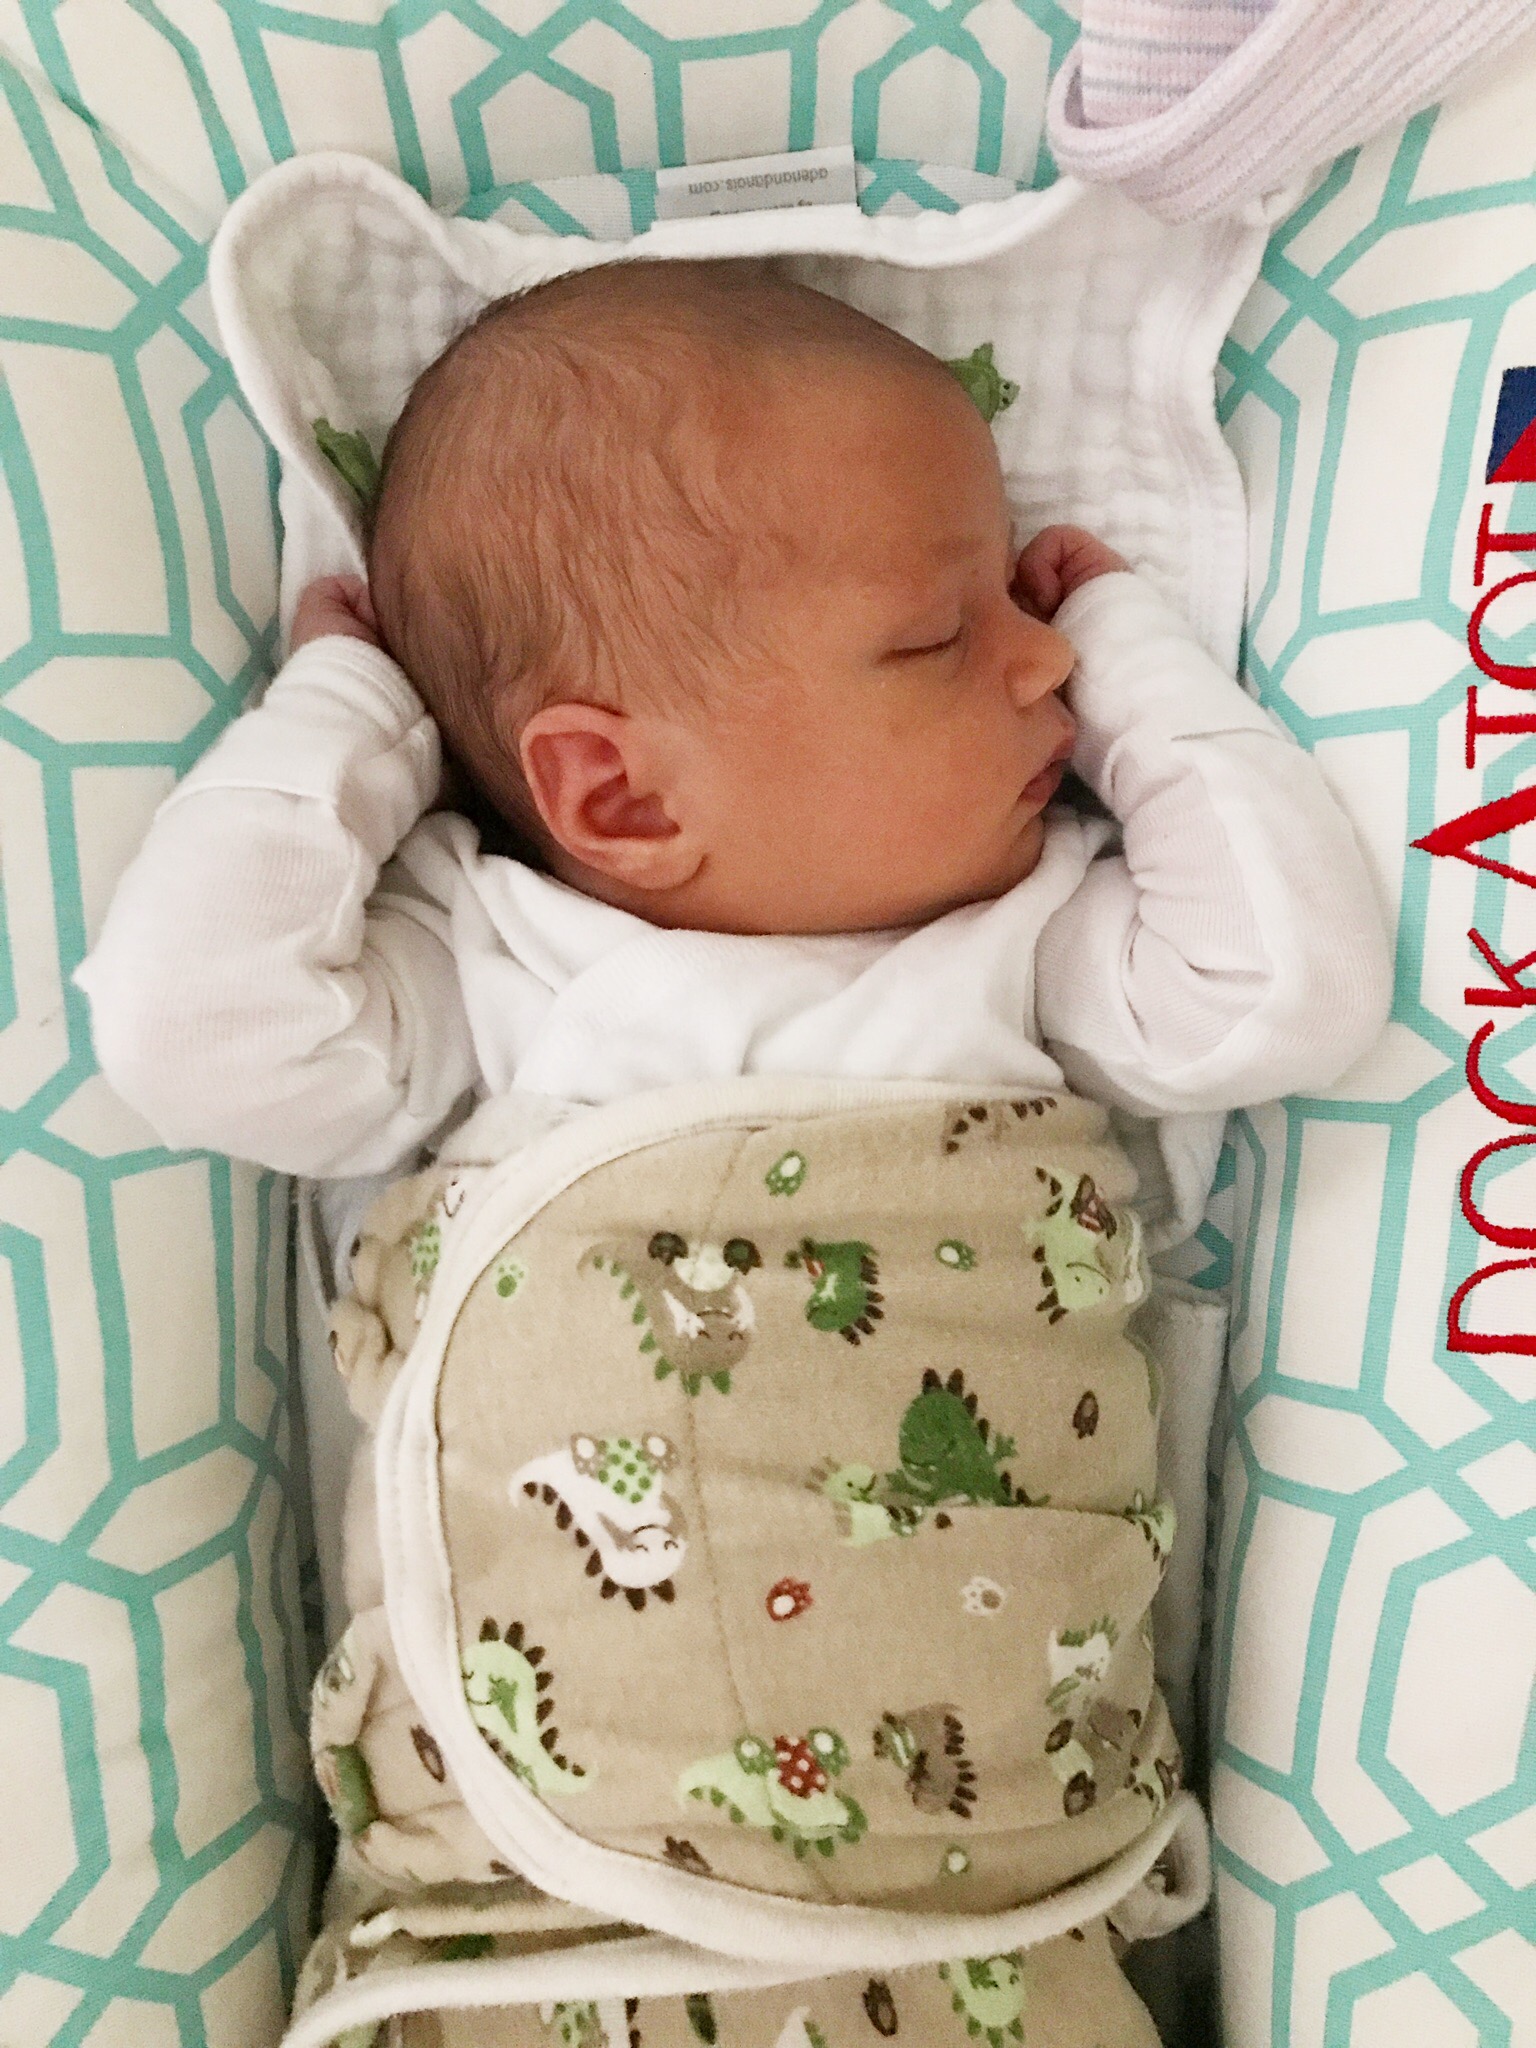
Yep, that’s right, I have a new son…
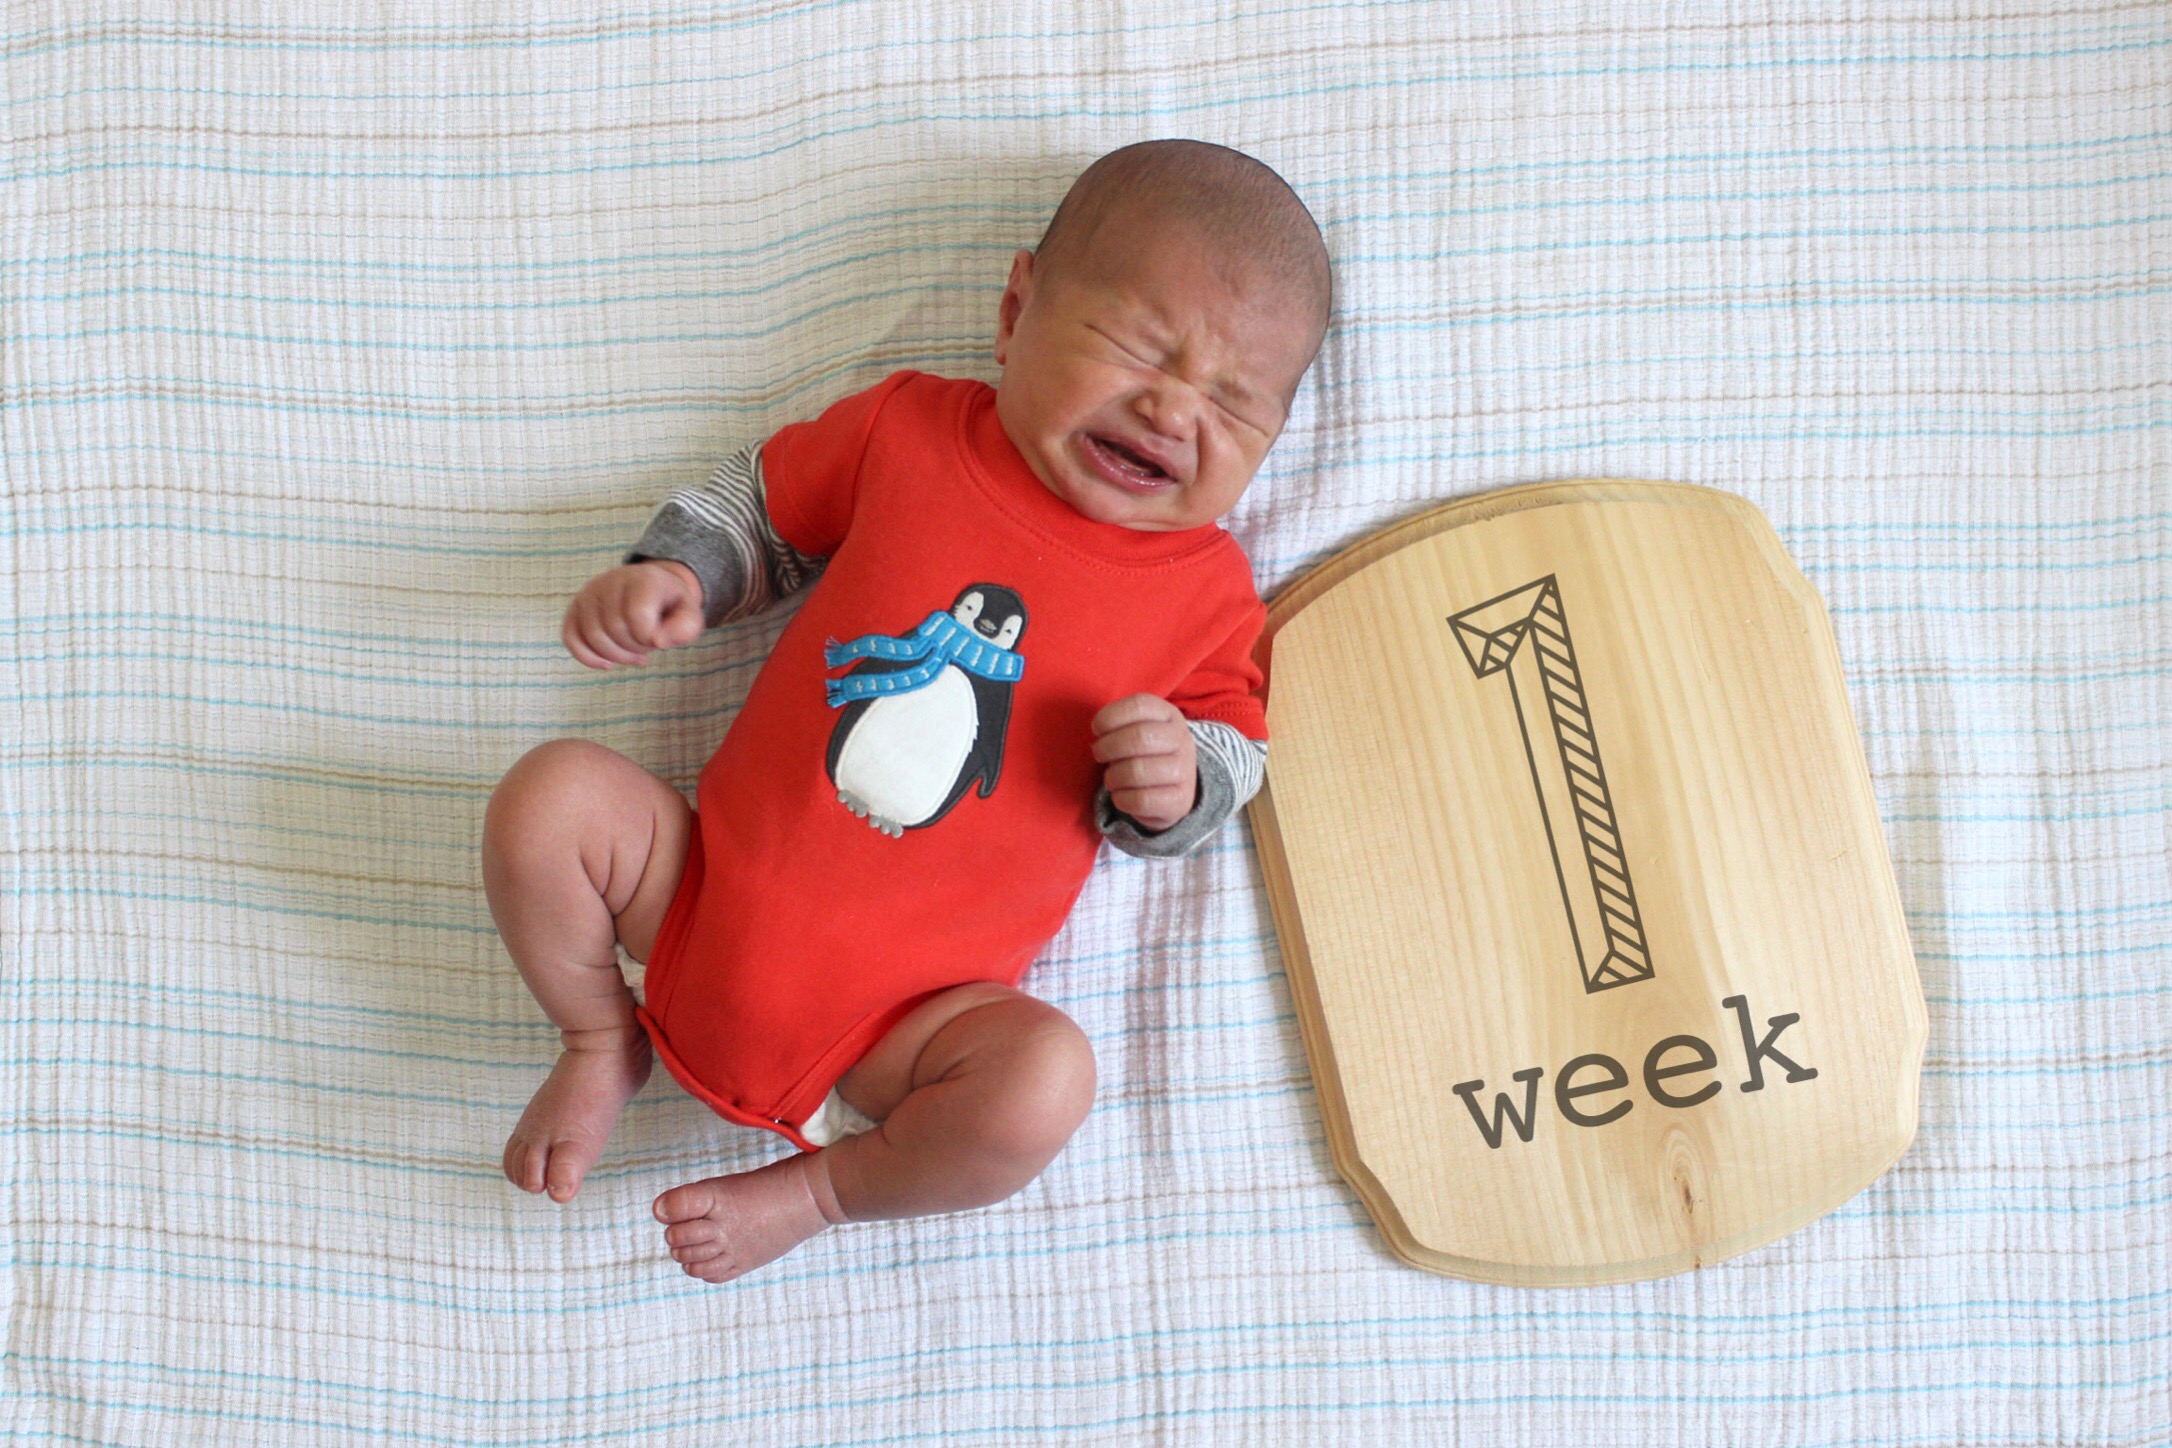
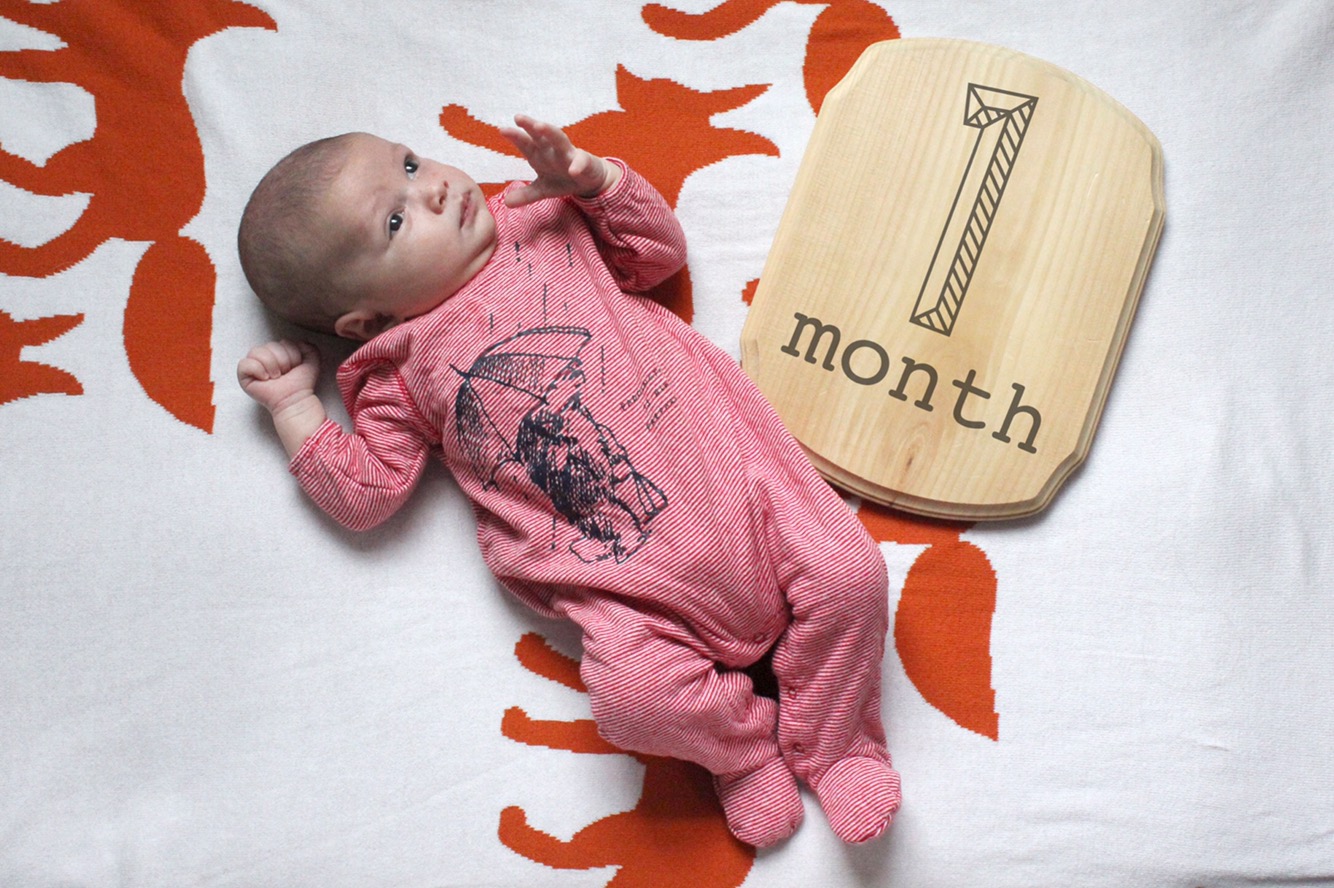
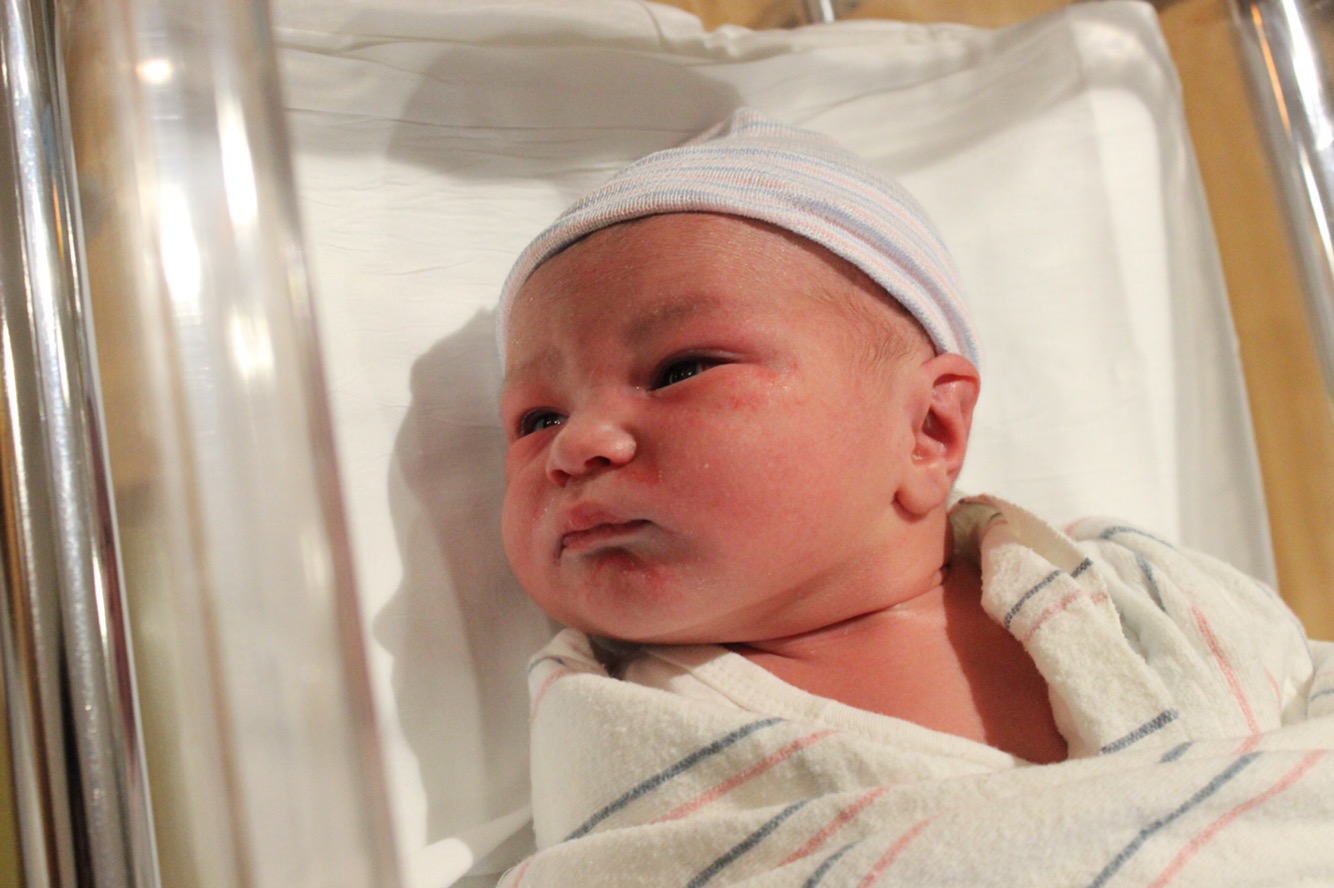
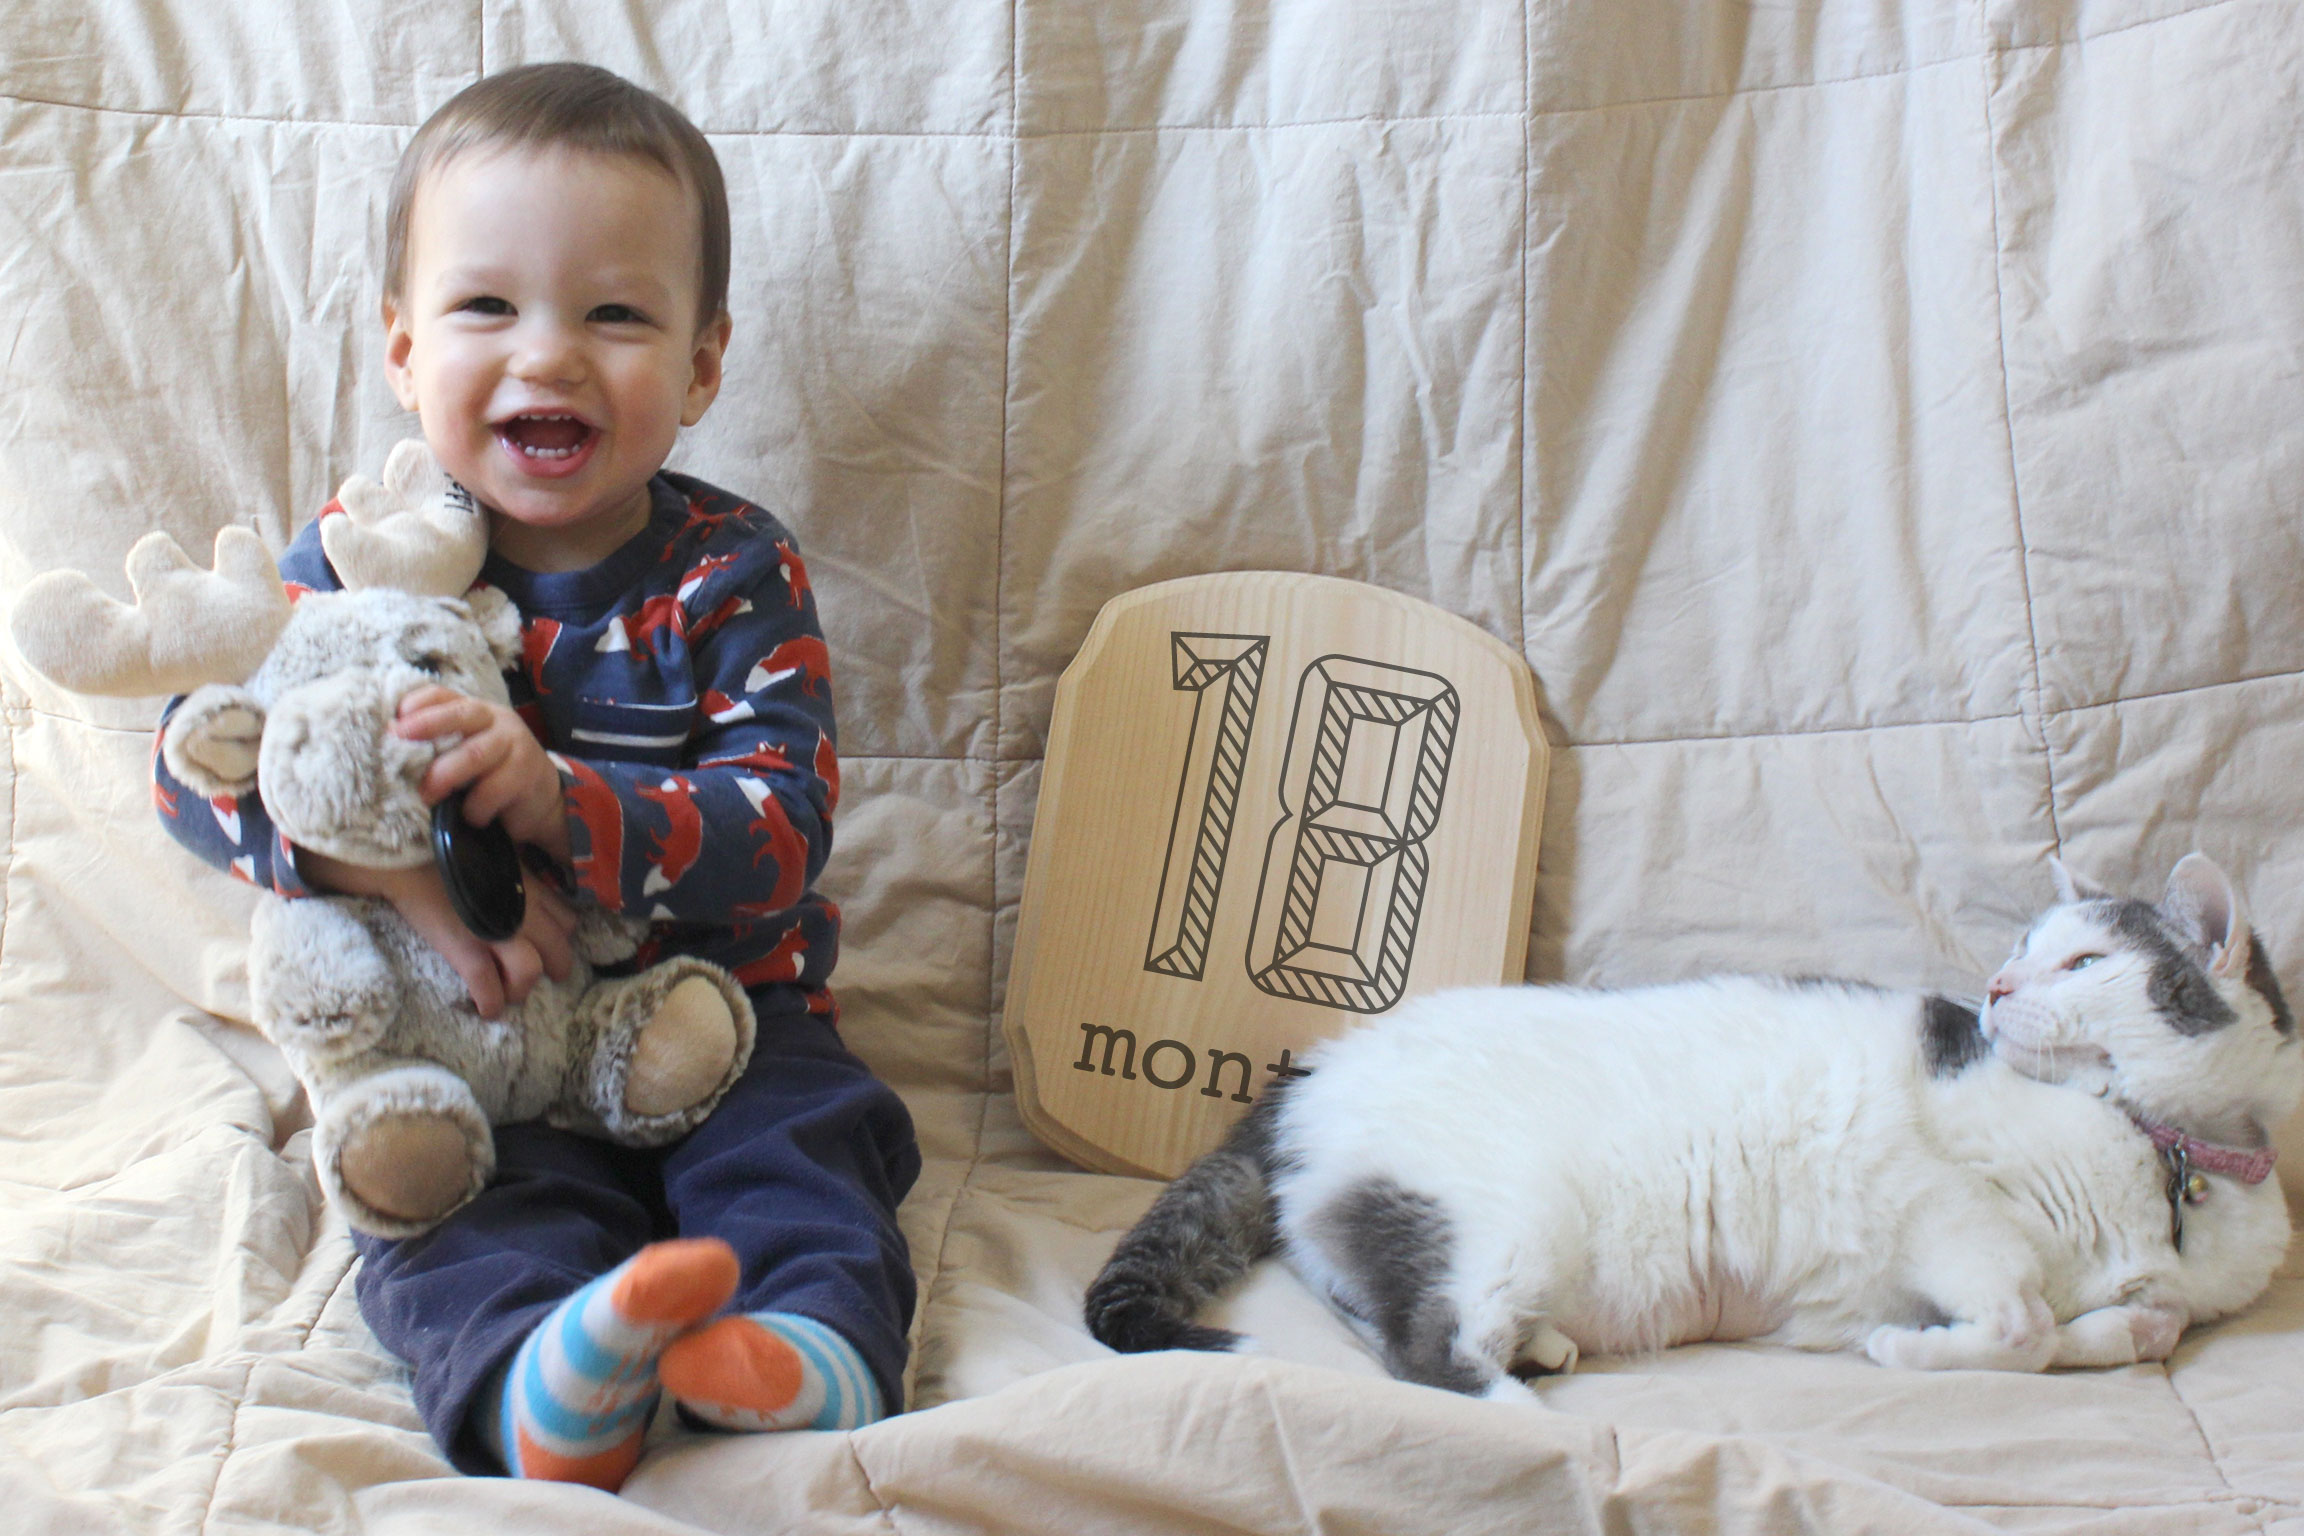
Hawthorn is actually not very new anymore as he just had his 4 month birthday so I thought it was high time I get this documented.
My pregnancy this time around was a lot more uneventful than Berkeley’s (thank god). I only went to the ER one time because I was worried about having so many contractions starting so early on in pregnancy. Apparently my body just loves to have Braxton Hicks contractions and it was nothing to worry about. They started pretty much around the second trimester I think. I had them consistently, often only 10-15 min apart. They were uncomfortable but not painful really.
I was pretty convinced that since Berkeley was 10 days early, that this baby would be too. Nate insisted otherwise but I went with my motherly intuition- I was sure it would be in my 38th week. This was partly due to my enormous size. I swear I was bigger than I had been with Berkeley.
The pregnancy progressed normally, baby actually dropped this time (unlike with Berk), and the doc told me I was 1 cm dilated at my 38 wk appointment. That was music to my ears.
Around my 37-38th week (honestly the details are already getting foggy!), I started to feel a little crampier. I told Nate numerous times that I thought I was in labor but wasn’t sure. It’s really hard to tell when you’re having contractions ALL the time. We had planned for Nate’s mom to come up and stay with us the week before my due date since I was sure I’d be early- I was due on St. Patrick’s Day, March 17th. There was a small snow storm predicted for Saturday March 11th when Nate’s mom was supposed to drive and she hates driving in the snow. I just had a really bad feeling that the baby was gonna possibly make his appearance that day so I begged for her to come a day earlier, which she did.
She arrived on Friday, and everything went normally. Then on Saturday night while we were all eating dinner I was having those crampy contractions again. I told Nate (again) that I thought I was in labor, which he pretty much ignored at this point. After dinner we sat on the couch to watch tv and around 9pm I was sure these contractions seemed slightly more regular, though still not really more painful than the ones I’d been having all along. I decided to start timing them and sure enough they were about 8 minutes apart I think.
I remember the doc said not to call until I was having them 5 minutes apart for an hour, so I waited. Around 10 they started to seem slightly more painful and I decided if this was indeed labor, I should shower and get some sleep. Normally I’d be in bed at this point but I was waiting to see what was going on. I called the doula to make sure she was around this time, since last pregnancy she took a vacation when I was in labor, and she said to just try to get some sleep if this was the real thing.
I took a shower and the contractions definitely felt better under the hot water but I was anal about timing them because I was really worried we wouldn’t get to the hospital in time- a completely unfounded fear. After my shower I decided to get into bed and try to get some sleep though the contractions were definitely painful enough at this point that I had to breathe through them. I think I checked in with my doula again a couple times throughout the night and finally around 2am I decided we needed to go. I had been trying to sleep but kept waking up to time the contractions and they seemed to be 5 min apart, regular and very painful.
I called my OBGYN’s after hours line and apparently all of the doctors in my practice were off duty and some other doctor was on call so they patched me to him. He was totally rude and basically was just like “yeah if you’re having contractions you’re in labor and should go to the hospital.” But didn’t even ask me anything about them! Anyway, I called the doula and explained my progress, pausing to have contractions, and she agreed that I sounded like I needed to leave. We had plans to meet at the hospital.
Nate went upstairs to tell his mom, who was sleeping by now, that we were leaving. This time around I actually had a hospital bag packed (of which I used NONE of the items I brought) and we headed out the back door. The moon was so bright that Nate said something about not needing to turn on the outside light because we could see our way to the car. It was a full moon.
I had Nate drive pretty speedily to the hospital which was thankfully only about 10 minutes away. It was now Sunday early morning and actually was also Daylight Savings so although it was felt like 3am, it was actually 4am DST. I hobbled through the front doors and made me way into the elevator and up to the Maternity floor while Nate parked the car around 4:30am according to our parking ticket. I was the only one in the waiting area and got seen pretty quickly. By this point my contractions were very painful and I was moaning very very loudly through them. Nate joined me in the exam room. Every time I had a contraction I had to get on all fours and just do whatever I could to get through them- they hurt SO badly.
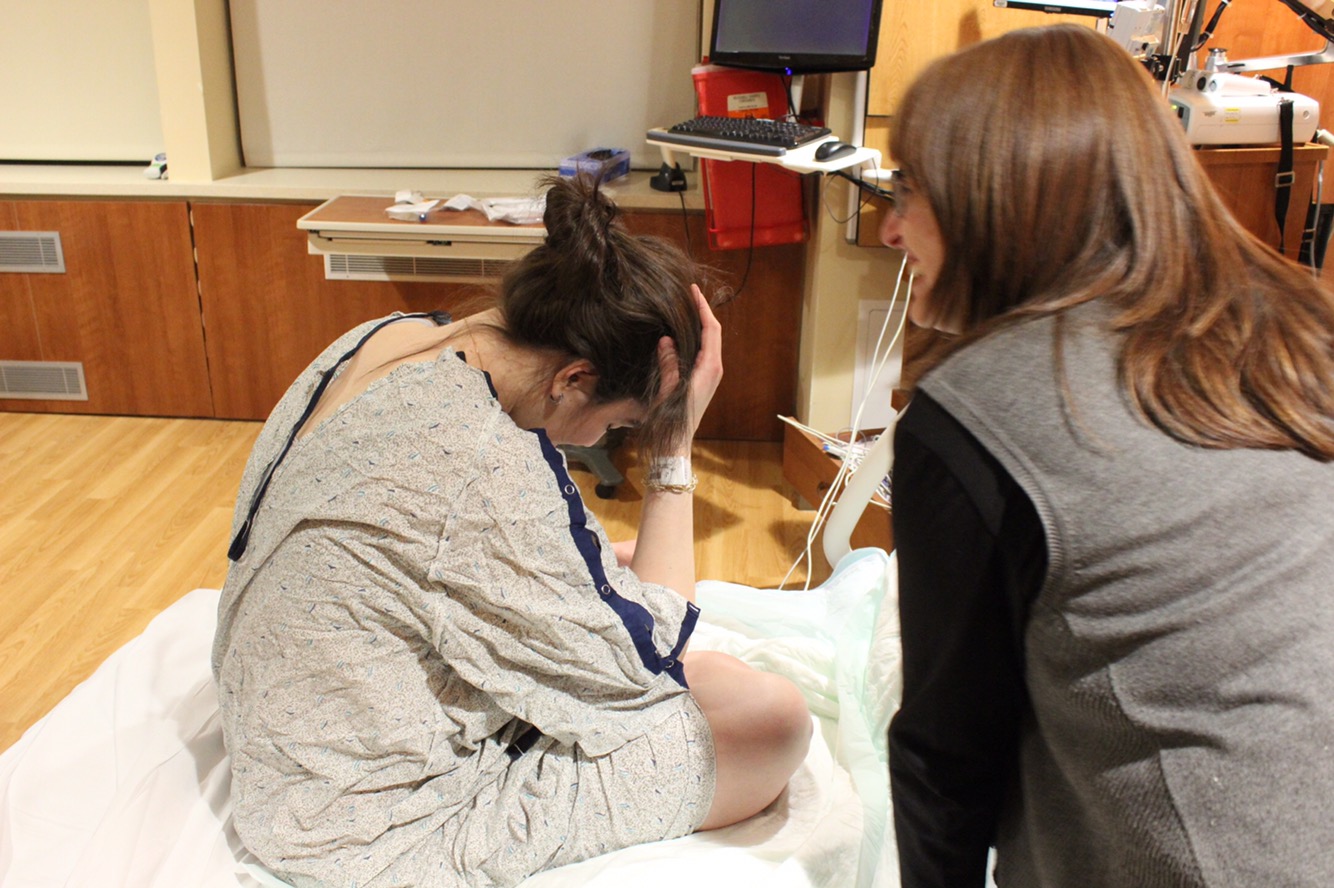
A doctor came in and checked my progress pretty soon after we arrived, although I don’t think I had any concept of time at this point, and I was already 7 cm dilated! Our doula had arrived by then and only one person was allowed with me since we weren’t in the Labor room yet, so Nate went to the lobby and let the doula come back with me. She tried to help me get through the contractions but honestly I didn’t want anyone touching me. I was so hot and she did help by getting me ice. I threw up a couple times and was just generally feeling horrible.
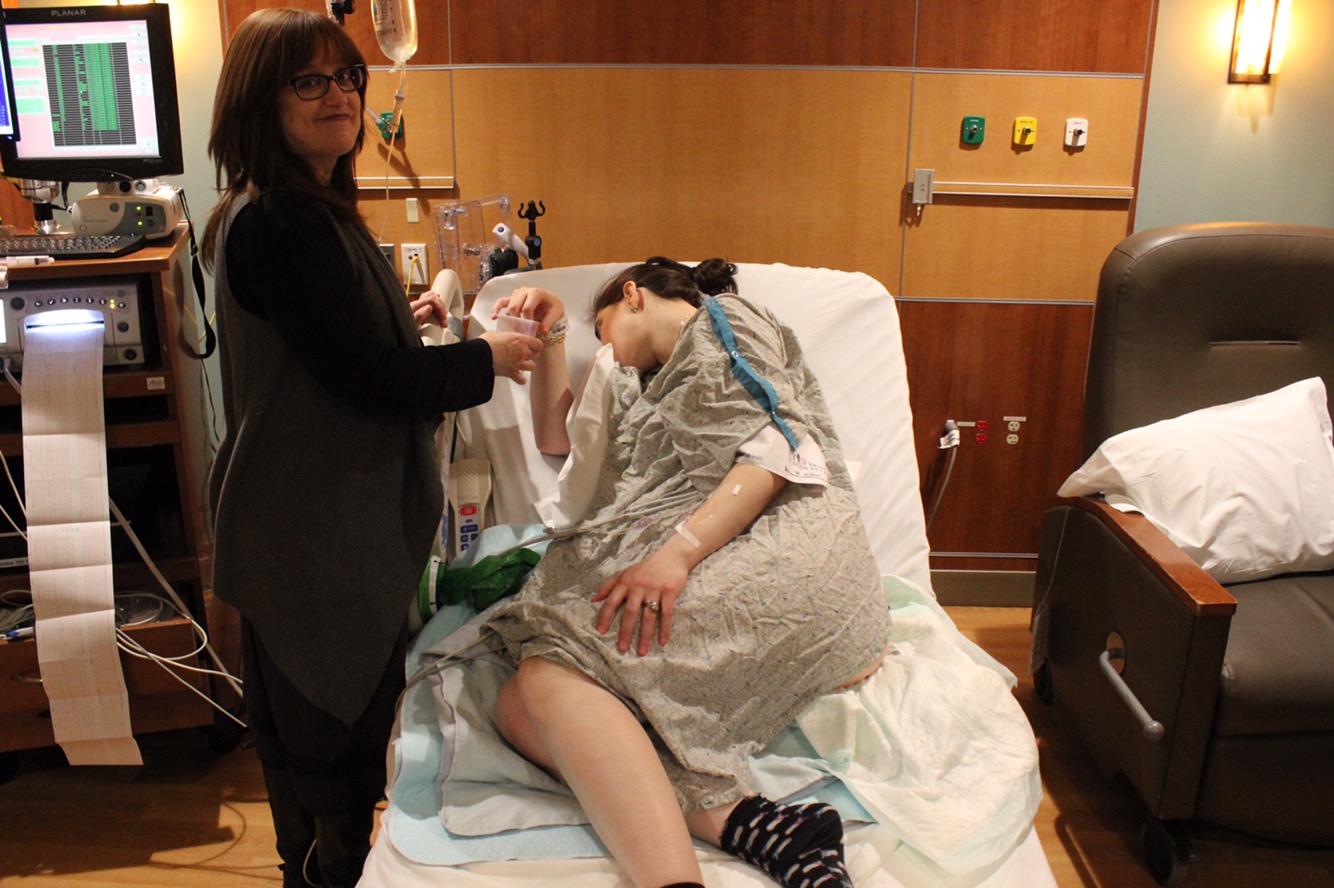
I think after they checked my progress we had to wait for a room to open up and they wheeled me over there since I was in no shape to walk. I don’t remember much of this because I was in so much pain. At this point the idea of an epidural floated around in my mind but the doula assured me that I had come so far already and really didn’t need it because everything was going so fast and she didnt’ think it would be much longer. I think it was like 5-6 am by this point.
They hooked me up to the machines in the labor room but I had to stay on all fours and scream every time the contractions came. In addition I kept feeling like I had to push- I also felt like I had to use the bathroom (#2) so it was really hard to tell what was going on down there. I was sure I was going to end up going to the bathroom on the table since you’re really not in control of the pushing that happens when the contractions come (spoiler alert- I did and it was something Nate will never ever let me forget ).
I told the doula several times that I felt like i needed to push and they checked me a couple times. The first time they said I wasn’t quite ready yet but the next time they said I was fully dilated. They wanted me to lay down on the bed and open my legs but I literally could not get off of my hands and knees because I was in so much pain and the contractions were happening so quickly. I finally laid on my side with my legs together and couldn’t move, but Nate told me the doctor said something to me about how I’d crush the baby’s skull if I didn’t open my legs. I don’t remember any of this, only how badly I wanted to push and how much pain I was in.
I have no idea who was in the room at this point. My eyes were closed and I was fully focused on getting through the contractions and not pushing until they said. It’s SO much different than when you’ve had an epidural. My body HAD to push, like I had no choice in the matter.
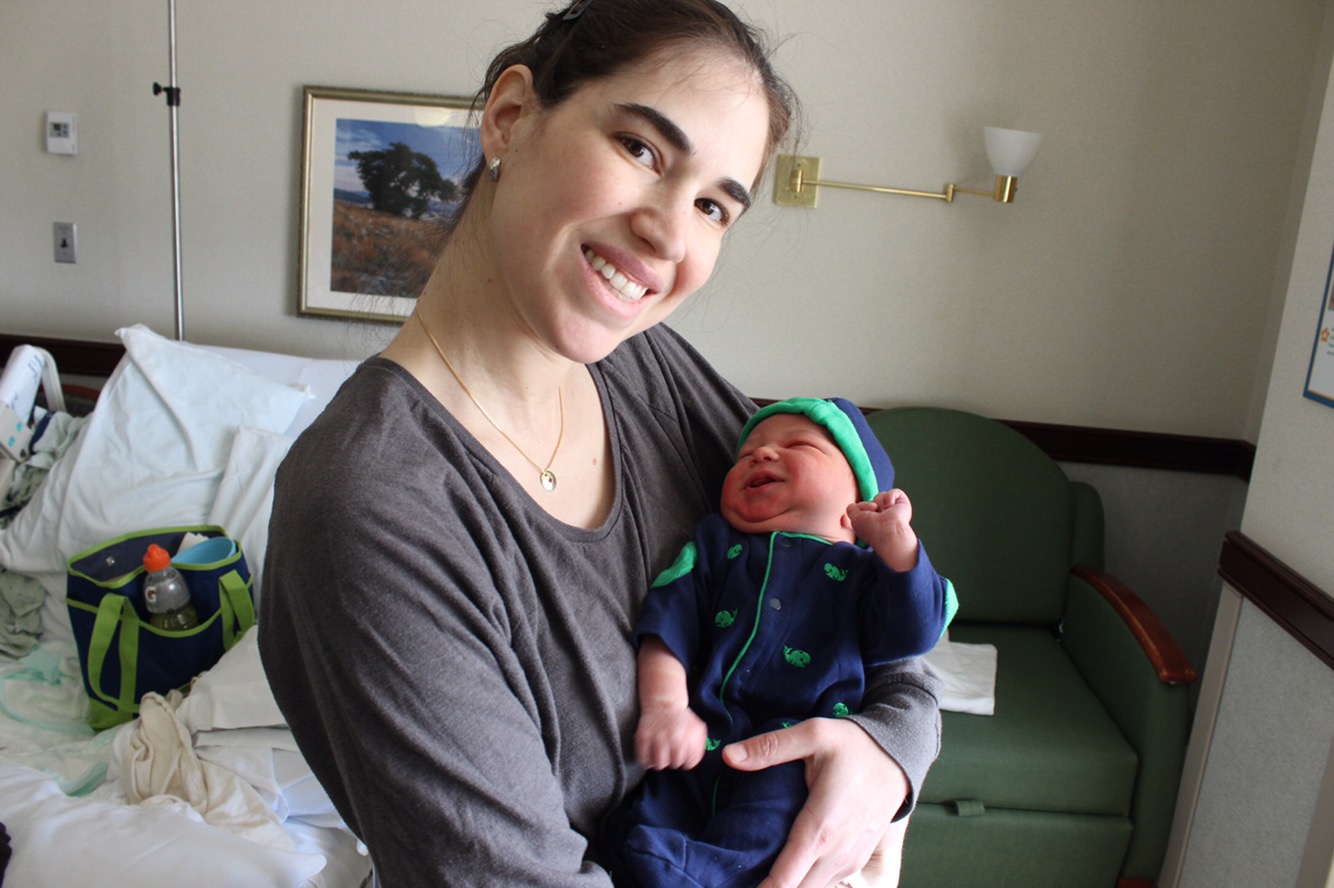
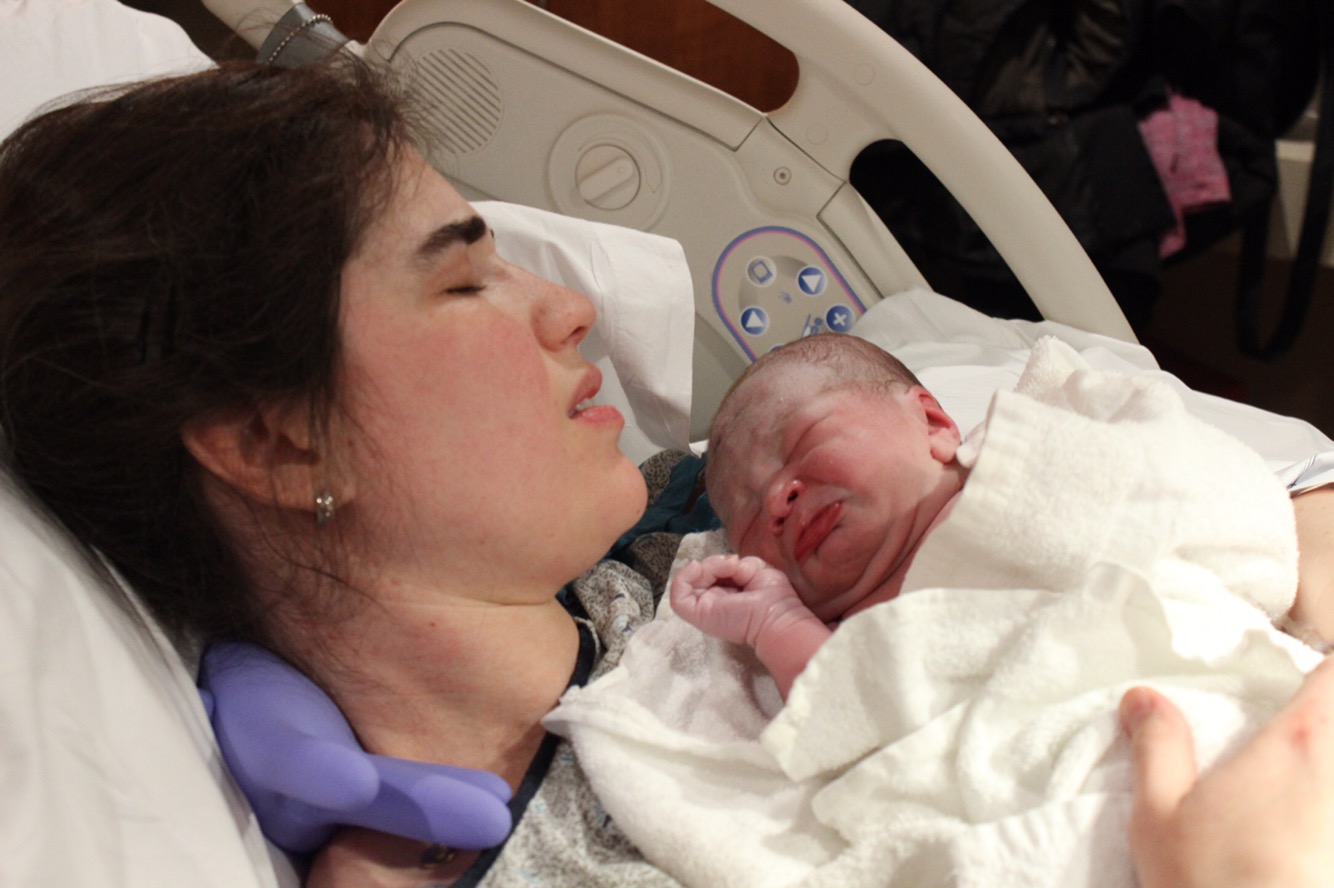
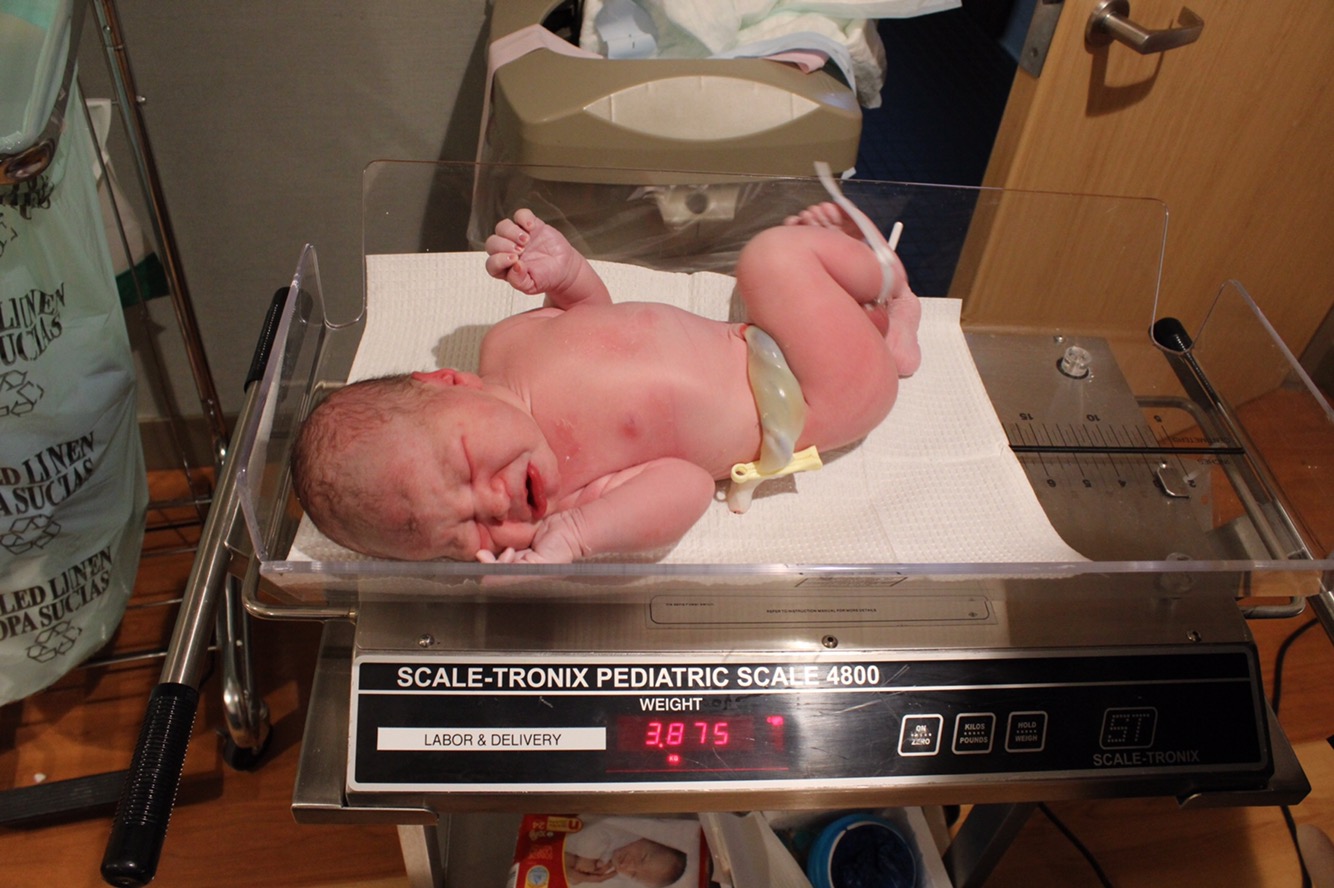
Finally, they held my legs back since I couldn’t even focus on lifting them up, and told me to push on the next contraction. I noticed that a different doctor was there than the rude one I spoke to on the phone. I’m not sure if he was a resident or something but he was so so nice. I think it took all of 2-3 pushes and little (or actually BIG) Hawthorn Marlow made his debut at 7:11am on March 12th at a whopping 8 lb 9 oz! I could not believe he was over a pound bigger than Berkeley…and that I had him without any pain meds.
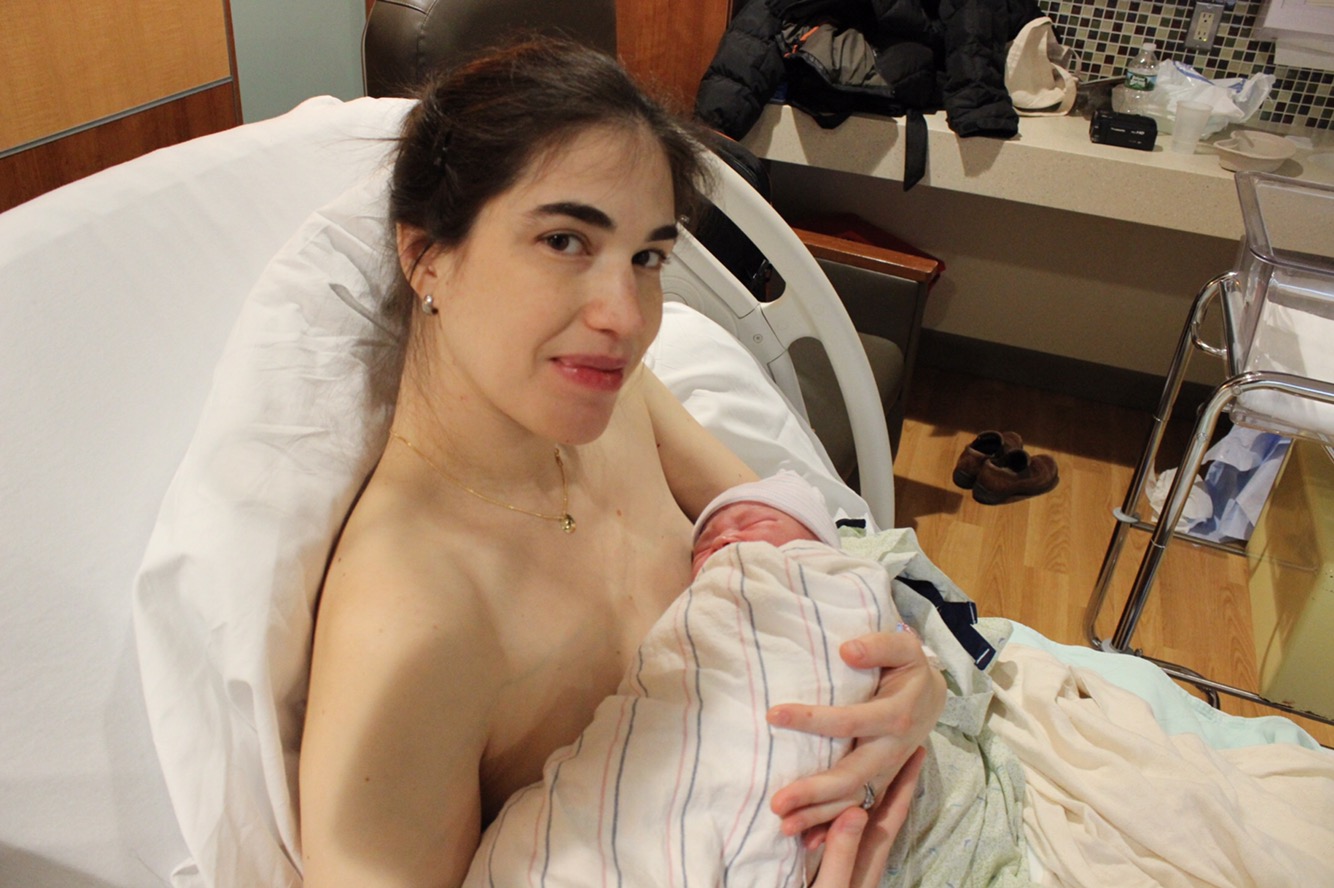
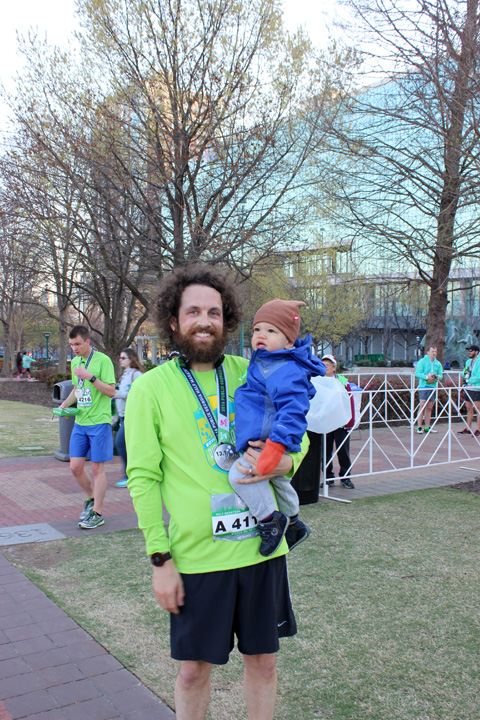
I couldn’t even open my eyes to look at him when they first handed him to me because I was panting from the exertion of birthing. My mom said, based on pics she saw, that I looked like I had just run a marathon…which I basically had.
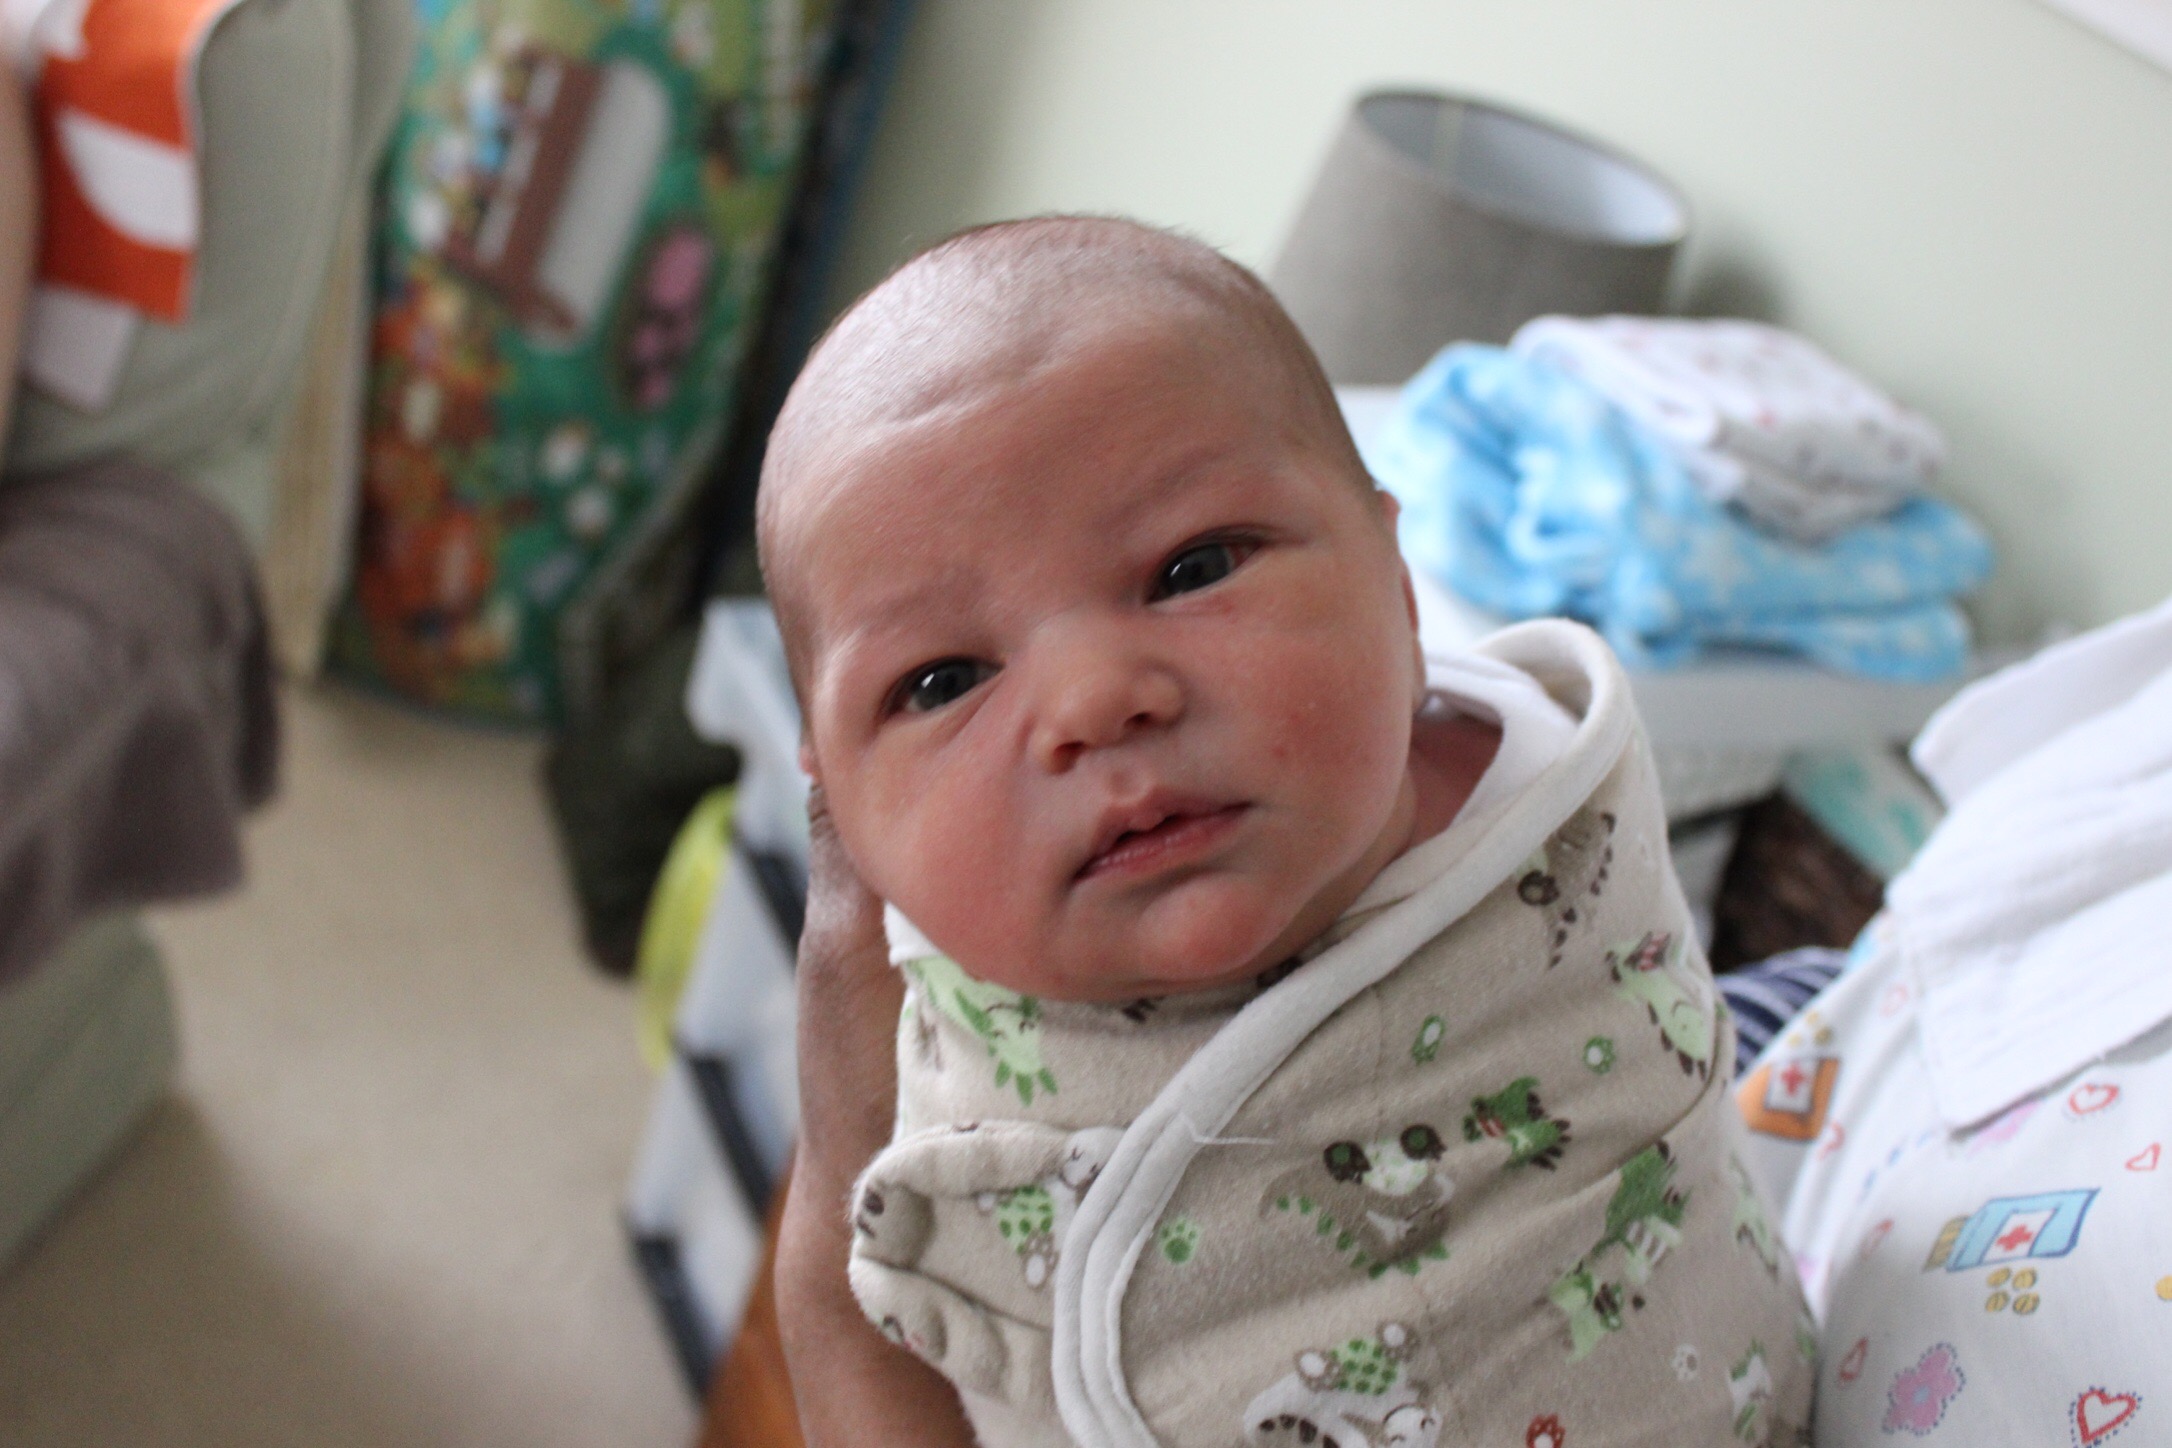
They did their initial exams and everything looked pretty normal, except the doctor said that his testicle sack (not sure of the term) was very filled with fluid and they needed to do an emergency ultrasound to make sure his testicles were actually inside it and receiving blood flow. This condition is called Hydrocele. The doc said it was one of the most severe cases he’d ever seen.
They got the ultrasound and confirmed everything inside looked ok and told me I needed to make a urologist appointment for the baby. Apparently the fluid should dissipate and dissappear by age 1 but they were a bit concerned due to the amount of swelling he had. Of course Nate and I were a bit freaked out, but the pediatrician reassured us when he stopped by later in the morning. At 4 months old the swelling has already gone down quite a bit but is still there. I have to bring him back to the urologist at 6 months.
The last bit of drama is that it was now Sunday and a MAJOR blizzard was due to arrive on Tuesday. Berkeley was home without mama for the first time EVER (aside from a brief overnight babymoon we took to NYC) for more than one day. He was starting to get a little upset and I knew that if I couldn’t get home until after the blizzard (2 days later) that it would be traumatic for him (and mama!). This was compounded by the fact that the Maternity Ward wasn’t allowing any children under the age of 12 to visit, due to a flu that was going around. So i couldn’t even see my little boy. We facetimed with him once or twice but honestly I think it made everything worse.
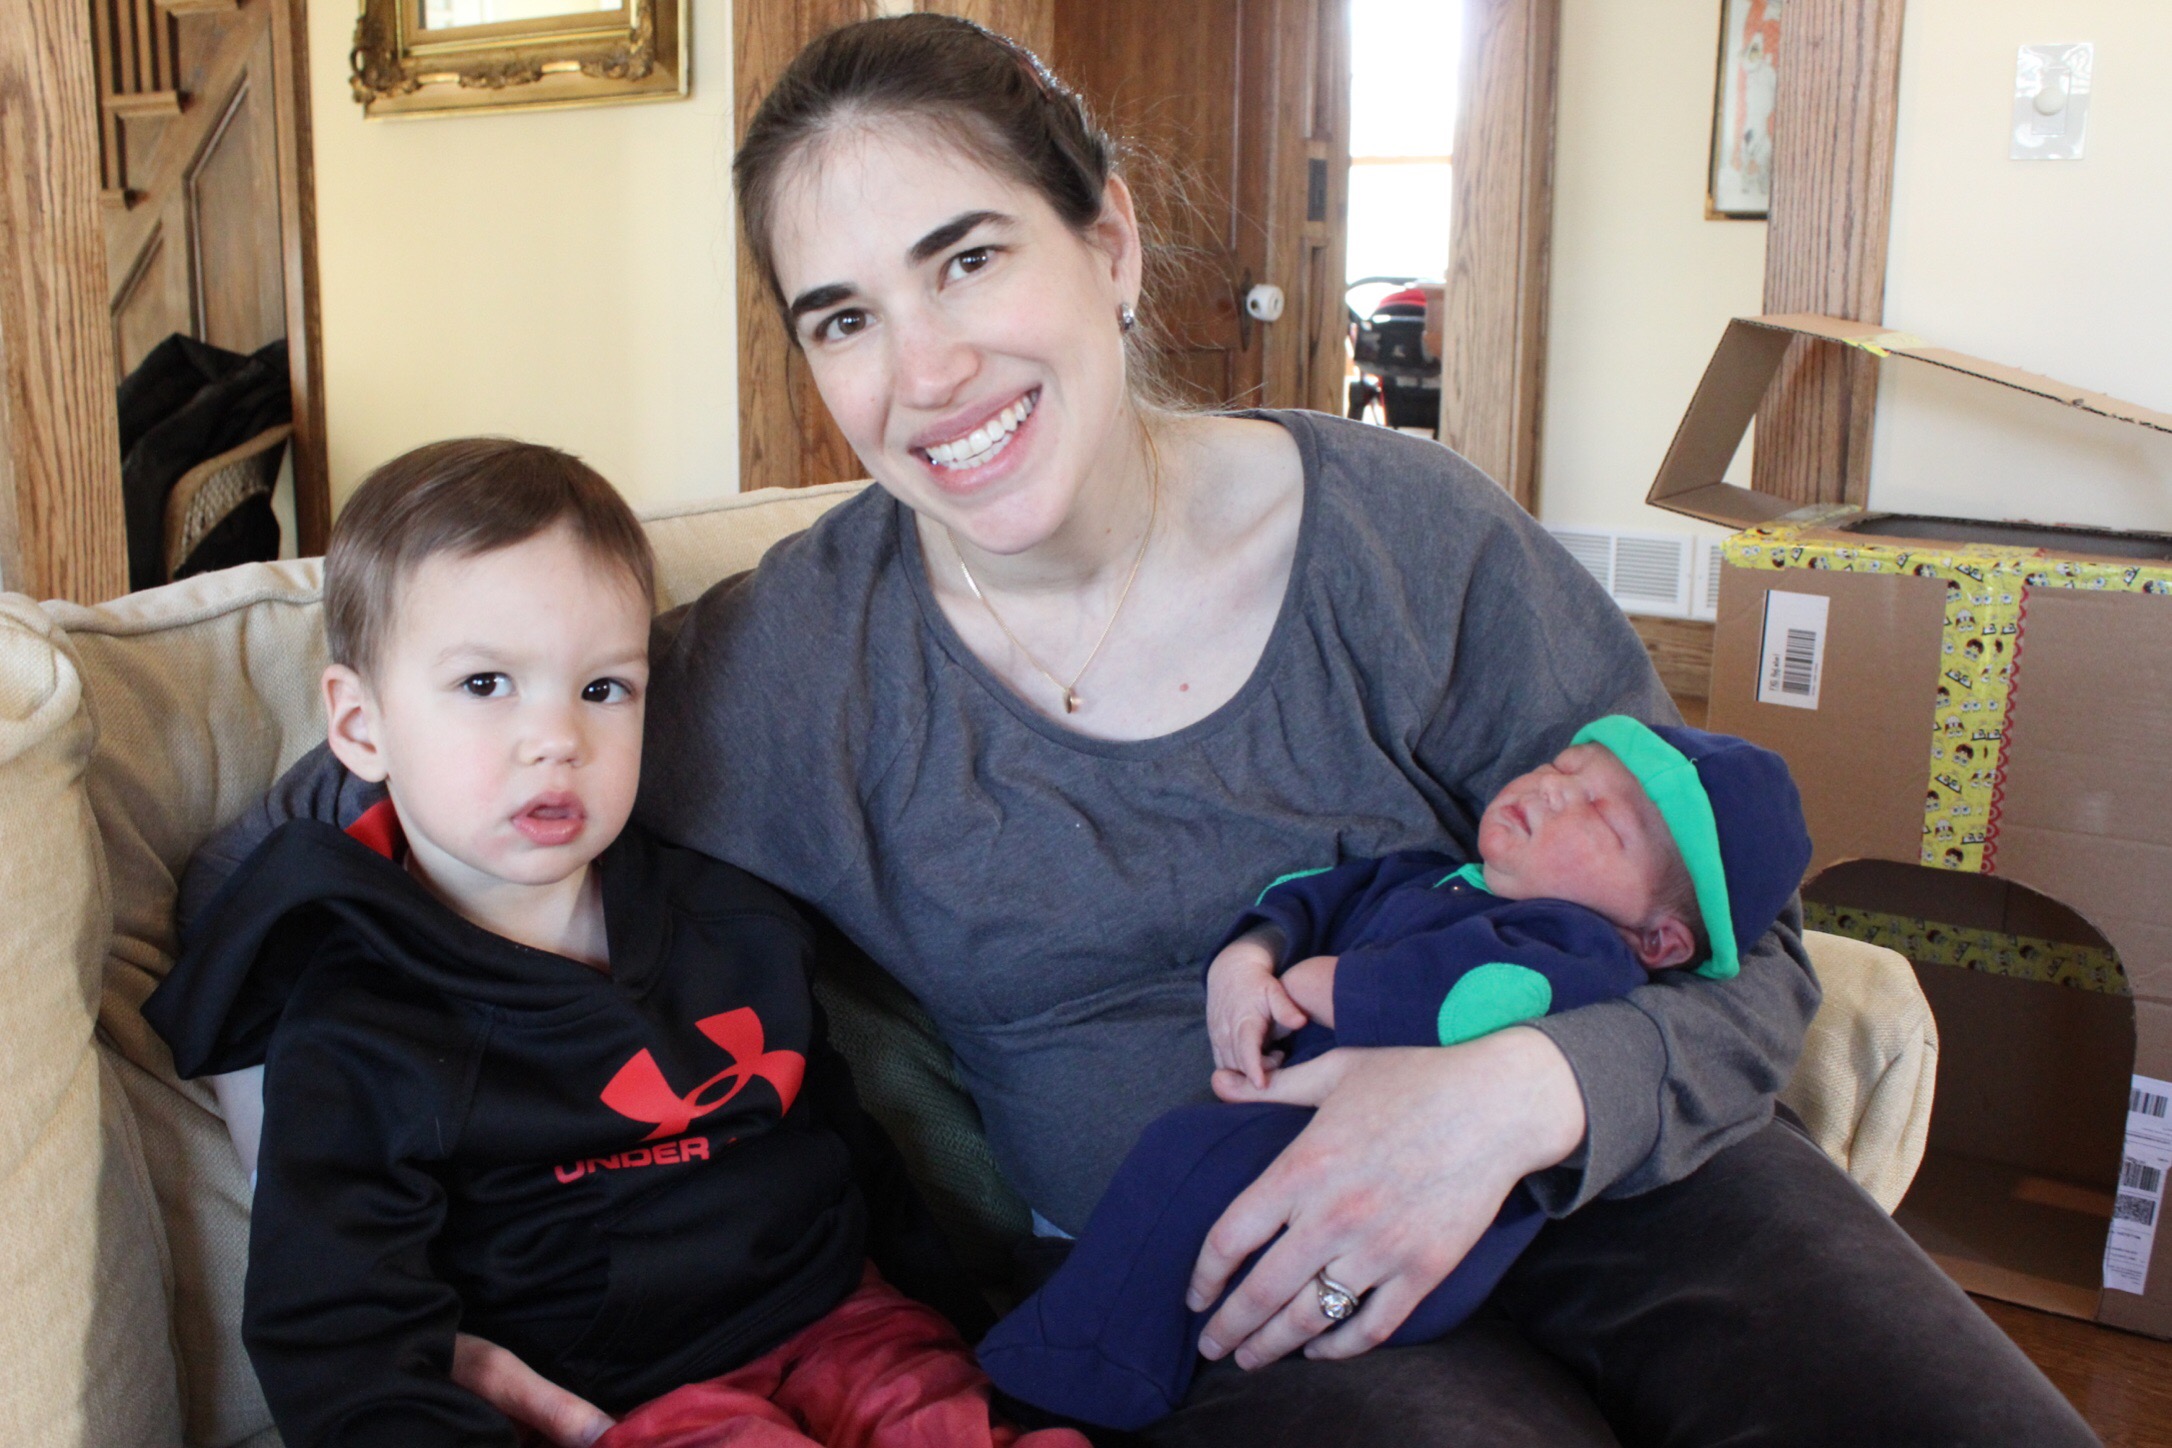
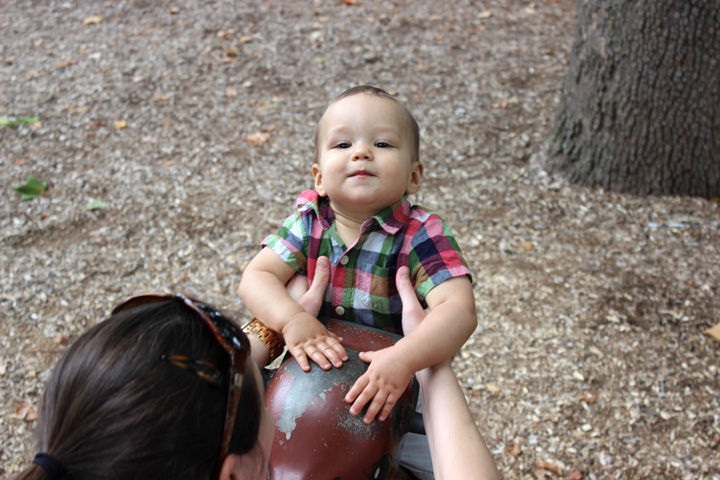
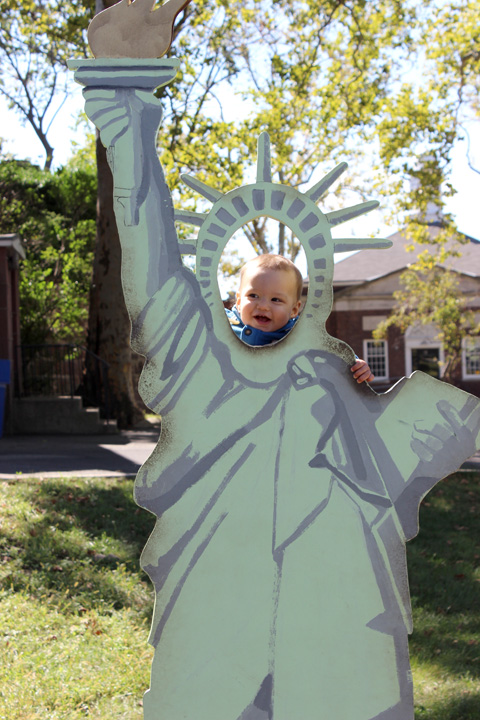
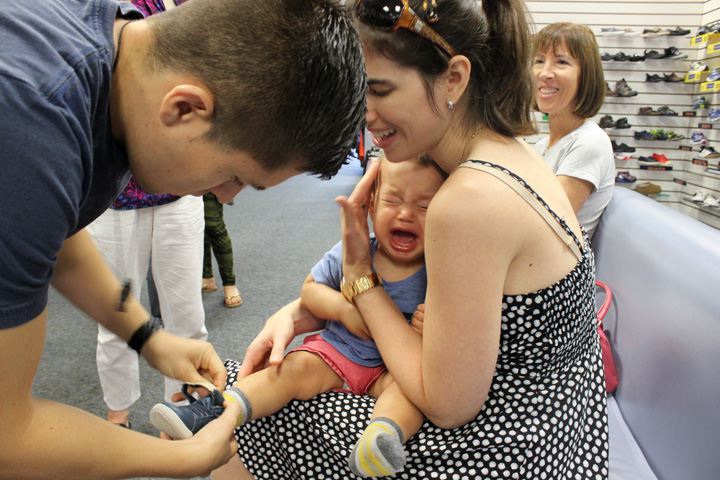
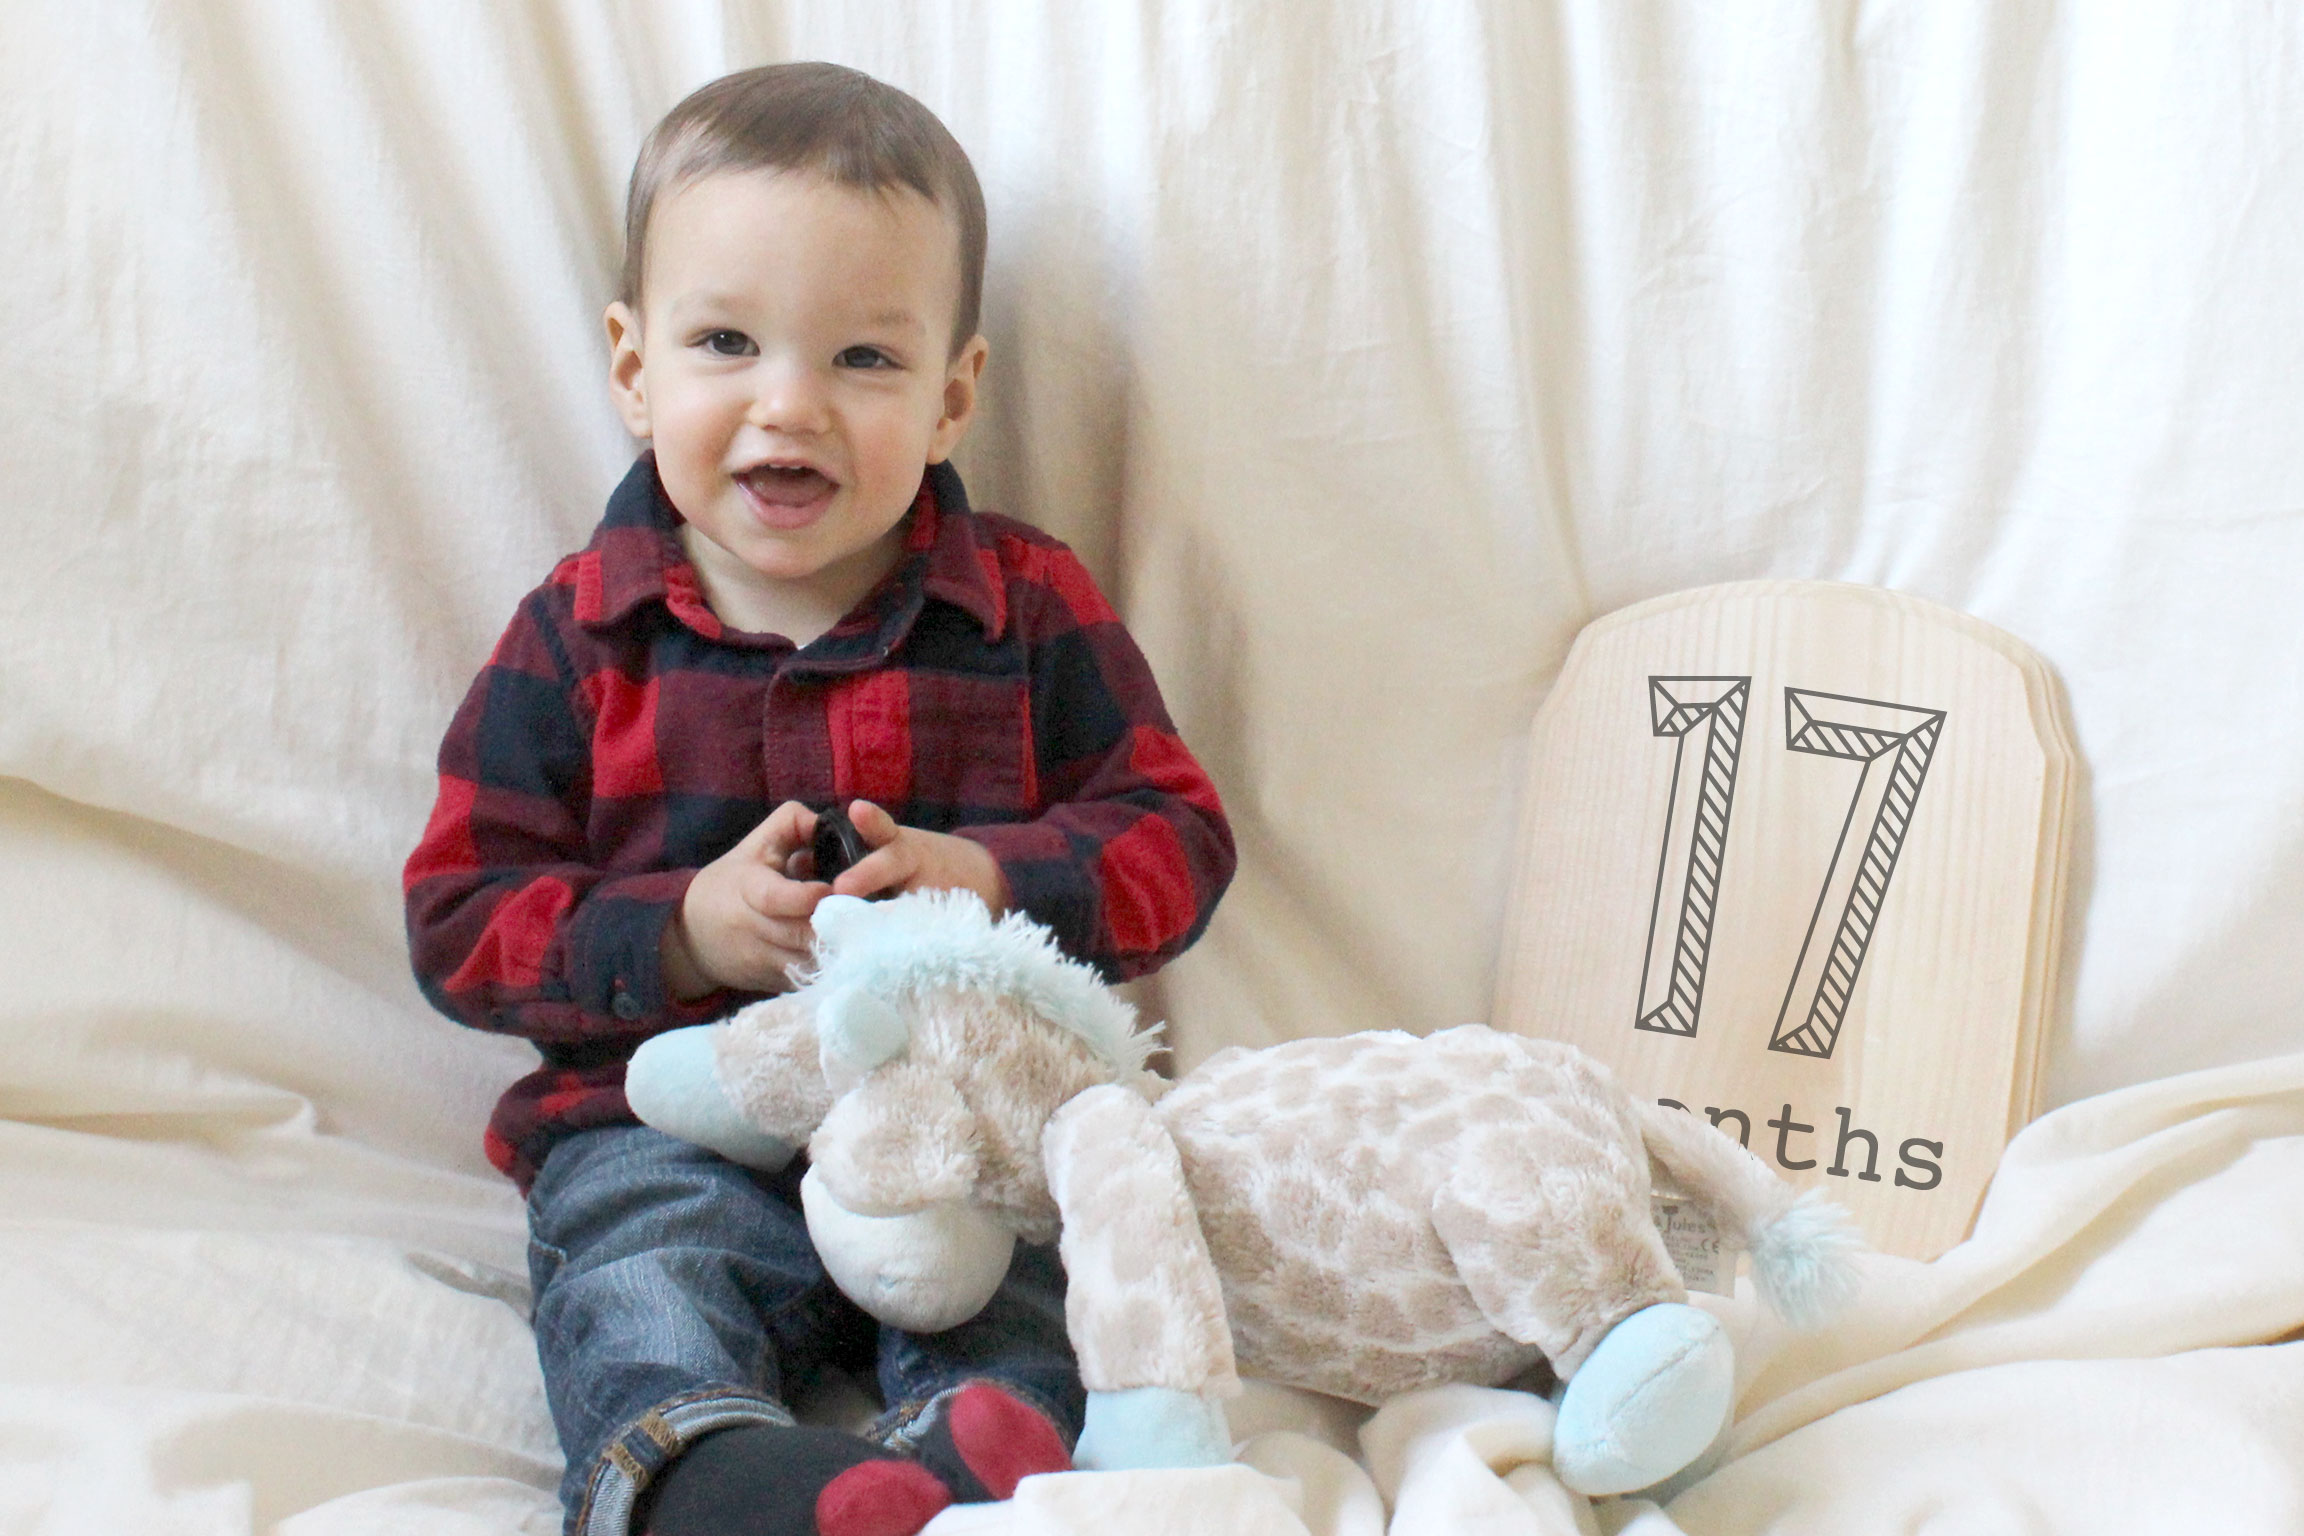
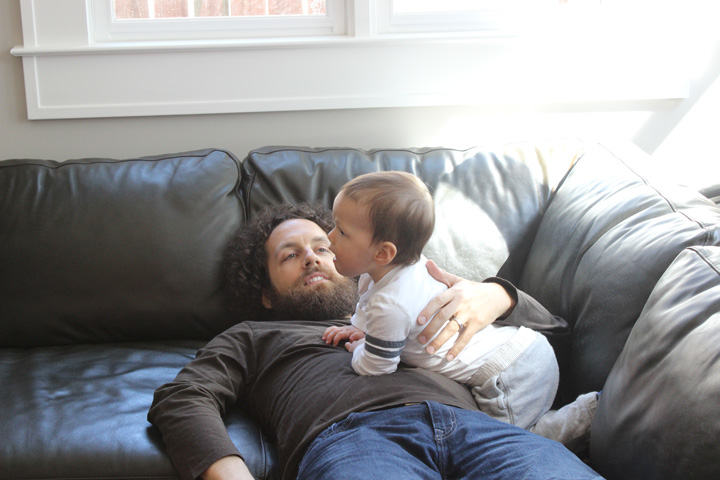
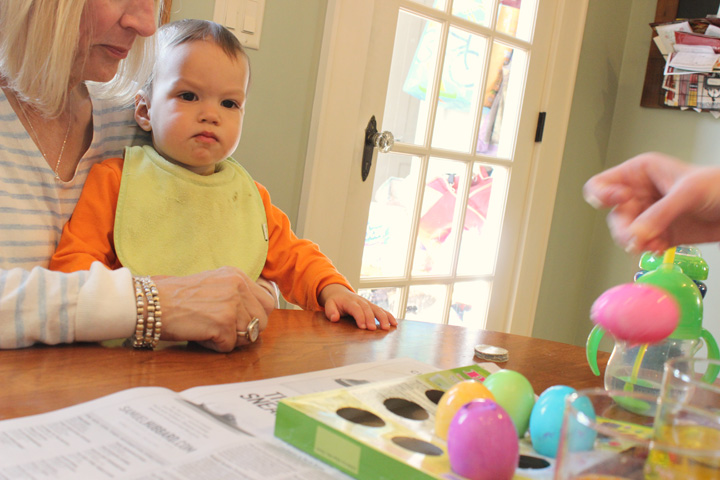
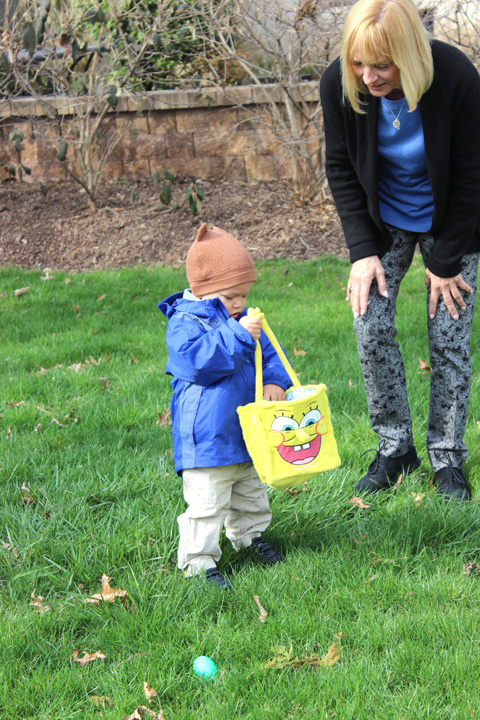
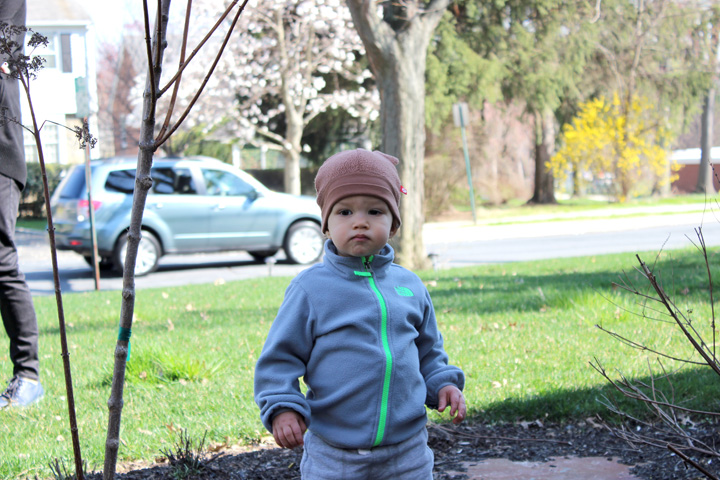
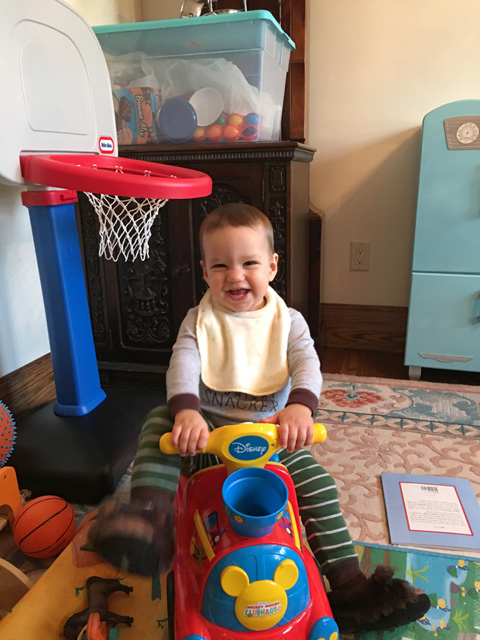
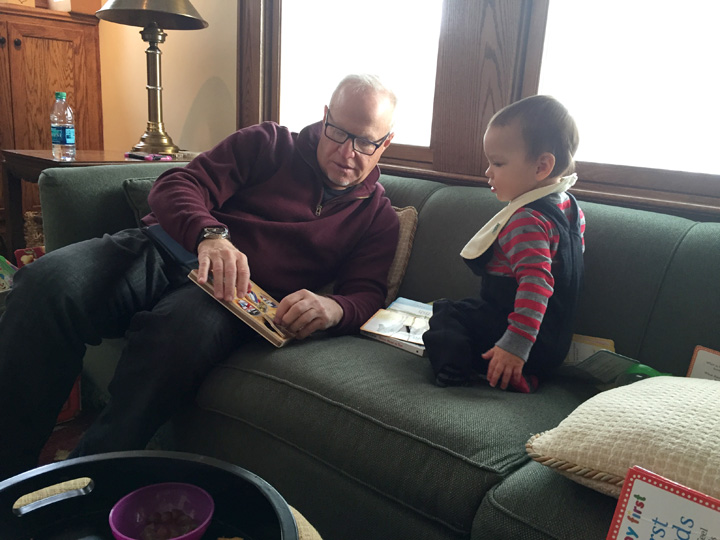
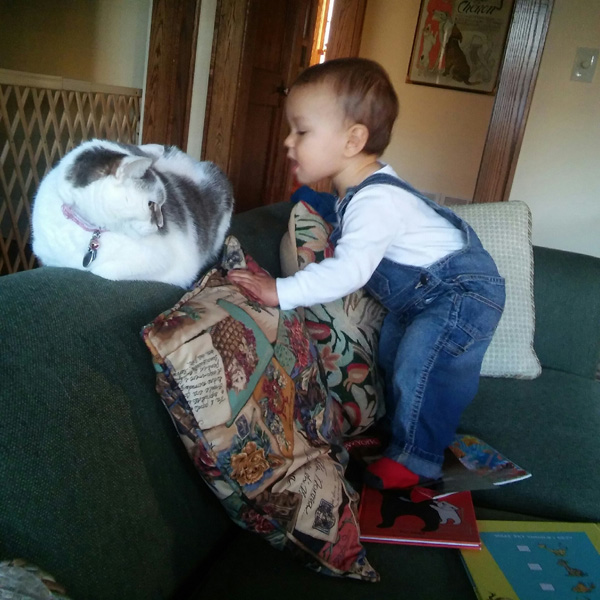
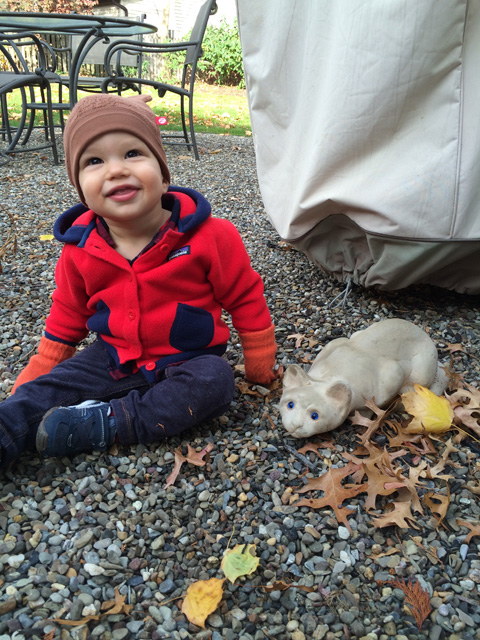
Berkeley isn’t sure what to think…
I begged the nurses to let me go the next day (Monday) and they told me that if everything looked ok with both me and baby that it shouldn’t be a problem. They did everything they could to rush us out of there and we ended up getting home Monday late afternoon. There was indeed a giant blizzard Tuesday, so we made it out just in the nick of time.

Hawthorn was a great baby and nursed like a champ for the first month. But then around 1 month old he started screaming through his feedings. Like sometimes I couldn’t even get him to eat. After cutting dairy and soy out of my diet without it making any difference, we finally decided that I should stop breastfeeding. I didn’t want my baby to starve so I agreed though it made me really sad. It took him a week or so but we finally got him to start drinking a special formula (Elecare) and after several weeks he started to eat without any crying. I wasn’t too happy about having to switch to bottles but I didn’t have much of a choice in the matter. I do have some breastmilk that I pumped and stored in the freezer but I’m not sure if he’ll be able to drink it before it expires.
In addition, he also has reflux so he’s on medication. He often spits up what seems like an entire bottle. He also doesn’t nap very well since he always has a burp/spit up that’s making him uncomfortable, so he wakes after 30-40 min a lot of the time. I’m praying that he outgrows this quickly. Berkeley was colicky so i think it’s still way better than that but it sure hasn’t been an easy road.
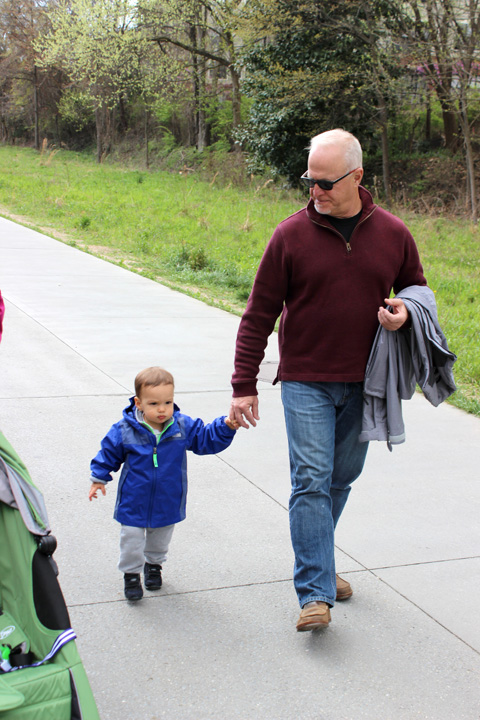
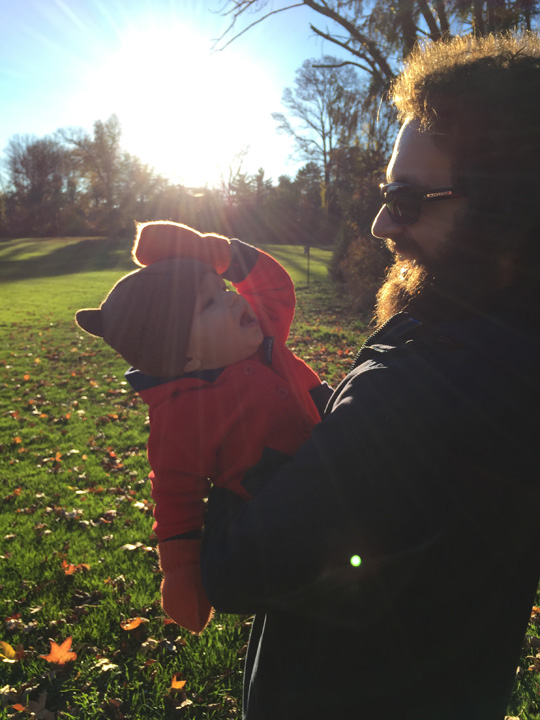
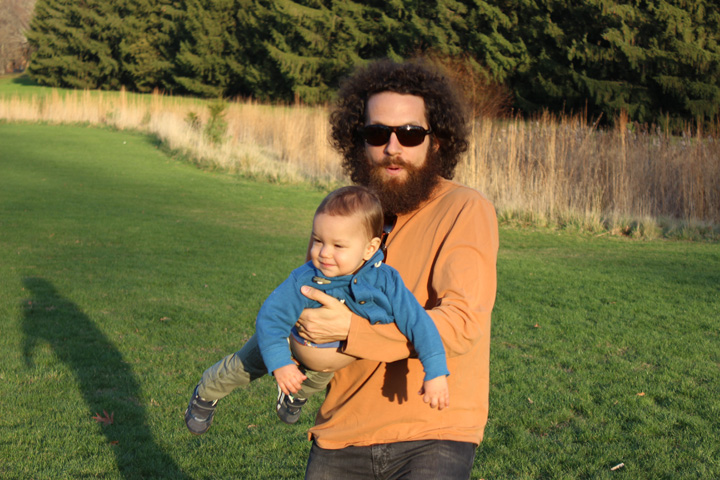
As of Monday I’m officially back in the office. I got 14 wks off and then worked from home for 2 weeks which was really nice. I tried to spend as much time with Berkeley as I could so he didn’t feel neglected. We definitely had some nice days together :) Nate also took a week of paternity leave and took Berkeley on special trips. I think that he’s adjusting pretty well. Honestly, he really just doesn’t have much interest in the baby.
I will try to update again in the near future!

If you want to see more up-to-date pics, you can follow me on instagram :)


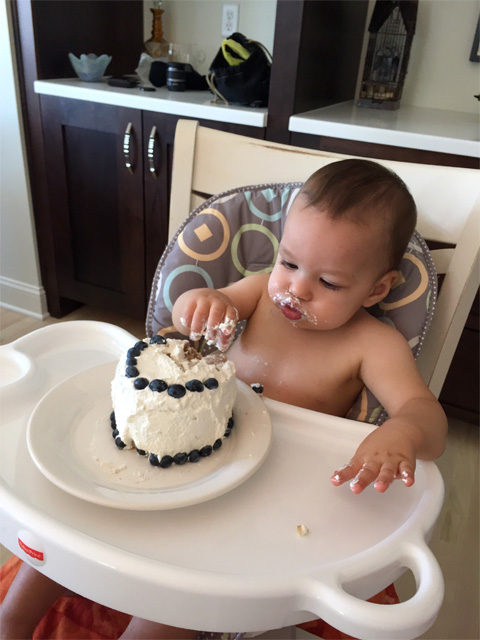
 For his first birthday, we were down at my parents’ shore house. I don’t really give him much sugar, so I used my mom’s recipe for Apple Zucchini Muffins (i need to share that, btw), baked it into cake pans and then just cut it out with a bowl to make small circles. The frosting is just whipped cream with a little maple syrup and vanilla. And of course, blueberries to garnish (Berkeley’s favorite fruit!)