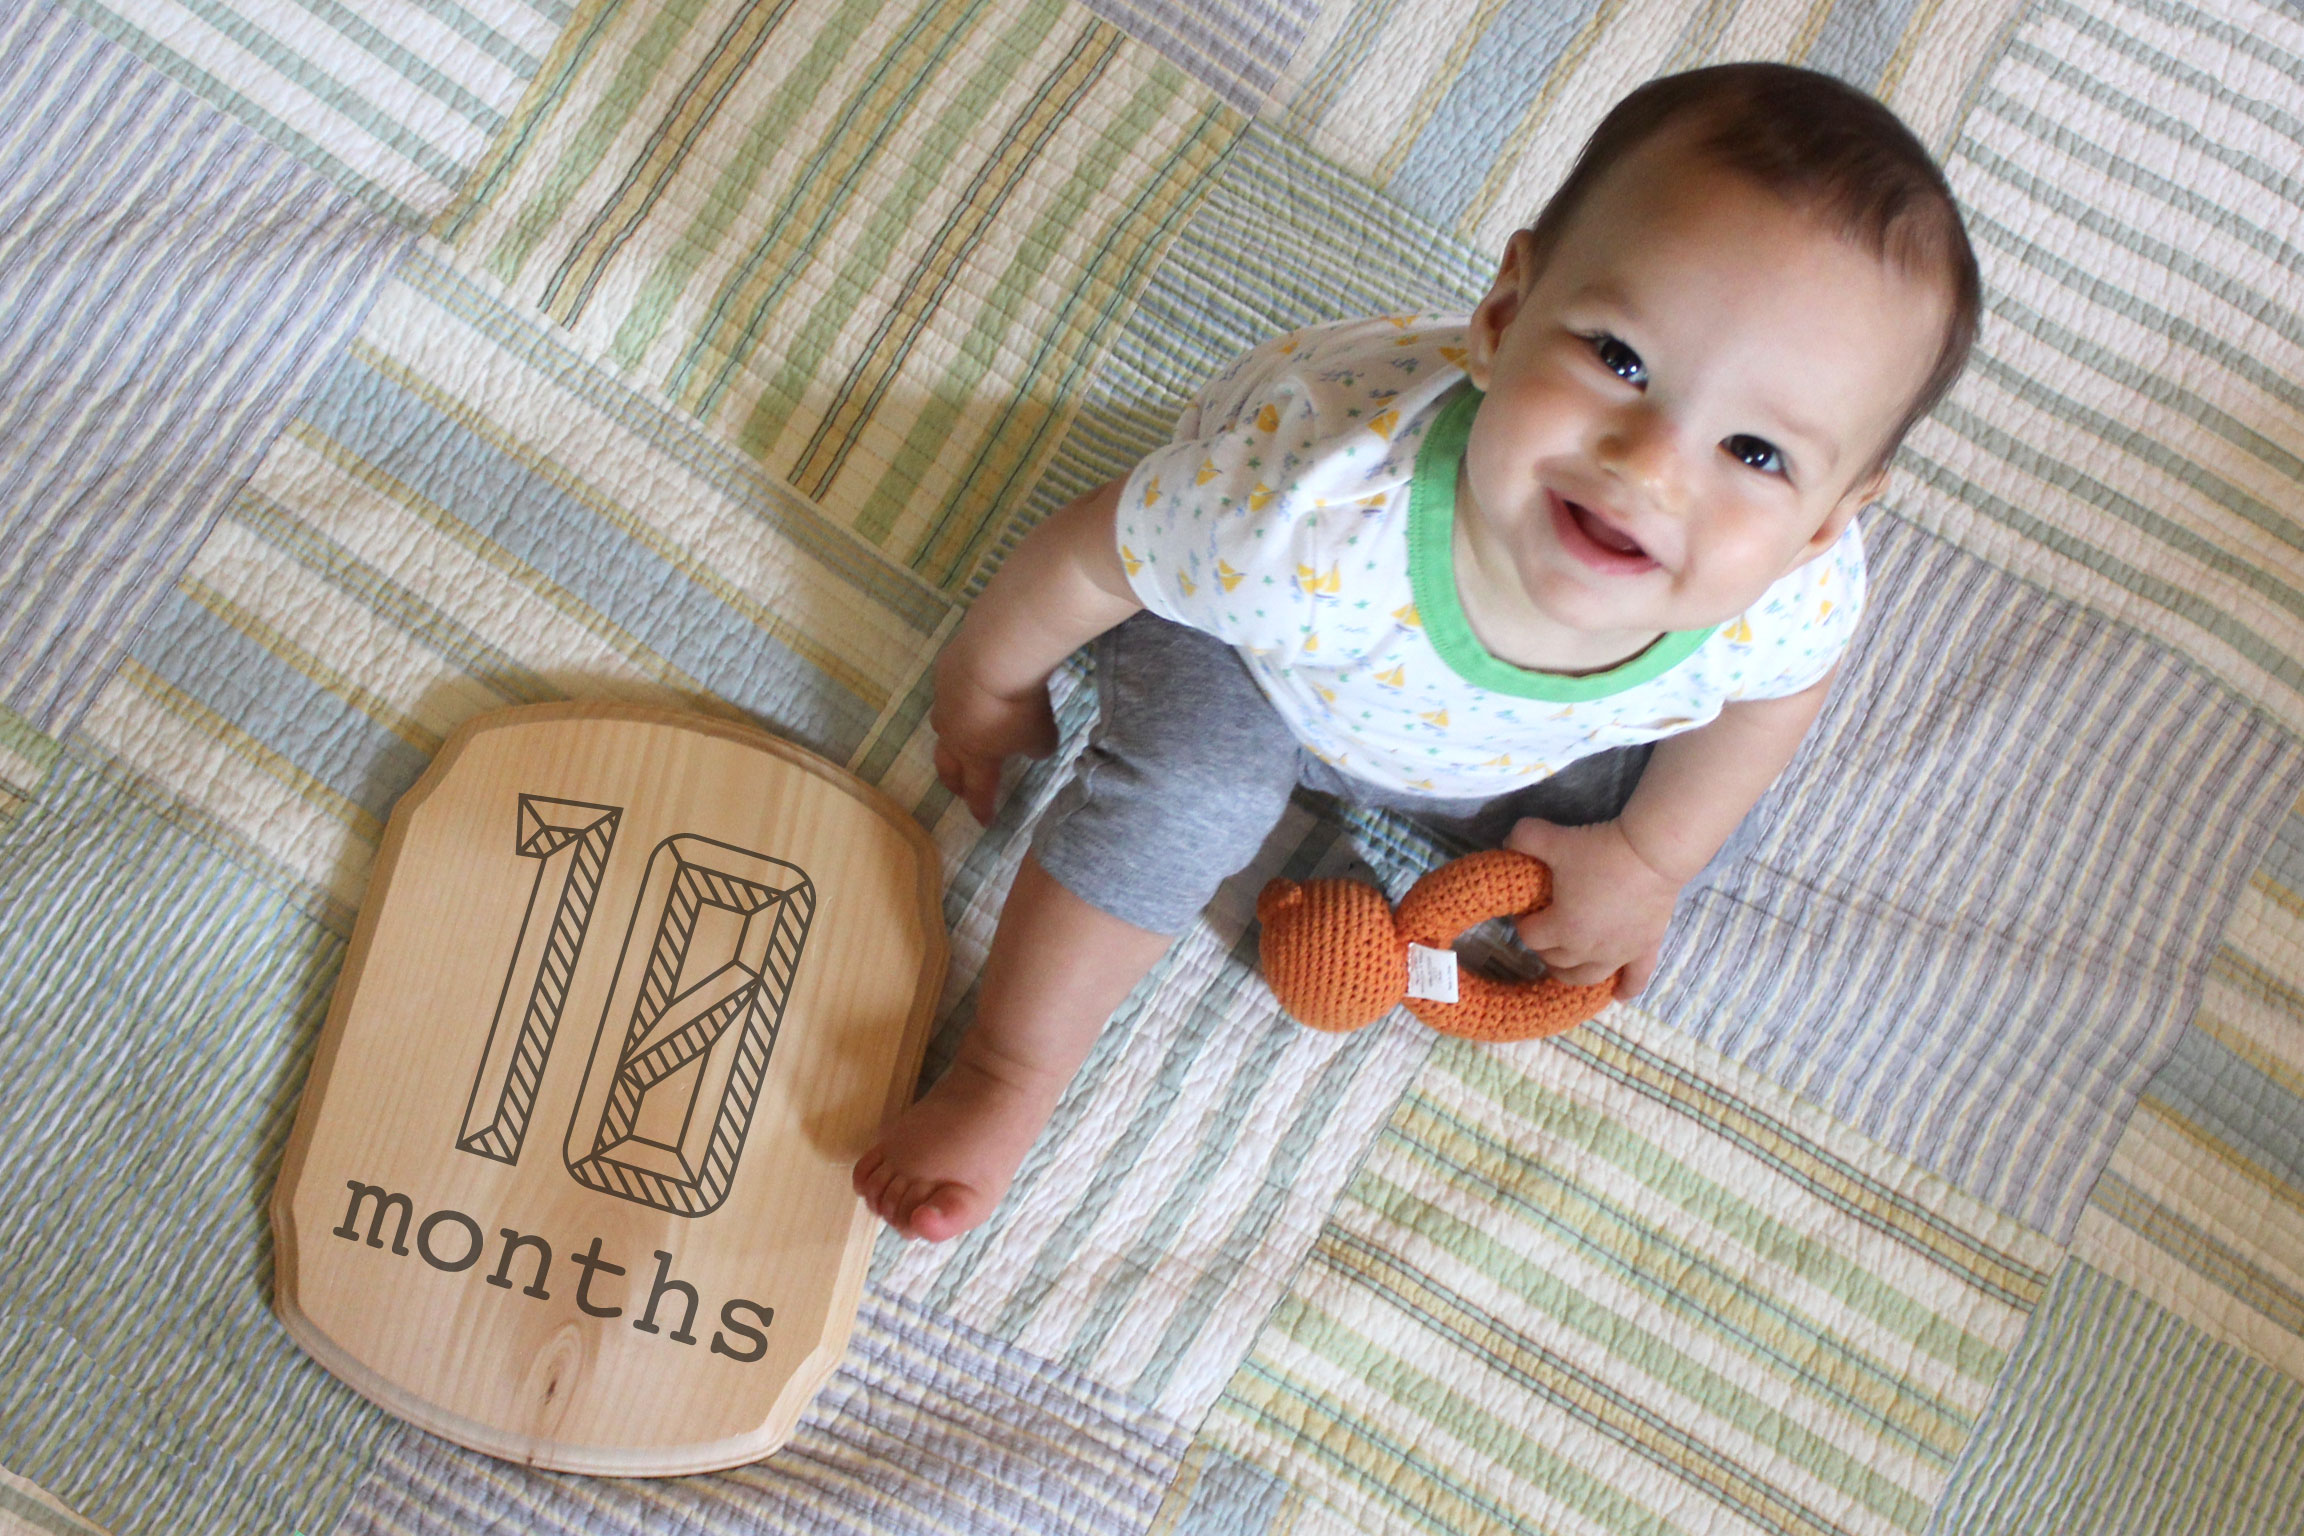
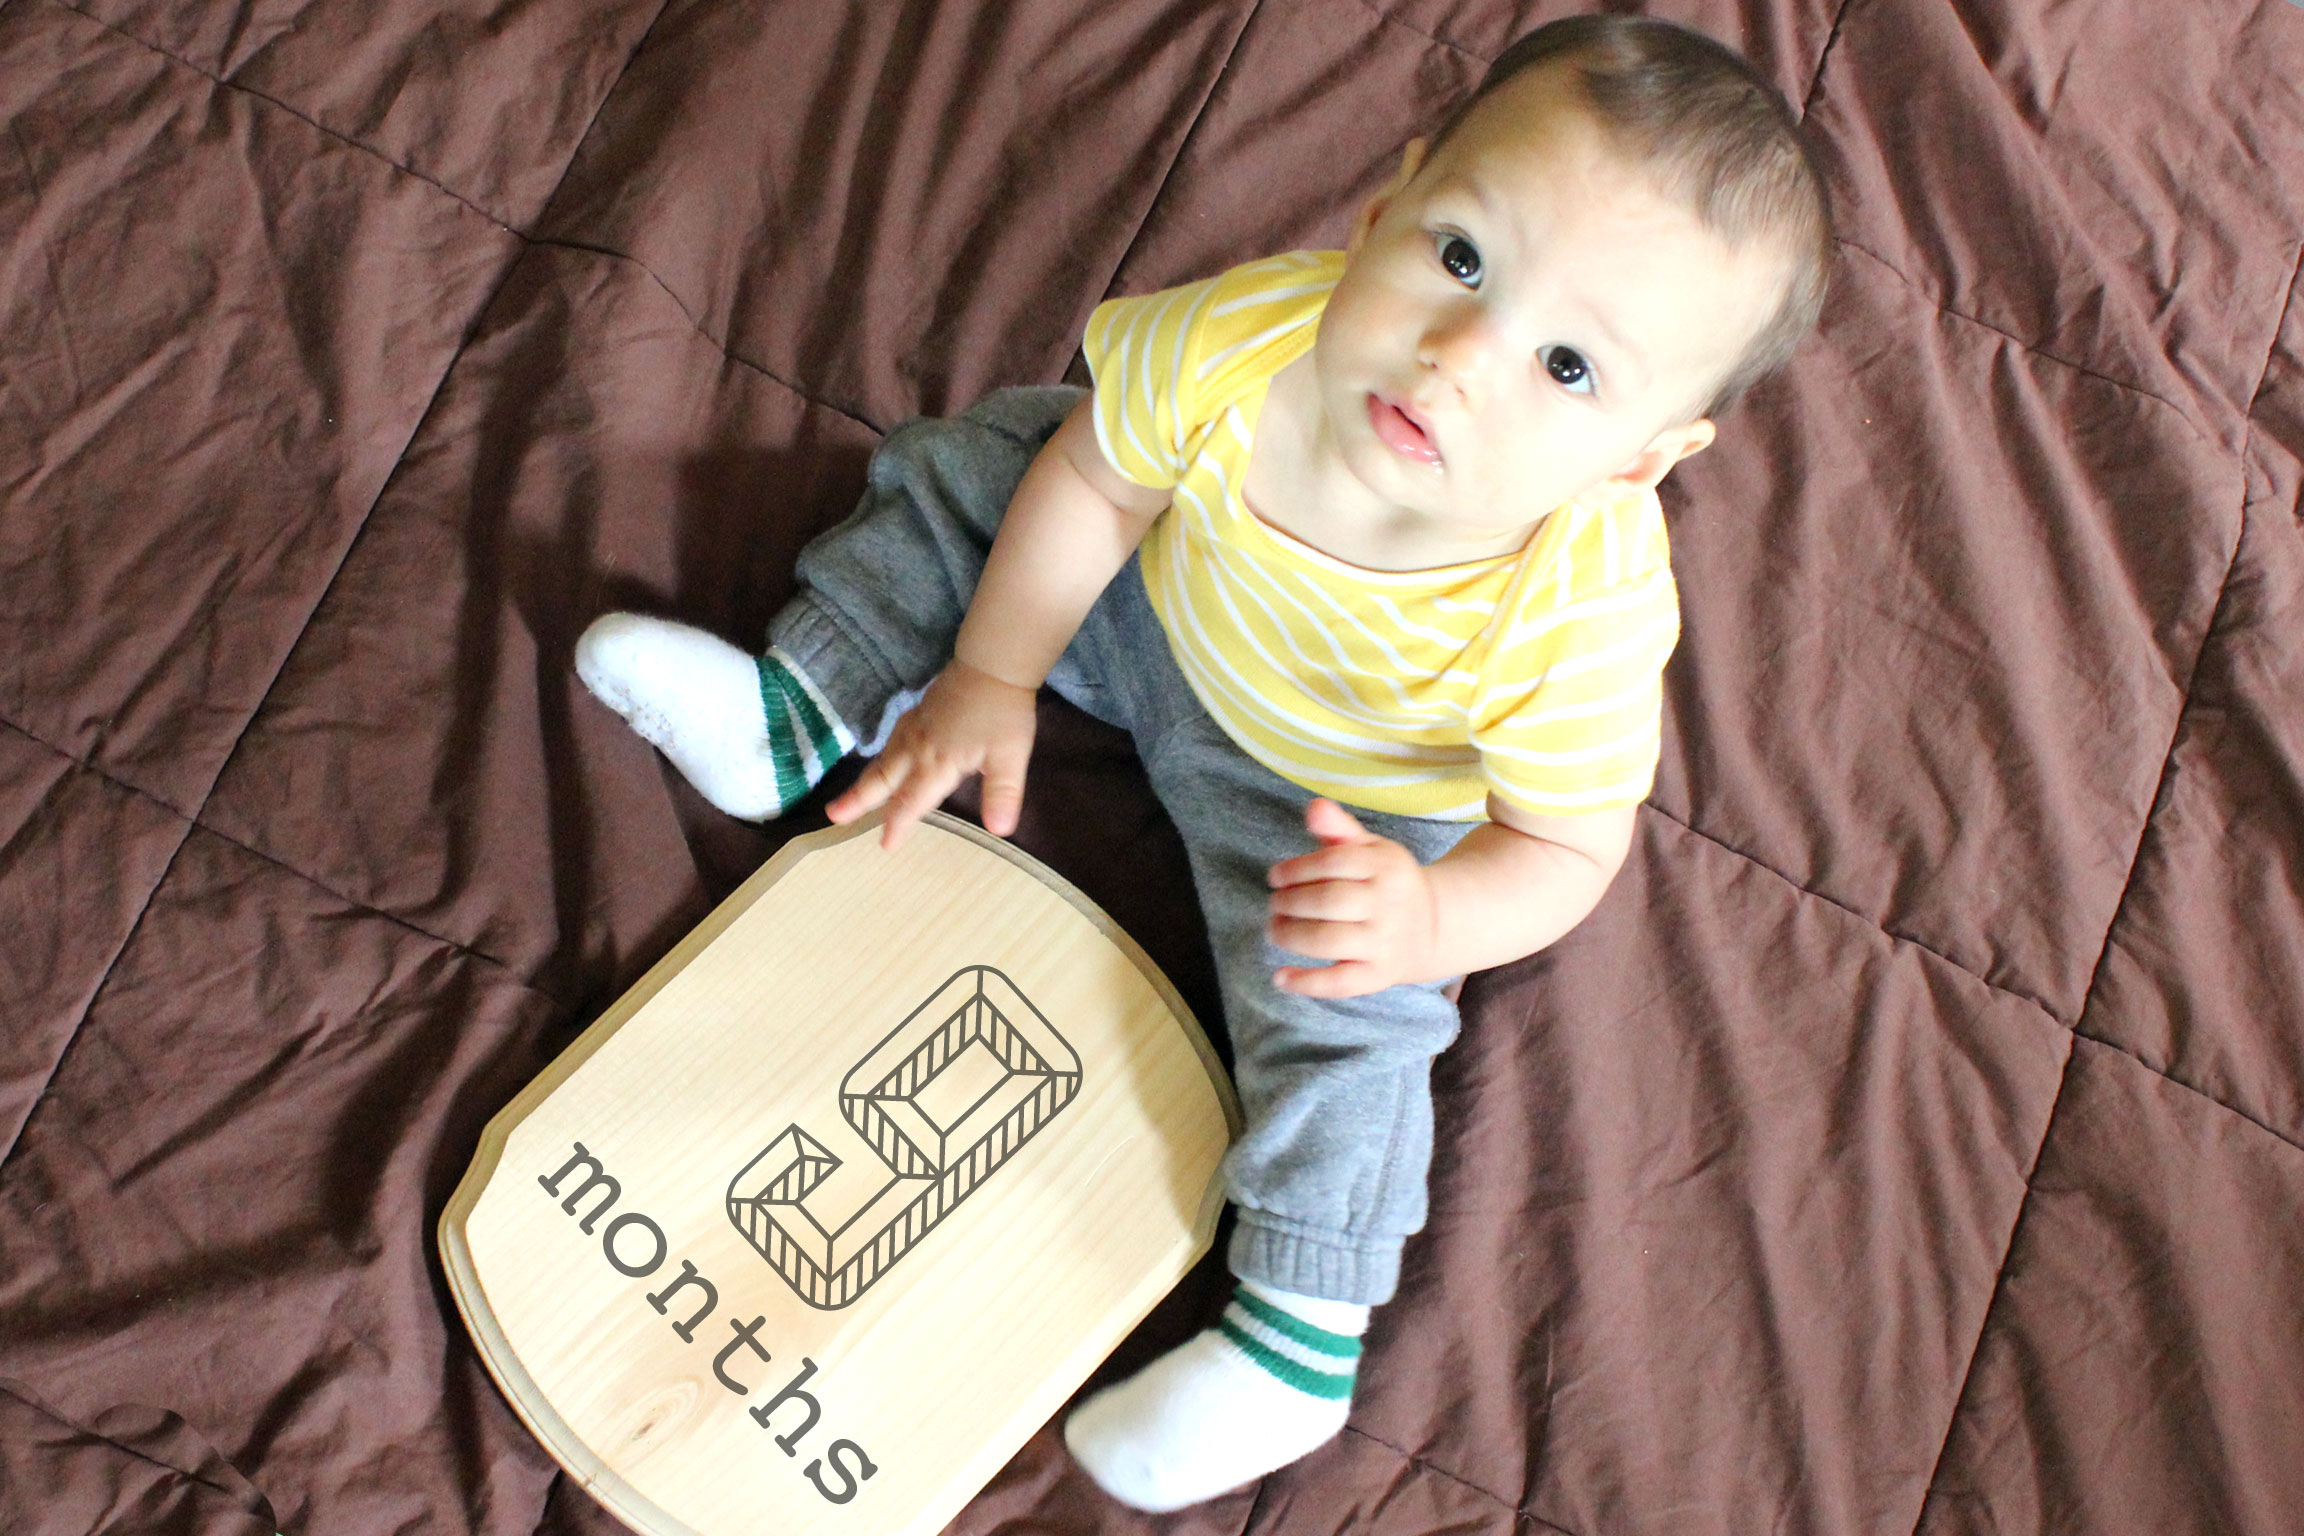
Berkeley has officially turned a year old, so let’s go back and review his 11th month. Firstly, I’m stunned I made it this far without having a nervous breakdown (ok, maybe I had a few).
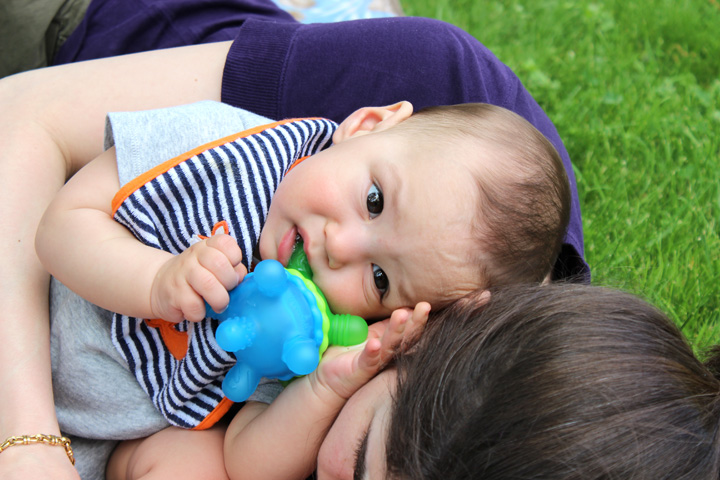
Berkeley is a healthy, happy, and (if i might say) ADORABLE little boy. He’s always smiling and never cries (knock on wood). He’s gotten a little cranky when he’s teething, but it’s more like whining and usually when he’s also tired. Speaking of which, he got one more tooth this month, although it did a weird disappearing act for a bit before it finally came back- giving him 4 on top and 3 on bottom. He looks so cute when he smiles!

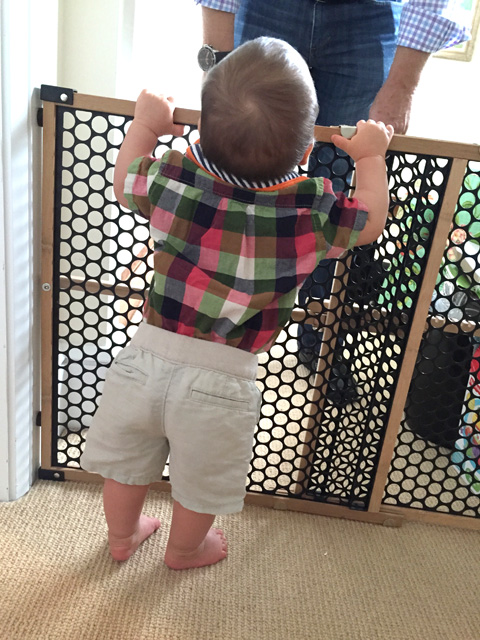
The BIG development this month was learning to walk!!! It started with standing on his own for long periods of time, then regularly taking a step or two. He worked his way up to 5-6 steps and then one day just walked across the room…and he hasn’t stopped moving since ;) I’d say the offical walking-across-a-room-without-falling happened about a week before he turned 1 yr old.
Other physical developments include climbing onto the couch and the ottoman in his room. He also, thankfully, has somewhat learned how to get back down without faceplanting.

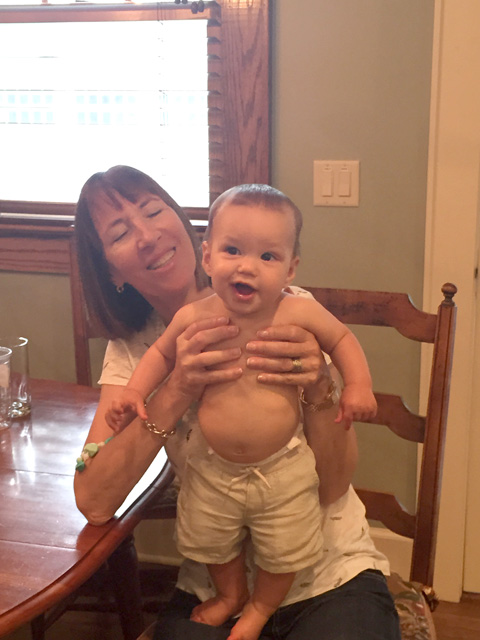
He has finally learned to clap his hands when we clap, but it’s more just the motion of bringing his hands together. He hasn’t quite figured out how to make a sound. When we say “how big is Berkeley?” he raises his hands into the “so big!!” motion. Nate’s mom taught him this :)
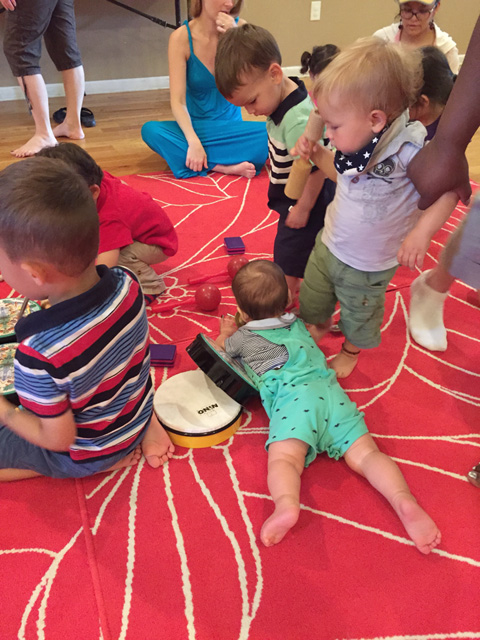
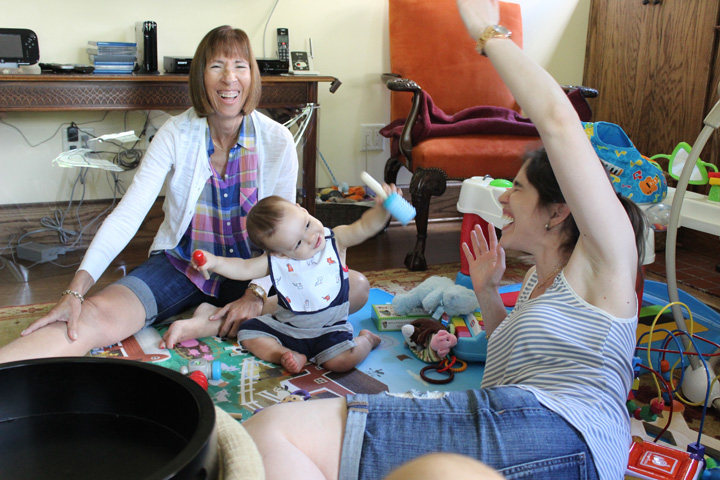
We got him some musical instruments since he loves music class so much, and after he’s finished clapping them together, he also raises his hands in the air. It’s kind of like you’d do after finishing a drum solo. Anyway, as you can see from the picture below, my mom and I found this new development absolutely hysterical.
We’re teaching him bits of sign language and he can say “more” and “eat.” He won’t use the words on his own but will repeat them if i ask him if he wants “more?” etc.
He has become very generous and will now sometimes offer me his food while he’s eating. How very sweet of him, even if it is being held by a slimy little hand. Sometimes when he’s eating, he will now make this super cheesy squinty-eyed grin face. I think he’s immitating Nate’s funny faces…or is doing a fake smile? Whatever it is, it’s pretty darn cute.
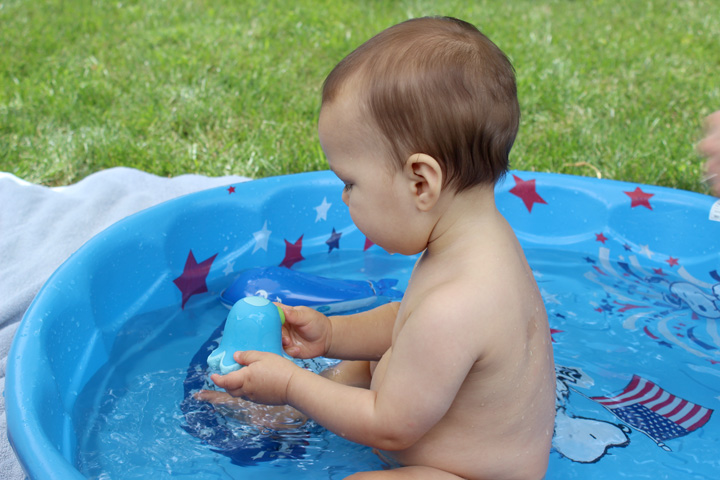
Speaking of eating, we finally introduced dairy. He has been on a dairy/soy-free formula called Elecare ever since his fussiness and reflux when he was 3-4 months old. His GI doc said to try out dairy and see how he does. He seems to be ok with it, and loves yogurt and cheese. I started just giving him one serving every few days but worked up to several days in a row and I don’t see any ill effects. We did, however, try to wean him from pepcid before trying the dairy and he was still showing symptoms of reflux, so we’re back on it.
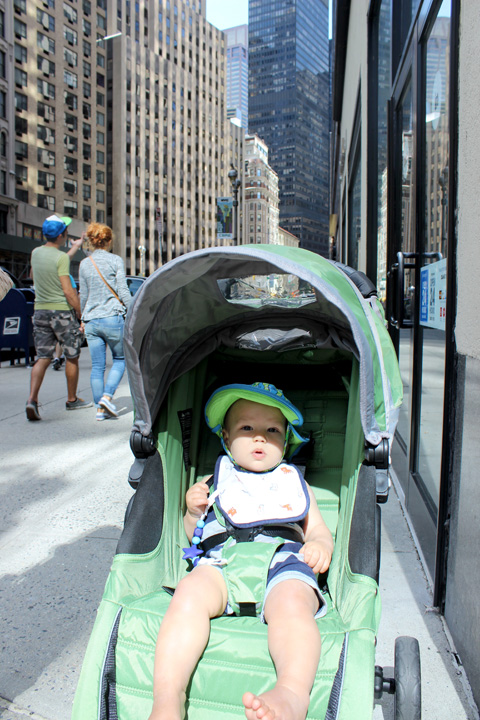
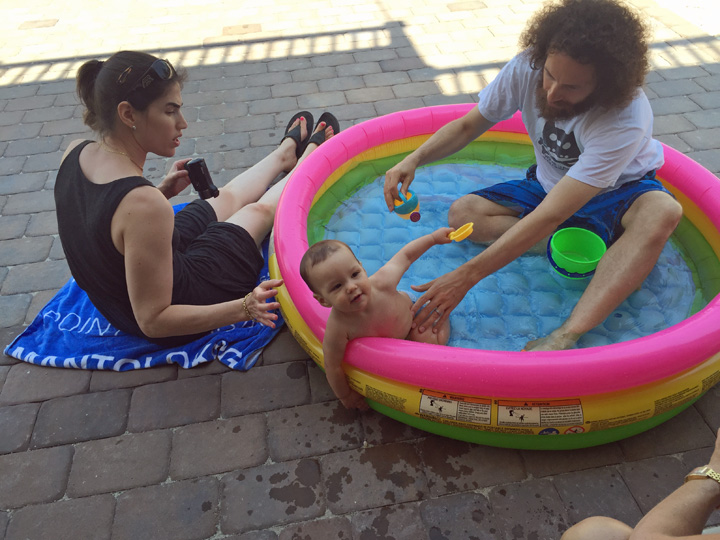
We ventured on our first longish daytrip with him. We hadn’t done it before because he’s horrible at napping on the go. Anyway, since we moved from the city to the ‘burbs, Nate has really missed Manhattan…particularly Central Park.

He really wanted Berkeley to get to experience Central Park with us, so we took him in and we had a picnic. We decided to go in the morning to avoid traffic and the trip only took about 40 min door to door.
 We had a really nice time and couldn’t have gotten a more gorgeous day. Too bad Berkeley finally fell asleep 10 min from home so we drove to Whole Foods where I procedded to lap the parking lot about 50 times while Nate and his mom did some shopping.

His naps have been mostly better, though they vary if he’s experiencing teething pain. He seems to take a good morning nap and then will occasionally boycot his second nap. He’s also been taking a really long time to fall asleep at his second nap and bedtime so I got back in touch with the sleep consultant right towards the end of his 11th month. She recommended having two set nap times (8am and 12:30pm) and then make bedtime 4 hrs from when he wakes from his second nap. We also have to wake him by 9:30 from his first nap. Before this, nap times were based on wake time and on top of being slightly different every day (hard to plan things!), he also was being put down too early since he’s able to stay awake longer than when I started his sleep training 4 months ago. This has been working much better…and has the added bonus that I now occasionally get to put him to bed!!! :)
He’s definitely more aware of himself and understands more. We used to play peekaboo where he’d laugh when i did it, but now he’ll hide his own face to play. He thinks it’s hysterical. He dances a little when music comes on and I’m hoping he doesn’t inherit my dance moves. He doesn’t like strangers much, particularly men. He’ll stare at them and if they try to talk to him, he’ll start quivering his lip.

Stats: 21 lb 3 oz, Size 3 Pampers Swaddlers diapers (Size 3 Huggies Overnite with a booster pad for nighttime)
Teeth: 4 on top and 3 on bottom.
Likes:
Taking steps, clapping hands, climbing on anything he can reach, opening and closing drawers (and hiding things in them), yogurt, cheese
Dislikes:
Same as last month (Teething, being in his car seat too long, not being allowed to do something he wants), strangers, being away from mom
Schedule:
between 5-6 am: wake up. I don’t go get him until 6am though.
6:15 am: 6 oz bottle of formula followed by baby oatmeal (made with half prune juice/water) and some fruit pieces
8 am: 1 hr-1.5 hr nap
9:30 am: wake up (if still sleeping) and 6 oz bottle of formula
12:00: lunch (usually some protein, some fat, some veggies/carbs/fruit)
12:30: 1 hr-1.5 hr nap. He has boycotted this several times due to teething i think.
1:30-2:15ish (when he wakes): 6 oz bottle of formula
3-4:30ish- more solids (technically his dinner since he goes to bed so early). I usually make this 1.5 hrs before his bedtime bottle.
Bathtime
4:30-5:30ish (1/2 hr before bedtime): 7 oz bottle of formula
5-6:30ish (4 hrs after waking from second nap): bedtime! He’s had a 6-6:15ish bedtime several times and if I rush home I can see him for a bit. He’s always SO surprised and happy to see me :)


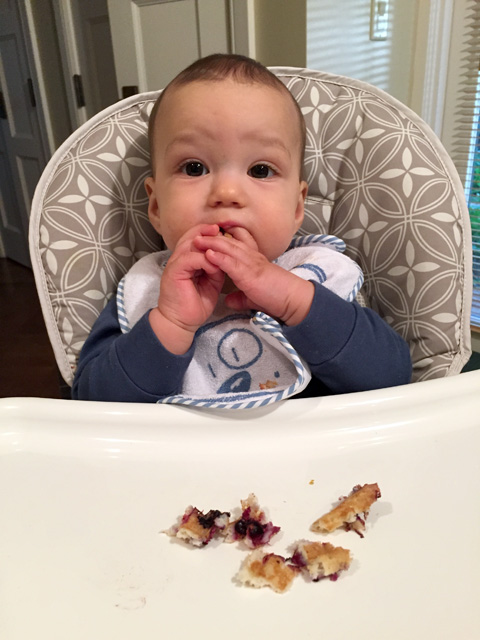
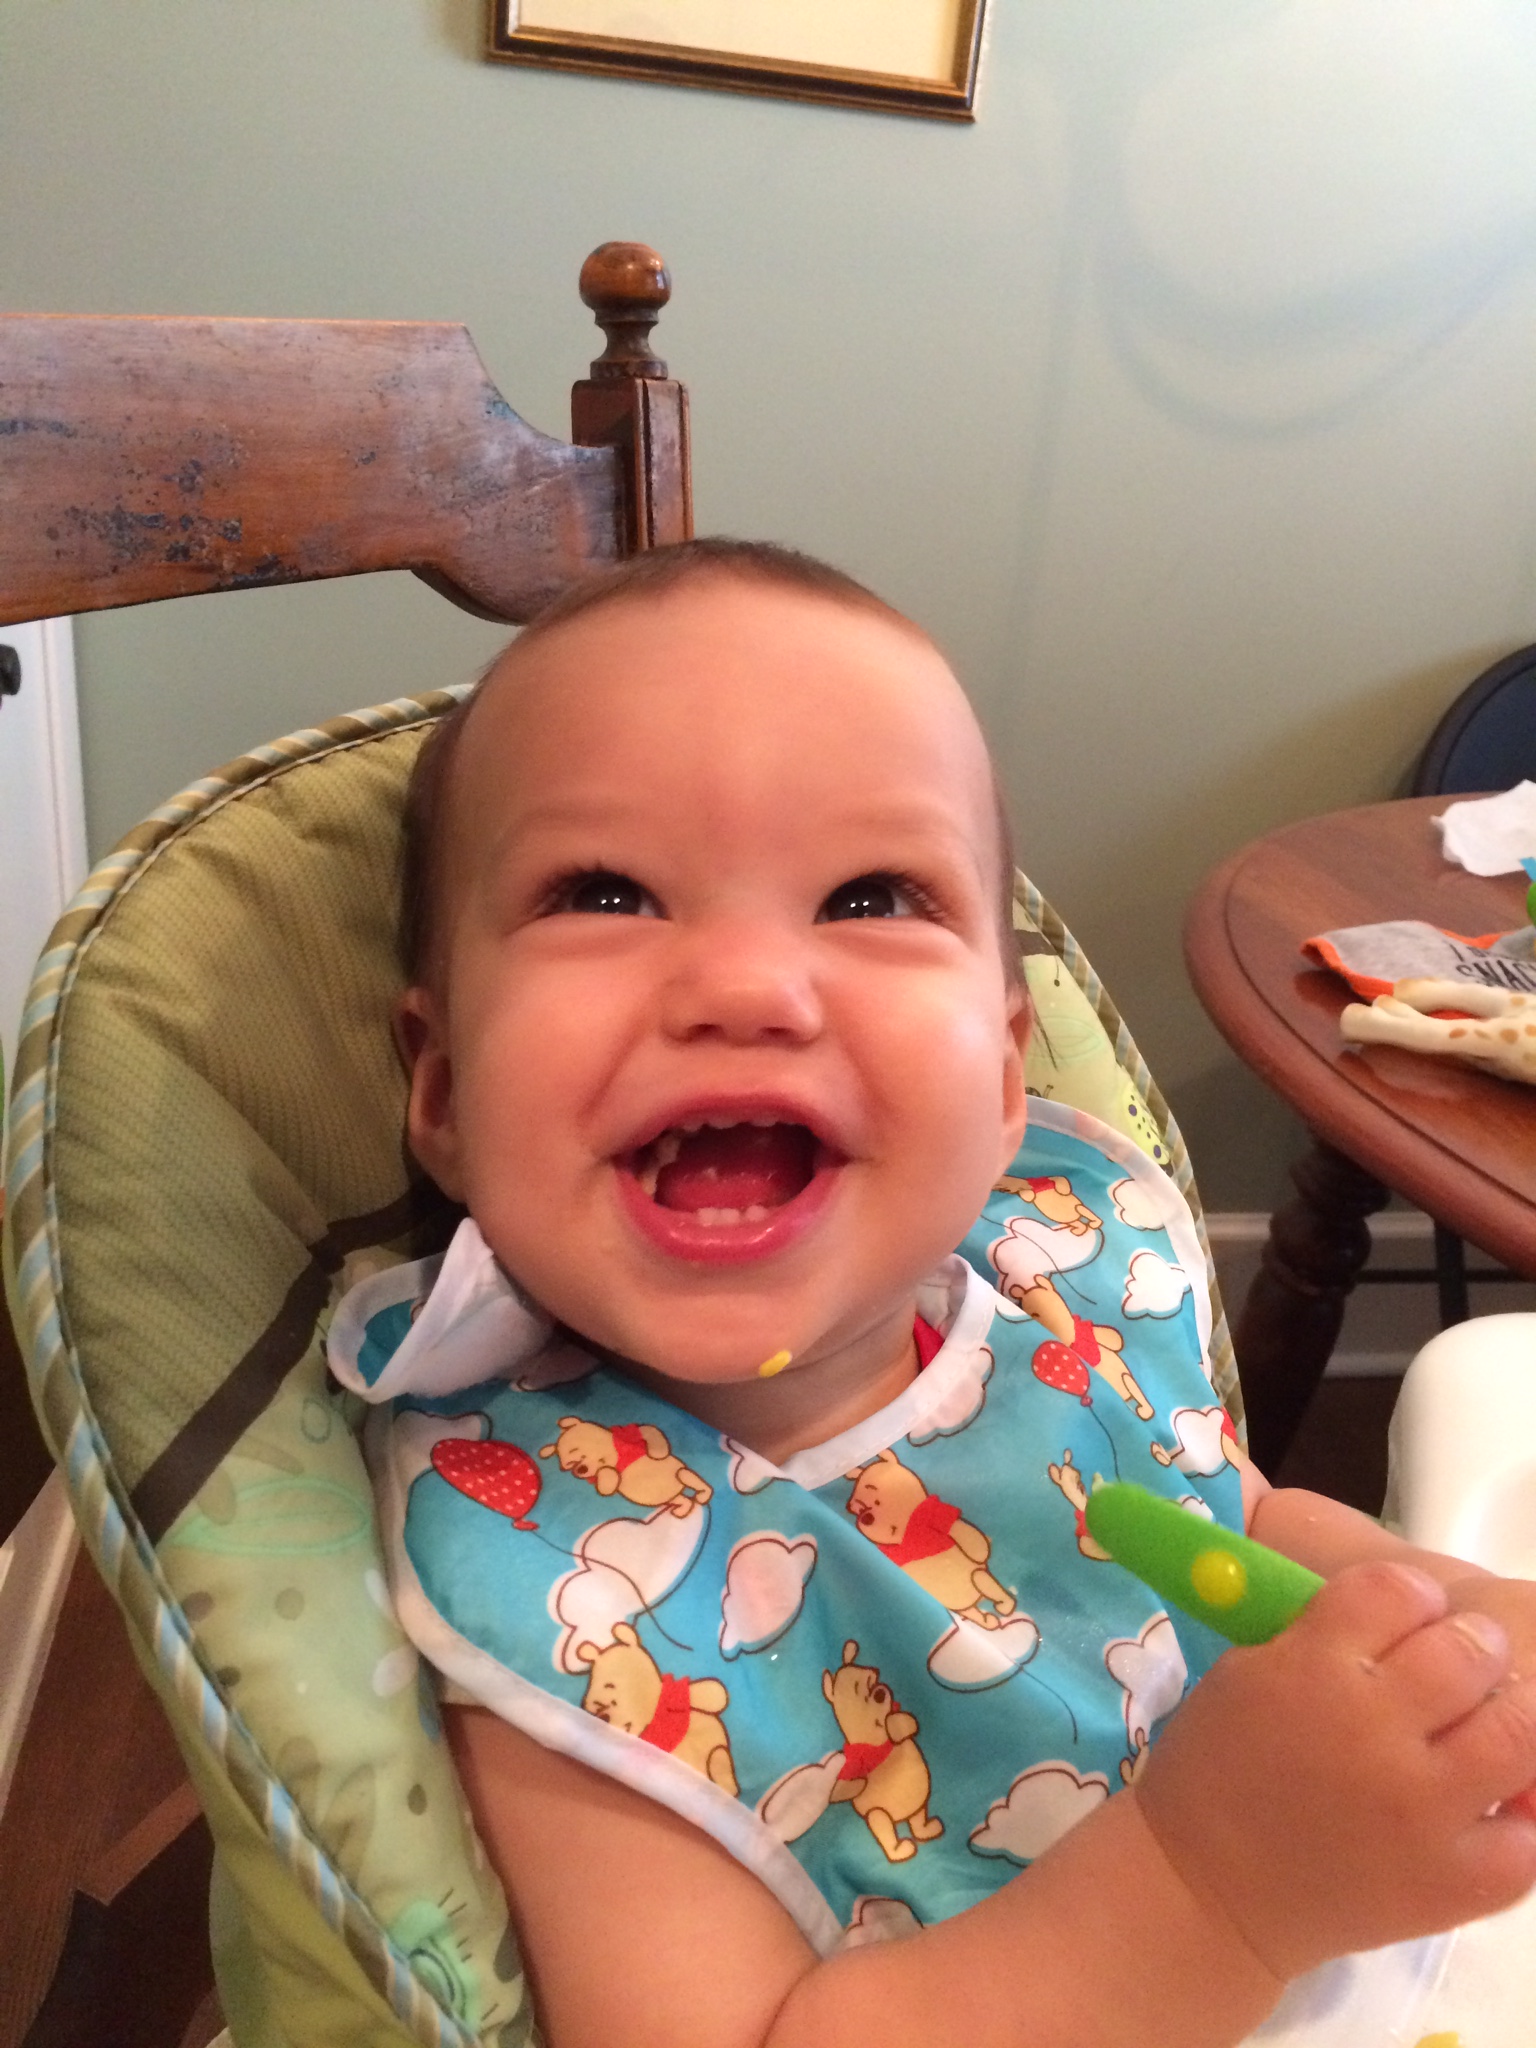
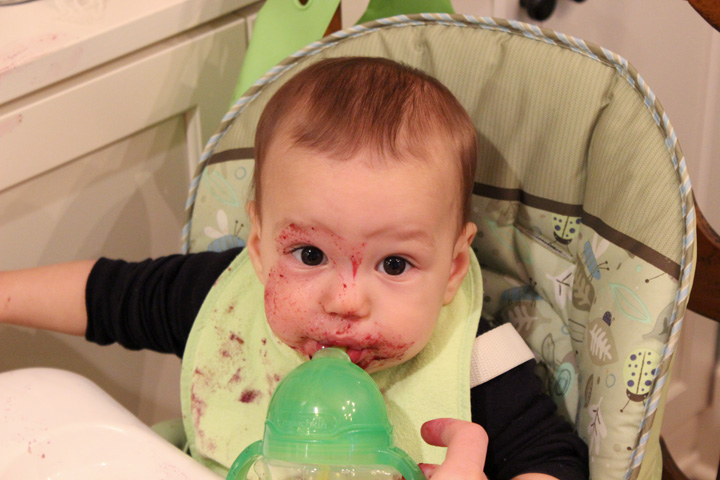 Blueberry face- what happens when babies feed themselves[/caption]