I hope that everyone who celebrates had a wonderful Thanksgiving! My family had Thanksgiving in Manhattan this year, for the first time ever.
This is the last year that Nate and I will be living in NYC, and the first that we were actually here on Thanksgiving, so my parents, brother, Nate and I decided to go to my office to check out the Macy’s Thanksgiving Day Parade.
[caption id="attachment_4986" align="aligncenter" width="432"]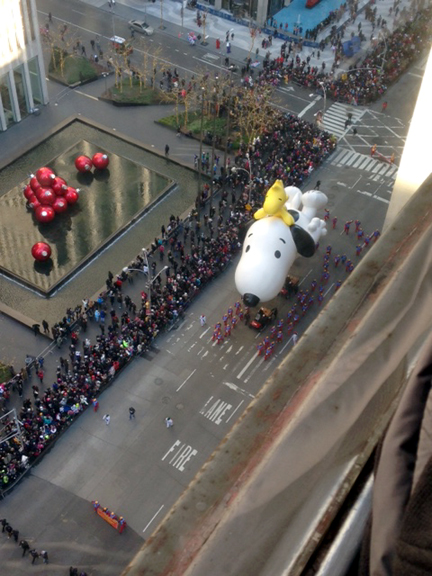 Snoopy![/caption]
It was a pretty awesome view since my building is right on the parade route. The only problem was that the balloons were kept low to the ground this year because they were worried about the wind, and the floor we were on was pretty high above them. It was still closer than I’ve ever been to the parade though!
We took a nice family photo on Thanksgiving but I think my mom is using it for her holiday card, so you’ll have to settle for this pic of just me and Nate. I think I dressed for the wrong holiday :)
[caption id="attachment_4987" align="aligncenter" width="720"] Yes, I’m really that pale…[/caption]
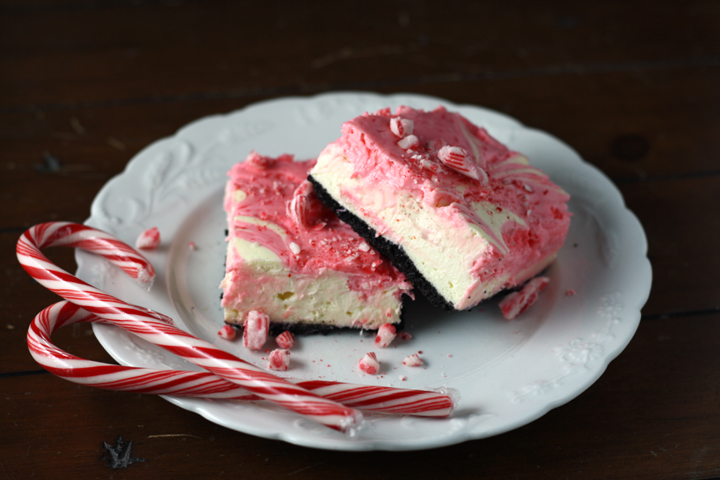
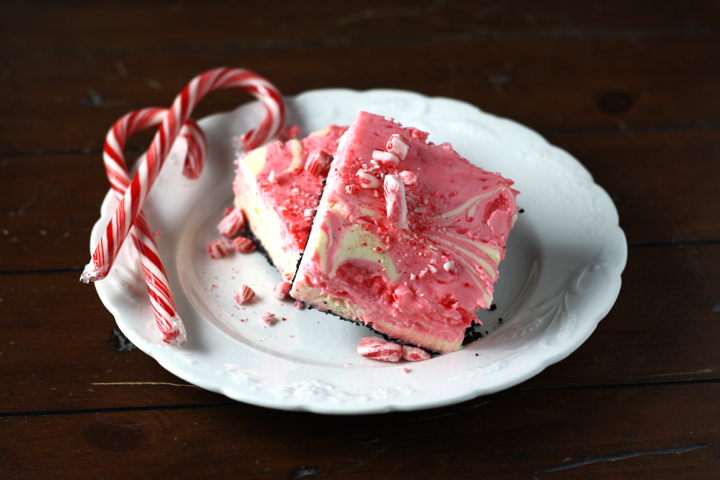
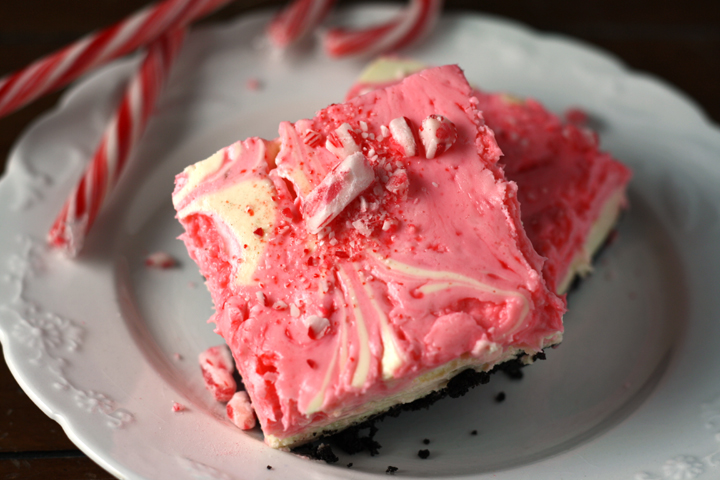
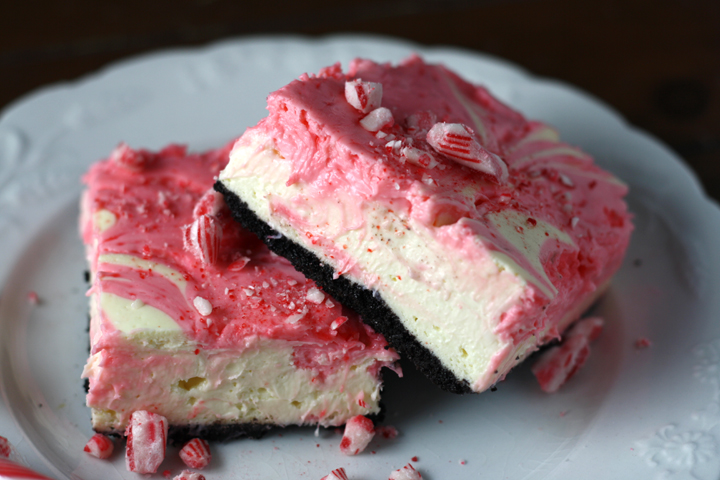
Actually, I think my outfit is kind of appropriate for this post, since it matches this dessert I’m sharing with you. I don’t know why but I just got this idea of peppermint white chocolate cheesecake bars in my head and couldn’t get it out. I had visions of these swirly pink and white bars perfect for a holiday dessert.
These definitely need to be refrigerated overnight if you like them to firm up a bit, but they’re more on the softer side of cheesecake bars- this is according to Nate who likes cold, dry, hard food. If you leave the candy cane bits out of the batter and just sprinkle them on top, they should firm up a little more, but I thought they were perfect!
Oh, and for another house update, since you guys seem to love that so much :) :
The contractor had told me at the beginning of last week that he was pretty much done with demolition and would start framing by Friday. On Wednesday he texted me, saying his guys had removed the ceiling in the basement and found some asbestos underneath that had been overlooked when they did the asbestos removal back in August…UGH!
He told me that he called up the company that I had used for the removal before and they said it was ok for him to work, but he thought it would be best to wait til Monday when the asbestos guy would meet him at the house to check it out. Because of Thanksgiving, that only meant one day of work (Friday) would be wasted.
So Monday, my contractor had a smaller than normal crew there working and the asbestos guy came to assess the situation and gave me a quote for removing it ( $$ :( ), but the good news is that he can do it this Thursday and that the contractor can continue to work in the meantime.
But the exciting part is that I took my family over to the house on Friday since my brother had never seen it, and when I opened the door, I was SO surprised. There are NO WALLS in my house at all! Like completely gone…all that’s there are the studs. I had NO idea they were going to remove every single wall!! It was so crazy to see the house that way and I’m sorry I don’t have a pic, but it was getting dark out. I should be able to take one before they put up the drywall I think.
Anyway, I’m so psyched :) It totally made this project feel like it’s really happening!
Oh yeah, and on Friday morning my mom came with me and Nate to the bath store and we managed to pick out pretty much all of our faucets, sinks, toilets and a bath vanity. Still a few more things to decide but good progress. Thank you, Mom!!!