I’m always up for a challenge. I thrive on trying something I’ve never done before and seeing how good I can be. When the challenge involves taking a risk with large, potentially negative, consequences, I’m obviously not as likely to partake. But when it’s all in good fun, you can count me in!
Which brings me to today’s blog post. I feel like there are so many things I haven’t attempted to make in the kitchen. I’d be much more likely to make some of them if I had a larger working space, but regardless I definitely find myself sticking with what I know. And whenever I ask someone (ahem, Nate!) for suggestions to try something new, I always get boring request like chocolate chip cookies and scones.

It’s for this reason that I decided to become a member of a website known as The Daring Kitchen. What began as two bloggers trying to challenge themselves to bake pretzels for the very first time using the same recipe, eventually catapulted into a huge blogging experience. Each month members are told the “secret” recipe they must each make and blog about exactly 27 days later.
I was a bit scared of what they could throw at me, but I was pretty confident I could handle anything that came my way. I took a look at some of the past recipes: Maple Mousse served in an Edible Container, Yeasted Meringue Coffee Cake, Panna Cotta and Florentine Cookies…nothing, I thought, that seemed too complex or time-consuming.

Little did I know that the first challenge for the month I decided to join was something so complicated! It figures, right?
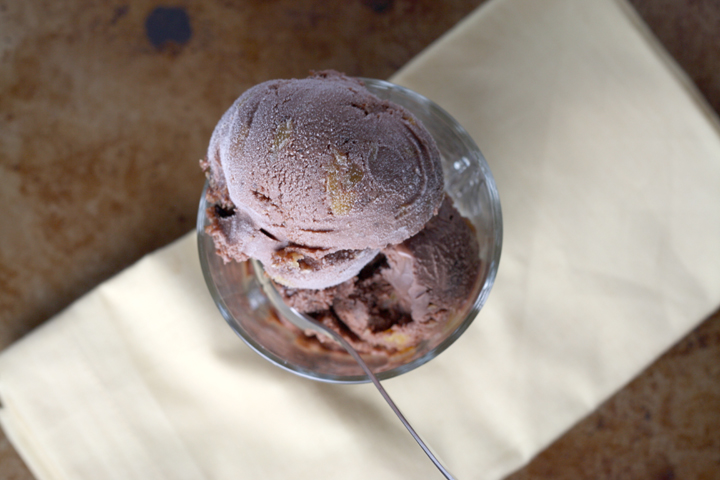
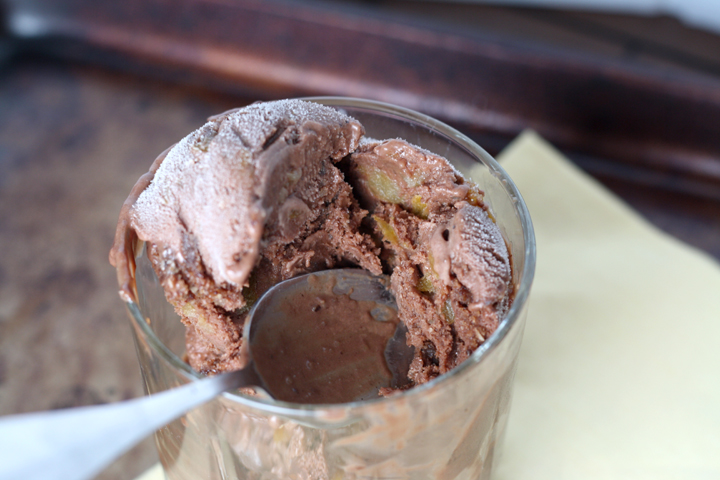
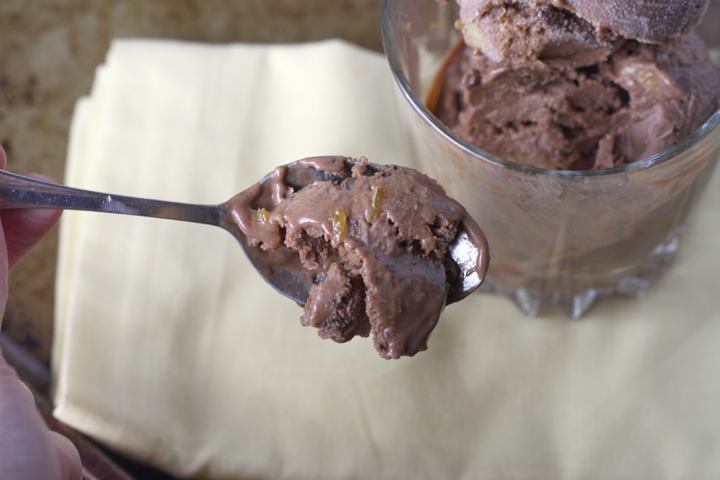
I’m not sure if I did it all exactly as I was supposed to, but the results were amazing. Unless you’re as daring as I was in the kitchen, you probably won’t be making this dessert anytime soon, but as least you can enjoy the photos and picture me dripping sweat rushing to get all the pieces of this masterpiece together before it deflated, melted, or otherwise got destroyed.

Now comes the reveal: The May 2011 Daring Bakers’ challenge was hosted by Emma of CookCraftGrow and Jenny of Purple House Dirt. They chose to challenge everyone to make a Chocolate Marquise. The inspiration for this recipe comes from a dessert they prepared at a restaurant in Seattle.
For further clarification, imagine “a cube of…creamy chocolate resting on a tuft of something that tastes like burnt marshmallow cream…”

The members were able to put their spin on any flavor additions to the chocolate, meringue or accompanying sauce. The one Emma and Jenny gave the recipe for had a tequila caramel and spiced nut addition, along with some pepper added to the chocolate. I, however, wanted something to cut the sweetness of the chocolate, so I made a Grand Marnier Cardamom Orange sauce and decorated with mandarin orange slices. I also added a tad of Grand Marnier to both the Chocolate Marquise and to the meringue, but I’m not sure if you could even taste it.
I brought this over to my friends’ apartment as a belated birthday celebration and it got two thumbs up. If anything, it was too rich and none of us could finish our whole servings (except the little pig named Amy), but wished we could. If you ever want to spend 8 hours prep to seriously impress your mom, dad, date, fiancé, cat, imaginary friend…then by all means give this recipe a shot!

*Note: All photos were taken with haste so as not to let the magnificent dessert melt before being tasted!
Chocolate Marquise
Servings: Nine- 2.5×2.5″ cubes
6 large egg yolks at room temperature
2 large eggs
1/3 cup (75 grams/ 2⅔ oz) sugar
2 tablespoons + 2 teaspoons (1⅓ fluid oz/ 40 ml.) water
Chocolate Base, barely warm (recipe follows)
1 cup (8 fluid oz./ 250 ml.) heavy cream
1 cup Dutch process cocoa powder (for rolling) (Note: Make sure it’s a Dutch processed cocoa, not a natural cocoa powder.)
Torched meringue (recipe follows)
Orange Cardamom Sauce (recipe follows)
Mandarin orange segments, canned (optional)
In the bowl of a stand mixer, combine the egg yolks and whole eggs. Whip on high speed until very thick and pale, about 10 – 15 minutes.
When the eggs are getting close to finishing, make a sugar syrup by combining the sugar and water in a small saucepan. Bring the syrup to a boil and then cook to softball stage (235F/115C). If you have a cake tester with a metal loop for a handle, the right stage for the syrup is reached when you can blow a bubble through the loop (as seen in the following pictures).
With the mixer running on low speed, drizzle the sugar syrup into the fluffy eggs, trying to hit that magic spot between the mixing bowl and the whisk.
When all of the syrup has been added (do it fairly quickly), turn the mixer back on high and whip until the bowl is cool to the touch. This will take at least 10 minutes.
In a separate mixing bowl, whip the heavy cream to soft peaks. Set aside.
When the egg mixture has cooled, add the chocolate base to the egg mixture and whisk to combine. Try to get it as consistent as possible without losing all of the air you’ve whipped into the eggs. We used the stand mixer for this, and it took about 1 minute.
Fold 1/3 of the reserved whipped cream into the chocolate mixture to loosen it, and then fold in the remaining whipped cream.
Pour into the prepared pans and cover with plastic wrap (directly touching the mixture so it doesn’t allow in any air).
Freeze until very firm, at least 2 – 4 hours (preferably 6 – 8 hours).
When you’re ready to plate, remove the marquise from the freezer at least 15 minutes before serving. While it’s still hard, remove it from the pan by pulling on the parchment ‘handles’ or by flipping it over onto another piece of parchment.
Cut it into cubes and roll the cubes in cocoa powder. These will start to melt almost immediately, so don’t do this step until all of your other plating components (meringue, sauce, orange segments) are ready. The cubes need to sit in the fridge to slowly thaw so plating components can be done during that time. They don’t need to be ready before the cubes are rolled in the cocoa powder.
Plate with the torched meringue and drizzled orange sauce, and toss orange segments around for garnish. You want to handle the cubes as little as possible because they get messy quickly and are difficult to move. However, you want to wait to serve them until they’ve softened completely.
Chocolate Base
Not meant to be used on its own, only as part of the Chocolate Marquise.
6 oz (170 grams/ ¾ cups) bittersweet chocolate (about 70% cocoa)
¾ cups (180 ml/6 fluid oz.) heavy cream
1/4 teaspoon salt
1/4 teaspoon dried ginger
1/8 cup (30 ml/ 1 fluid oz.) Grand Marnier
1/8 cup (30 ml/ 1 fluid oz.) light corn syrup
1/2 teaspoon vanilla
1/8 cup (2 tablespoons/less than 1/2 ounce) cocoa powder (must be Dutch-processed cocoa, do not substitute natural cocoa powder.)
1/2 oz unsalted butter (1 tablespoon/15 grams), softened
Place the chocolate in a small mixing bowl.
In a double-boiler, warm the cream until it is hot to the touch (but is not boiling). Remove from the heat and pour over the chocolate.
Allow it to sit for a minute or two before stirring. Stir until the chocolate is melted completely and is smooth throughout.
Add the remaining ingredients and stir to combine.
Set aside until cooled to room temperature. Do not refrigerate, as the base needs to be soft when added to the marquise mixture. If you make it the day before, you may need to warm it slightly. Whisk it until it is smooth again before using it in the marquise recipe.
Torched Meringue
Servings: Makes about 2 – 2½ cups of meringue. If you aren’t planning on serving *all* of the marquise at once, you might want to scale this recipe back a bit. Excess can be frozen.
6 large egg whites
¾ cup + 2 tablespoons (210 ml) (7 oz or 200 gms) sugar
Splash of apple cider vinegar
1/4 teaspoon Grand Marnier
Combine the egg whites, sugar and vinegar in the bowl of a stand mixer. Using your (clean, washed) hand, reach in the bowl and stir the three together, making sure the sugar is moistened evenly by the egg whites and they make a homogeneous liquid.
Over a saucepan of simmering water, warm the egg white mixture. Use one hand to stir the mixture continuously, feeling for grains of sugar in the egg whites. As the liquid heats up, the sugar will slowly dissolve and the egg whites will thicken. This step is complete when you don’t feel any more sugar crystals in the liquid and it is uniformly warm, nearly hot.
Remove the mixing bowl from the saucepan and return it to the stand mixer with the whisk attachment. Whisk until you reach soft peaks. In the last 10 seconds of mixing, add the Grand Marnier to the meringue and mix thoroughly.
When you’re ready to plate the dessert, spoon the meringue onto a plate (or use a piping bag) and use a blowtorch to broil. If you don’t have a blowtorch, spoon the meringue into piles on a baking sheet and broil until tops are toasted. Remove carefully with a spatula to plate.
Orange Cardamom Sauce
Yield: 1/2 to 2/3 cup sauce
1 cup fresh orange juice (from 2 or 3 fresh oranges)
zest from 1 orange
6 tablespoons sugar
Seeds from 4 Cardamom pods
1 Tbsp Grand Marnier
1.5 tablespoon butter
Mix the orange juice, zest, sugar and cardamom seeds in a small saucepan.
Simmer the juice mixture over medium heat, stirring occasionally, for about 25 minutes, until a thick, syrupy sauce has formed. (At this point you should still be able to pour the sauce, but if you like, continue reducing the sauce to make it even thicker)
When the sauce is a consistency you like, stir in the butter and simmer the sauce for another 2 or 3 minutes.
Remove from the heat and leave to cool. Serve the orange sauce chilled, at room temperature or warm.
*Beware: It’s so good you’ll want to eat it with a spoon!