I’ll be back with a recipe soon, but today it’s Pinterest Challenge Time!

Two of my favorite DIY blogs do something every season called the Pinterest Challenge. The goal of this challege, is to make one thing each season that’s inspired by all the gorgeous stuff that we’ve pinned on Pinterest! It keeps us from continually pinning things and never doing anything about them.

This month, the challenge is hosted by: SherryKatie, Emily and Renee.

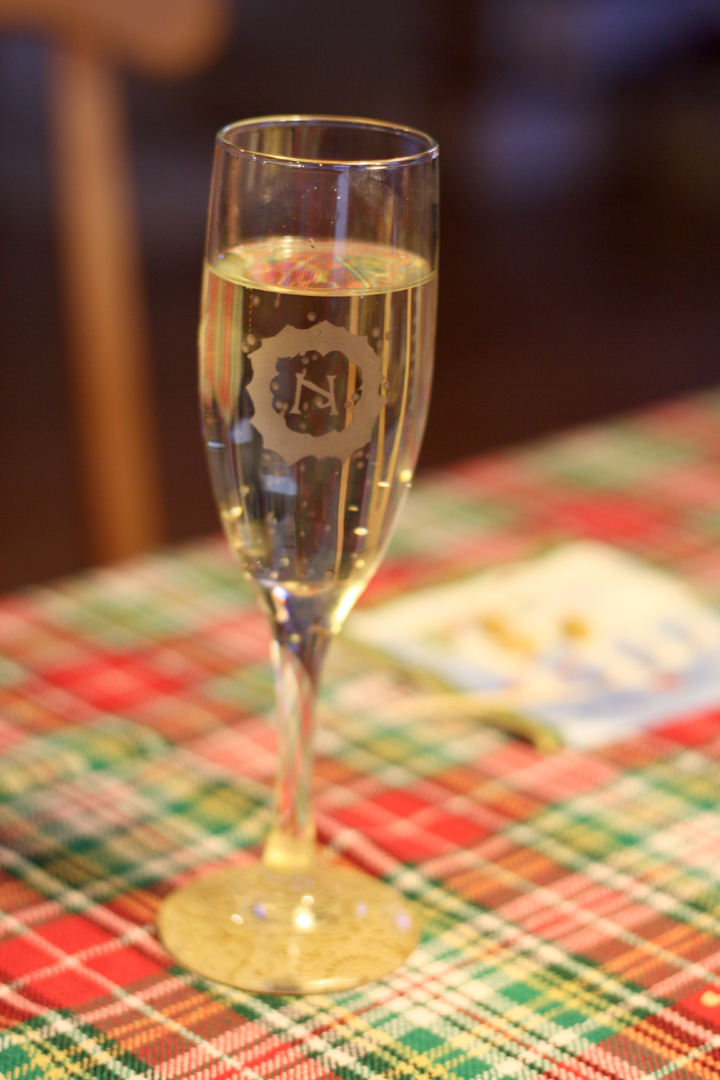
Because I just can’t wait to share with you til the end of the post, here is my finished, custom-initialed champagne glasses!

Custom Etched Champagne Glass ~ ElephantEats.com

You may remember I’ve participated in this challenge several times so far:

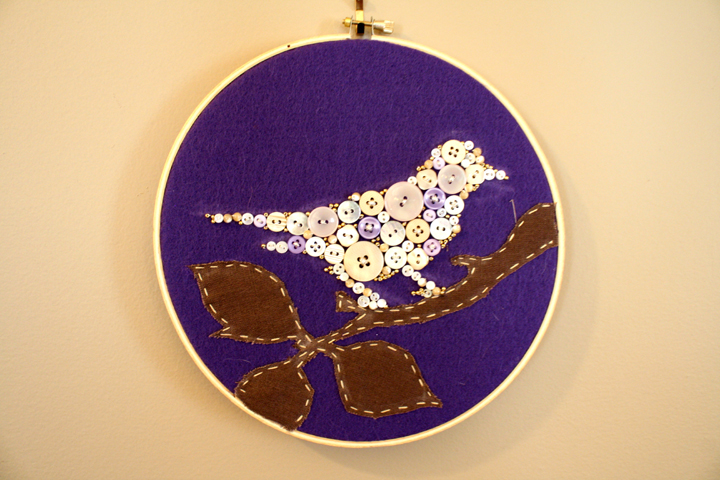
  • In the winter I made a lovely button bird for Nate’s mom’s Xmas present

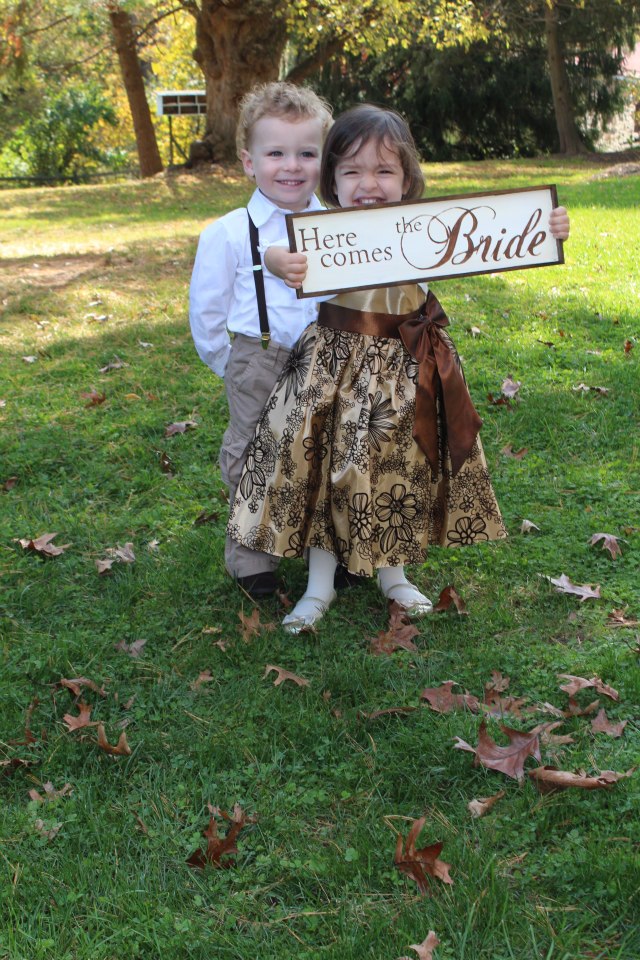
  • This fall I made a flower girl sign for my wedding :) – my favorite one to date

FlowerGirlSign

Although it’s been a while since I made this new project, it was part of my Christmas present to my mother-in-law again. That’s my favorite time to get crafty!

Every Christmas and New Years, Nate’s mom breaks out some champagne for us all to celebrate. I thought that it would be really nice if I made her some personalized champagne glasses, one for each of us with our first initial on it and a glitzy gold bottom.

I actually combined two different pins/ideas for this project.

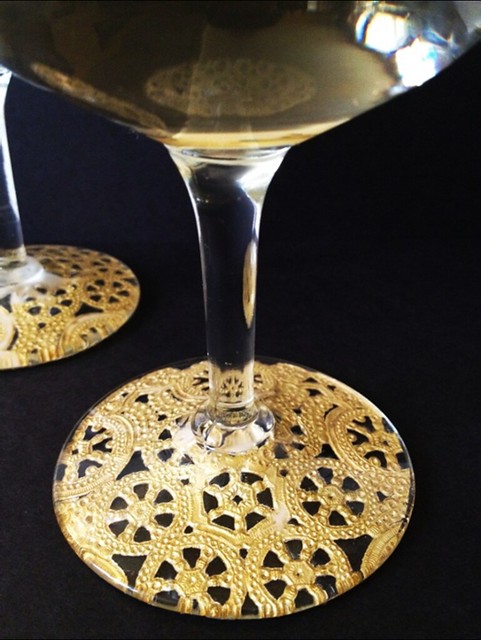
First I found this pin where someone added a gold doily to the bottom of a basic glass:

14 Gilded Lace Champagne Glasses

Second, I had seen a bunch of projects where people etched glass for various purposes, such as spice jars.

Spice jars

Ok, so the first thing I did was go to Target and buy two cases of the cheapest champagne glasses they had. They were $10 for 6 glass, I believe.

Then I searched far and wide for a gold doily, but I couldn’t find them anywhere, so instead I bought some gold patterned scrapbook paper.

This definitely wasn’t the best idea. The gold doily was much more delicate and could easily bend to the slight curve under the champage glass, but the paper was stiff. The paper was a lot harder to work with, but I managed.

First I traced the bottom of the glass onto the pretty paper:
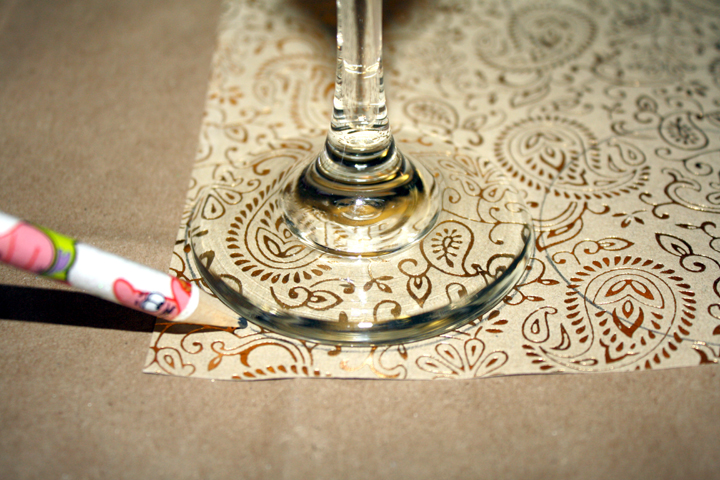
IMG_6847sm

and cut it out.

IMG_6850sm

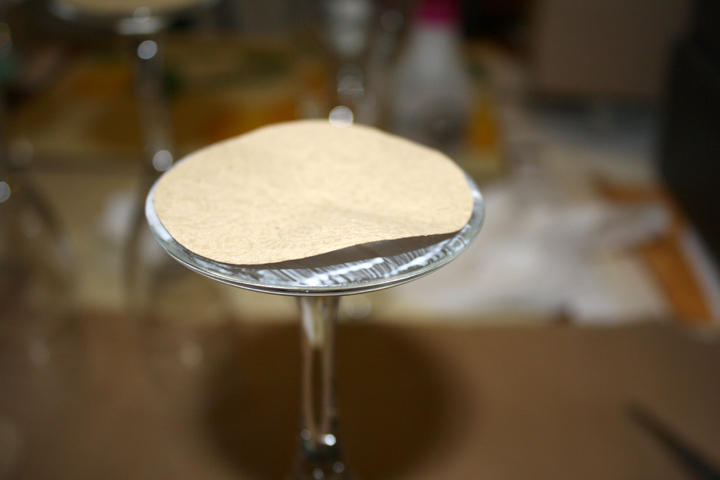
Next you put a layer of Modge Podge on the glass, put on the paper and smooth it out well.

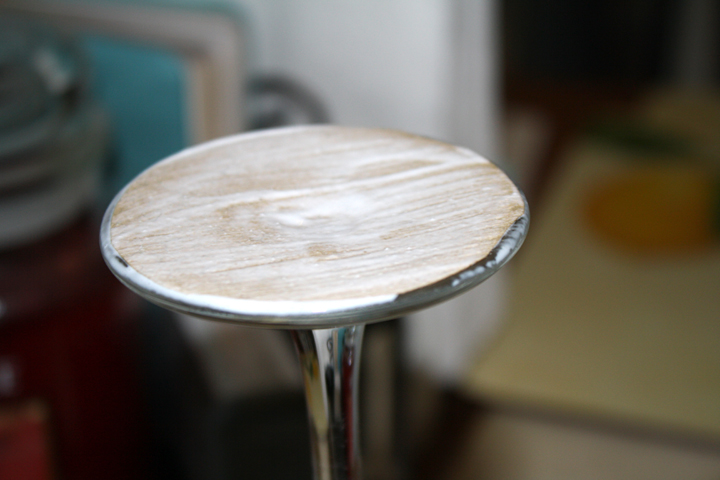
Then put another layer of Modge on top of the paper. I then let it dry and put another few layers of Modge on top (letting each dry in between), just to make sure it was fairly water-tight.

Obviously you’ll still have to handwash the glasses, but at least I wouldn’t worry if a little water got on the bottom now.

IMG_6851sm

For the etched initials, I could have taken the easy way out like my inspiration pin and found a stencil, but of course I had to be all complicated like the idiot I am. Truthfully, I just couldn’t find a stencil in the right font/size I had in mind.

I was looking up pretty fonts to use, but I had an idea in mind that I wanted the letter to be very gothic, kind of like this:

But the more I thought about it, I realized how hard it would be to cut those shapes out to make a stencil, so I searched a little more for a font I thought was sophisticated and kind of said “holiday.”

I eventually found this free font called the RM Wreath font on this awesome free font site.
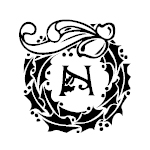
wreathNimage

Very festive, no?

So I followed the directions of another glass etch site- buy that contact shelf liner you buy at any hardward store that’s sticky on one side. *Make sure it’s the kind that’s sticky on one side! They do make one that’s not.

Then you print out the font you want at the right size and use an exacto knife to cut out the liner so the letter (or design) is empty space. This is the part that will get etched.

I had to simplify it a bit since I had to cut it out with an exacto knife. My mom suggested removing the bow since the first try with it didn’t look like a bow. I instead made a kind of abstract wreath.

IMG_7015sm

Basically after cutting it out, you stick it on the glass then follow the directions of the etching cream bottle. I used Martha Stewart’s brand since it was all I could find at Michaels, although it was probably more $ than it should have cost. You just put on a thick layer of cream, let it sit 15 minutes, then wash it off. Simple as that!

I had to do this in three parts- 1) wreath stencil then etch 2) letter stencil then etch 3) berries the etch

It was kind of a pain but in the end, all the etching went by fairly quickly and it was fun to wash off the etching cream and see the glass etched :)

And voila! the finished product:

Custom Etched Champagne Glass ~ ElephantEats.com

It’s hard to see the berries in and around the wreath because all you can see are the champagne bubbles, but I promise they’re there.

Custom Etched Champagne Glass ~ ElephantEats.com


It was a decent amount of work to do this, but only really took me a few evenings becauese of a lot of drying time and a low attention span ;)

I’m back from my honeymoon!…and just in time for a Pinterest Challenge!

I promise I’ll be back with honeymoon details and my regularly scheduled FOOD programming shortly….

Two of my favorite DIY blogs do something every season called a Pinterest Challenge. The goal of the Pinterest Challege, is to make one thing each season that’s inspired by all the gorgeous stuff that we’ve pinned on  Pinterest!

This month, the challenge is hosted by: SherryKatieCarmel, and Sarah

You may remember I participated in this challege last summer and made myself a jewelry holder! I also participated in the winter and made a lovely button bird for Nate’s mom’s Xmas present :)

This time around, I had been stockpiling projects from the wedding, which I will be sharing with you over the coming months. But the one I thought I’d share first is my “Here Comes the Bride” sign for our flower girl.

FlowerGirlSign

Before I go into to my inspirations for this project…HOW FREAKING CUTE ARE MY FLOWER GIRL AND RING BEARER?! Omg, I can’t stand it.

Anyway, I knew I wanted to do something different for my flower girl. I had seen these signs around the web and thought it was cuter, and cheaper than going with a basket that my florist was going to charge me for.

These were some ones I saw:

http://pinterest.com/pin/68117013084590660/

 Since my flower girl is only 2 1/2 years old, I knew I needed something light weight. I also wanted something that would be easy to read. I contemplated fabric but it’s a pain to paint on and would flap around if it was windy.

I wanted to use wood but thought it would be too heavy for her to carry. So my first go-round, I got some poster board, and spent an unecessarily long time making it look like wood and then painting the words on it. But when i was done I just wasn’t happy with it. It didn’t look like wood because you could see the styrofoam on the edges. I hated to waste it but I wanted it to be perfect.

So I headed to Michaels to try to find a piece wood that was light enough for a kid to hold. I spent a long time there examining all the options…a LONG time. I tend to have a hard time making decisions. Luckily my aunt was with me to encourage me to pick something.

I found this weird, VERY lightweight piece of framed balsa (?) wood. We asked a random kid at Michaels to hold it to see if it was too heavy but it passed the test! I forgot to take a pic but you can get the idea from the finished product. It was 14.5″ x 17.25″ and is in the section with all their wood frames.

I used photoshop to make the words fit inside the dimensions of the frame and to play around with fonts I liked. After much deliberating (and pestering Nate for his opinion…apparently he doesn’t have one) I made a decision and saved the file as a .jpg. If anyone would like this file as a .psd or .jpg, let me know.

Because a lot of my wedding projects involved an old white picket fence and brown paint, I thought I’d go that same route color-wise.

The first thing I did was stain the back sides and inside edges of the frame with a dark walnut stain I had. I taped off the inside while doing it, put the stain on with a brush and then wiped off excess with a paper towel.

After that dried for a day, I taped off the inside edges and painted the inside main surface with plain old white paint. I had some leftover from a furniture project.

Once the paint was dry, I printed out my letters on two pieces of paper since it didnt fit on one and taped it onto my wood.

The next problem was getting the letter transfered somehow so I could paint them. I didn’t want to freehand it. I had some charcoal transfer paper leftover from my wedding signage project (that I’ll be sharing with you soon), so first I tried that. It was just messy.

The next thing I tried was something i had seen online. Since the wood was so soft, I just pressed really hard with a pen while tracing all of the letters and a faint outline appeared on the wood.

After I finished this, I went to town with my leftover brown paint and slowly and VERY carefully painting in the lines. I went over everything twice because the craft paint I used was kind of watery.

The painting part wasn’t perfect, but it was definitely good enough.

I’m SO pleased with the result…and especially with my lovely model :) It was worth the time that went into it, which honestly wasn’t all that long.

Also, for a bonus, I won’t be doing a post on the ring bearer pillow I made (also inspired by pinterest), since I just sewed some burlap with lace, but how cute is my ring bearer??

His suspenders, shirt, and khakis match the groomsmen! :)

Here’s another shot of the pillow up close:

P.S. Go check out the owl pumpkin I carved this Halloween and entered in Movita’s Pumpkin Carve-off 2012! It made it to the finals but sadly didn’t win :(