Chocolate Brownie Cookie

I teased you on Sunday with promises of another Valentine’s Day treat. This one, lucky for you, is of the chocolate variety!

Sometimes you just decide that you need freshly baked cookies NOW. Don’t tell me you never had thoughts like that. It’s happened to me on several occasions, but unfortunately most cookie recipes call for room temperature butter, which foils all hope for spontaneity.

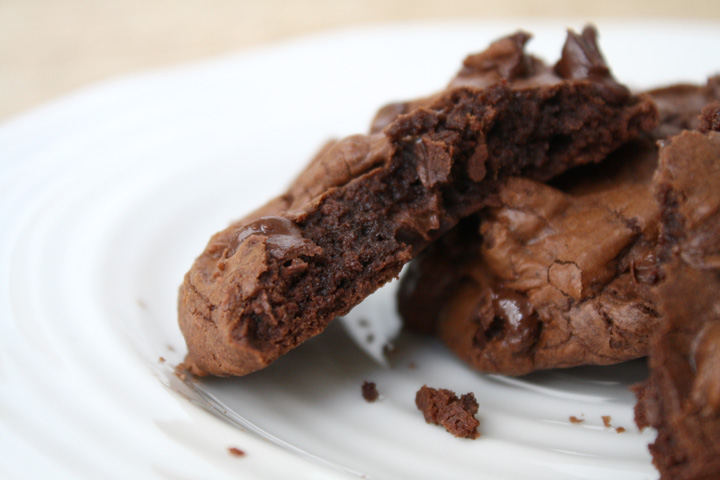
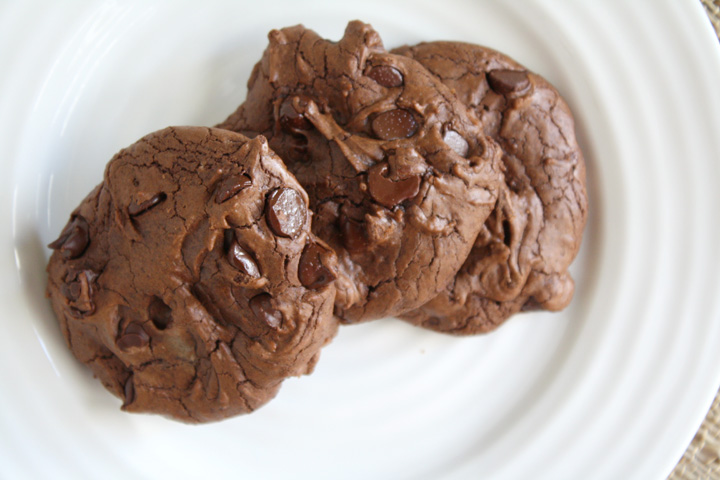
These Chocolate Brownie Cookies though, like brownies, use melted butter! So you have no excuse not to make them this very second, no advanced preparation needed…except maybe making sure you have enough room in your tummy to eat a few fresh out of the oven.

Chocolate Brownie Cookie

I actually made these cookies months ago for Nate’s friend’s birthday. I have a million yummy chocolate cookie recipes (and I’m sure you do too), but this one was pretty darn tasty and you should consider adding it to your repertoire.

They call for nuts, but Nate thinks that nuts ruin all baked goods, and so I left them out. Personally, I think they’d add a nice crunch.

IMG_6286

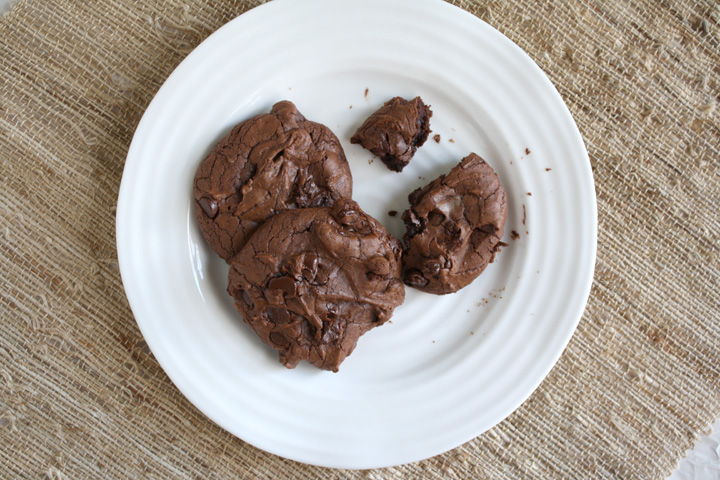
The key is to take these out of the oven when they seem too soft to be done. If you cook them too long, they will be dry. Trust me on this one :(

If you do happen to overcook them slightly, make sure you serve them warm-15 seconds in the microwave will moisten them right up. In fact, they’re always best served warm regardless.

Chocolate Brownie Cookie


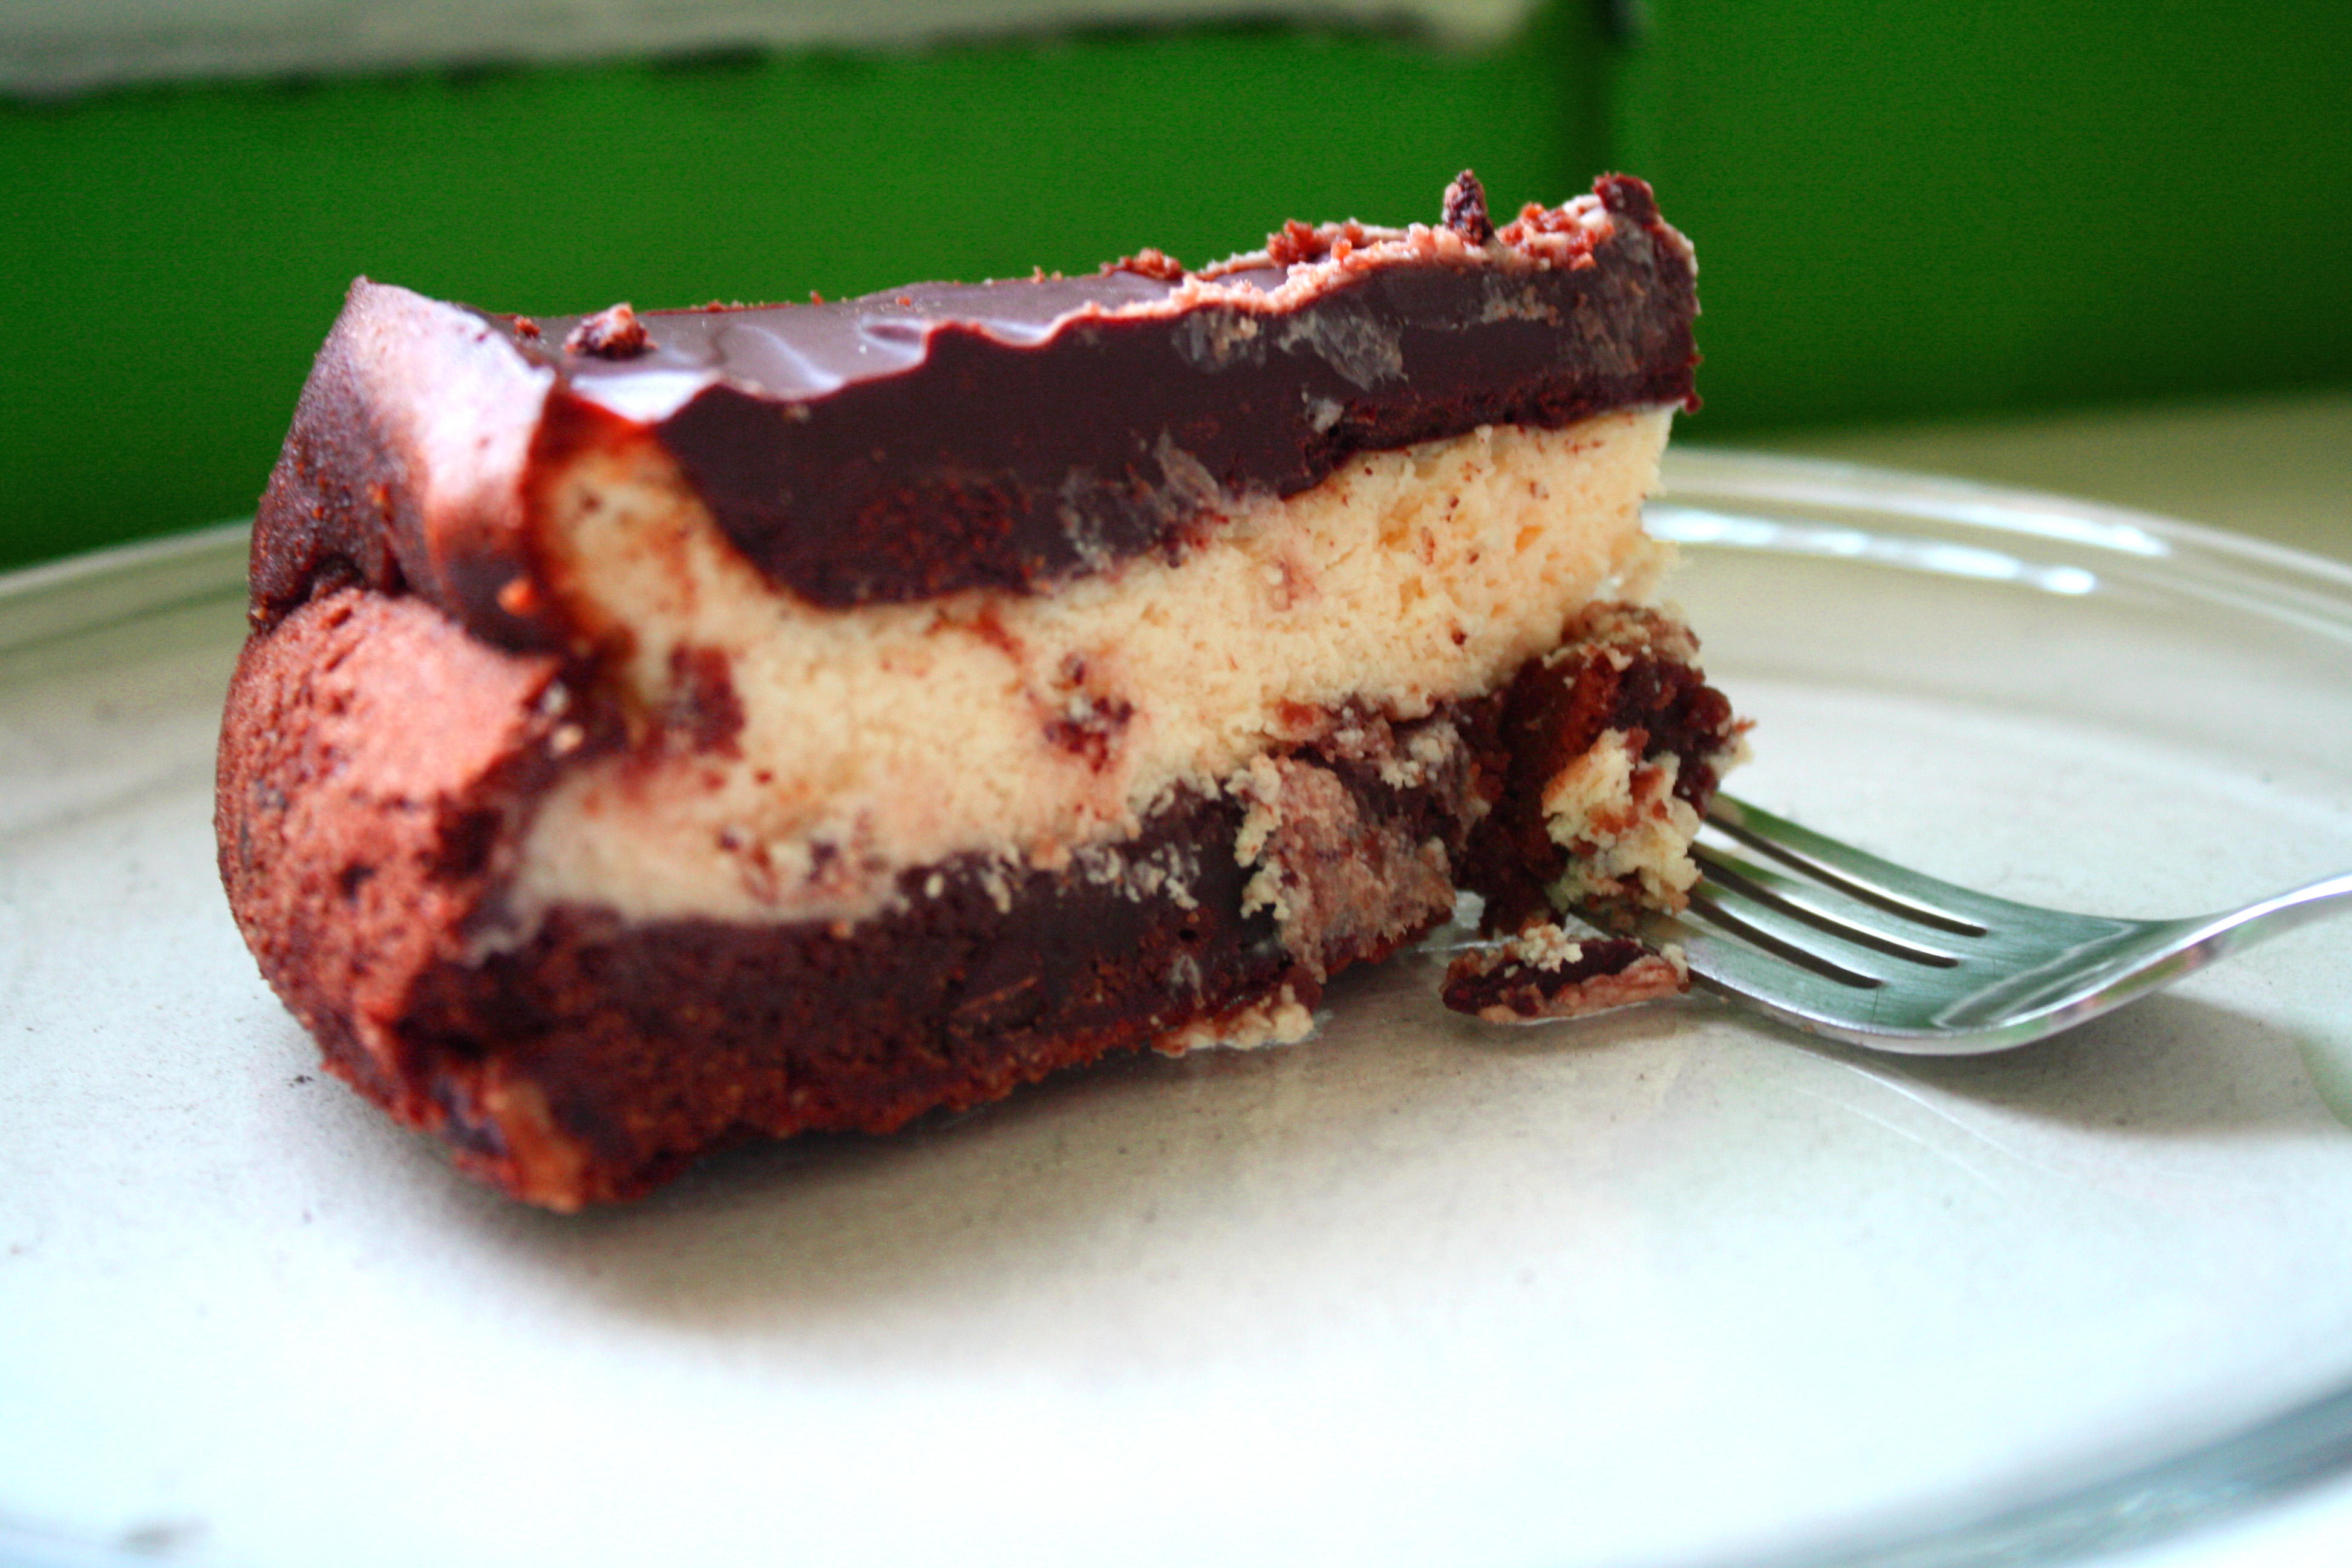
And in case you need some other Valentine’s Day inspiration, here are a few of my faves:


IMG_0058edit

Red Velvet Cake with Raspberry Mousse and Fluffy Cream Cheese Frosting– I made this for my first Valentine’s Day with Nate!

IMG_2939edit

Chocolate Fudge Cheesecake

IMG_5449

Rich and Thick Hot Chocolate

IMG_5662

Chocolate Fudge Cheesecake

IMG_5506

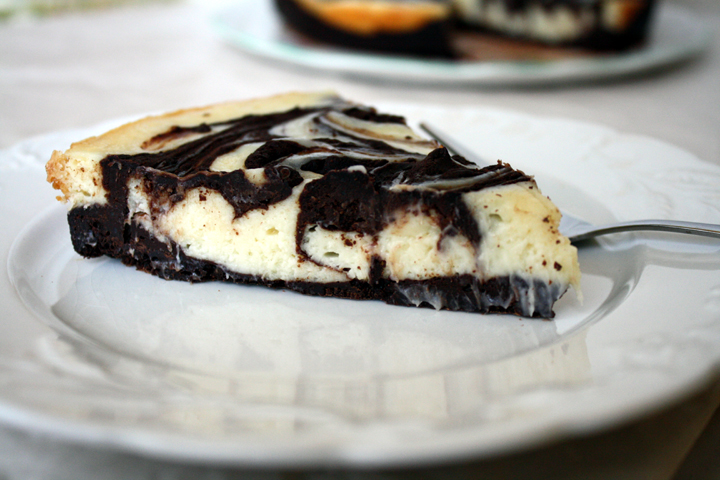
Dark Chocolate-Cherry Ganache Bars

IMG_4227

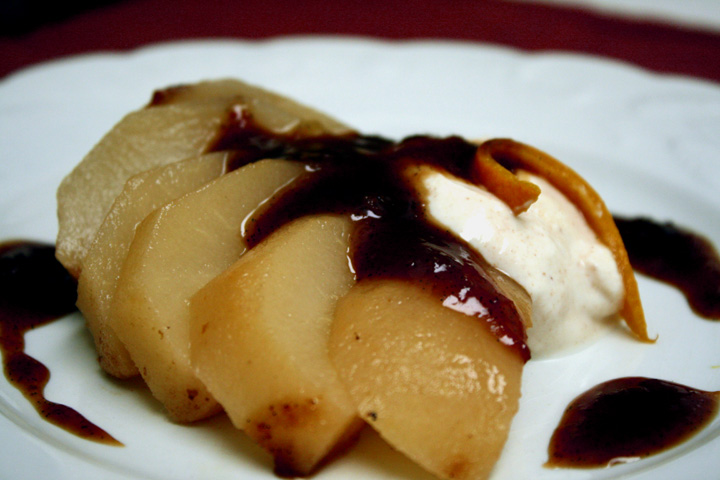
Cider Poached Pears– a delicious, lighter dessert

IMG_4403

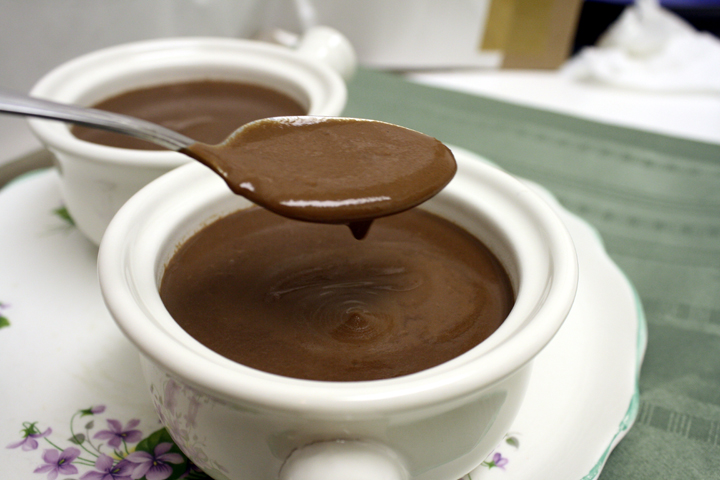
Chocolate-peanut butter pb cup cookies

Food 061

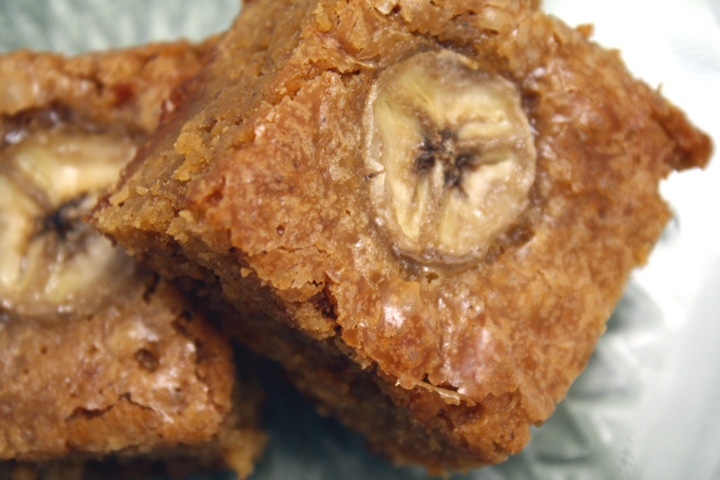
Butterscotch Rum Banana Spiced Blondies

IMG_5034

Chocolate Pecan-Pie Bars

Brownie Cookies

From Oxmoor House

Print this recipe

makes 2.5 dozen

1/2 cup butter
4 (1-oz.) unsweetened chocolate baking squares, chopped
3 cups semisweet chocolate morsels, divided
1 1/2 cups all-purpose flour
1/2 teaspoon baking powder
1/2 teaspoon salt
4 large eggs
1 1/2 cups sugar
2 teaspoons vanilla extract
2 cups chopped pecans, toasted (optional)

Combine butter, unsweetened chocolate, and 1 1/2 cups chocolate morsels in a large heavy saucepan. Cook over low heat, stirring constantly, until butter and chocolate melt; cool.

Combine flour, baking powder, and salt; set aside.

Beat eggs, sugar, and vanilla at medium speed with an electric mixer. Gradually add flour mixture to egg mixture, beating well. Add chocolate mixture; beat well. Stir in remaining 1 1/2 cups chocolate morsels and pecans (if using).

Drop dough by 2 tablespoonfuls 1 inch apart onto parchment paper-lined baking sheets.

Bake at 350° for 10 minutes- they will look slightly underdone, do NOT over bake!

Cool slightly on baking sheets; remove to wire racks to cool completely.

Valentine Sugar Cookie Heart

Before I get into my Valentine’s Day treats, I wanted to share a couple things with you. If you’ve been following me since the beginning, you know that a couple years ago, I catered lunch for Nate and his little film crew while he filmed a short film he wrote, directed, and acted in. It took a long time to finish editing, but I can finally share it with you. It’s equal parts suspenseful and amusing, and I hope you enjoy it :)

Lost Keys from Nathaniel Carota on Vimeo.

(You can also see the video he made for our wedding here.)

The second thing I want to share with you is another doggy painting I completed. I’m really trying to build up a pet portrait side business (see the “Pet Portrait” tab on my page menu). I really want to expand to animals other than dogs, but so far that’s all I’ve done. This one was done in memory of Charlie, who passed away recently from cancer :(

Custom Pet Portrait Yellow Lab

Custom Pet Portrait Yellow Lab

Now onto the recipe…

I know a lot of people aren’t fans of Valentine’s Day. While it’s true that it’s not as exciting of a holiday if you’re unattached, it’s a perfect excuse to eat chocolate no matter what your relationship status :)

There are a couple cookie recipes I’ve been meaning to share. I’ll share one today and one in a few days. The first is a semi-homemade cookie that I found years ago and often use it for beautiful Christmas Cookies. It’s a cut-out sugar cookie, but because it’s an upgrade to a powdered mix, you can spend more time decorating and less time measuring out ingredients! Also, the texture is such that you don’t even need to refrigerate before rolling out.

Valentine Sugar Cookie Heart

I usually use it with regular royal icing and decorate pretty snowflakes and santas for Christmas. This time, however, I used a super easy marbling technique I found on this site. It’s so easy and sooo impressive looking!

Since I won’t get to be with Nate this Valentine’s Day, I sent him these in a little care package with some toffee blondies. The blondies were a recipe I made for the first time and they were SO good, but I didn’t photograph them, so I’ll have to make them again sometime soon for you.

Make these cookies for someone you love today!

Semi-Homemade Roll Out Sugar Cookies

From Sandra Lee

Print this recipe

makes 4 dozen small cookies or 2 dozen larger

17.5-ounce package dry sugar cookie mix
4 ounces cream cheese, softened
2 eggs
1 teaspoon vanilla extract or other flavoring
1 cup all-purpose flour

royal icing (recipe below)

Preheat oven to 350 degrees F.

Combine the cookie mix with the cream cheese until crumbly. Mix in the eggs and flavoring until well combined. Add enough flour to make a firm dough that can be rolled out. Refrigerate briefly if too sticky.

Roll dough out on lightly floured board to 1/4-inch thickness. Cut out hearts or other desired shapes.

Place on ungreased baking sheet and bake for about 8-10 minutes.

Make royal icing. When cookies are cool, ice cookies by following marble technique found here and here.

Royal Icing

from Annie’s Eats

this might yield slightly more than you need, but it’s better to have too much so you don’t have to match the color when you make more.

Ingredients:
4 cups powdered sugar, sifted
2 tbsp. meringue powder
5 tbsp. water

Combine all ingredients in a bowl. Whisk until the sheen has disappeared and the icing has a matte appearance (or use a stand mixer.

Transfer the contents of the mixing bowl to an air-tight container. This will be the stiffest consistency of the icing, and at this point it is still too stiff to use for decorating.  Add water a very small amount at a time and stir by hand until fully incorporated.  Continue until the icing has reached a consistency appropriate for piping.  (Remember, if you are having any difficulty piping, it is still too thick.  Add a little more liquid and try again.)

Using a pastry bag, pipe around the edges of each cookie.  Let stand so the icing will set.  Make sure to keep the leftover icing covered at all times when not in use so that it does not begin to harden.

Once all the cookies have been edged, transfer some of the remaining icing to a separate air-tight container.  Thin out by incorporating a small amount of water at a time, until the icing drips off the spoon easily when lifted and then smooths in with that still in the bowl.  If you go too far and the icing is too thin, add more sifted powdered sugar to thicken it again.  Once the icing has reached the desired consistency, transfer it to a squeeze bottle (or a plastic bag with a hole in one corner), and flood the area surrounded by the piping on each cookie.  If it does not completely spread to the edges, use a toothpick to help it along.  Pipe on dots in a contrasting color and use a toothpick to drag into hearts. Allow to set.

February is a month for love….and chocolate.

Or maybe for loving chocolate (sorry, Nate, I’ll go back to loving you in March).

Whether you celebrate Valentine’s Day with someone or alone, it’s appropriate to treat yourself to some extra chocolately goodness.

Ever since I went with Nate and his family to The City Bakery, near Union Square, I’ve been dreaming of their rich and thick hot chocolate.

They’re really well known for their amazing hot chocolate. In fact, every day in the month of February they have a different flavor of hot chocolate as part of their Annual Hot Chocolate Festival.

But honestly, you really don’t need anything but their original flavor. It tastes like you’re drinking liquid chocolate. It’s seriously amazing.

Anyway, after drinking it I searched online for thick hot chocolate recipes. It’s not the watery consistency of hot chocolate you make from a packet. It’s so thick that you could eat it with a spoon. Consitency-wise, it’s kind of like in between instant hot chocolate and chocolate pudding.

I found this one recipe from Southern Living and finally got around to making it for Nate (and me). It was totally as awesome as City Bakery’s!…which is good to know since they charge $5 a pop.

This month’s #chocolatelove is brought to you by the following lovely hosts:

ASTIG Vegan ~ Richgail ~  @astigvegan
Bon a croquer ~ Valerie ~ @Valouth
Easily Good Eats ~ Three Cookies
Oh Cake ~ Jessica ~ @jesshose

Click here to enter your recipe and view the rest of the bloghop ones!

(Powered by Linky Tools)

Rich and Thick Hot Chocolate
Slighlt adapted from Southern Living

Print this recipe!

serves 4

2 teaspoons cornstarch
4 cups milk, divided
2 (3-oz.) dark chocolate bars (at least 70% cacao), chopped
1/3 cup honey (or more depending on how sweet you like things)
1 teaspoon vanilla extract
Pinch of salt

Whisk together cornstarch and 1/2 cup milk until smooth.

Cook remaining 3 1/2 cups milk in a large, nonaluminum saucepan over medium heat until bubbles appear around edge of saucepan (about 4 minutes; do not boil). Whisk in chocolate, honey, vanilla extract, and salt until blended and smooth. Whisk in cornstarch mixture.

Bring milk mixture to a light boil, whisking frequently (about 4 minutes). Remove from heat. Let cool slightly. (Mixture will thicken as it cools.) Serve immediately.

Ok, well maybe I can’t tell you how to win his heart. I mean, I won the heart of my boyfriend, Nate,  but I’m pretty sure every guy is different. But you know what all men have in common?…their stomachs. Any man can be won over with a cake.

I’ve been in several relationships, but no one has been as appreciative of what I cook as Nate. It’s really nice to have someone enjoy every single thing that comes out of your kitchen, even when you know it wasn’t your best work. Maybe Nate’s easy to please, but I like to think I’m just that good ;)


This cake was my way of showing the man that appreciates me so much how much I appreciate him. Red velvet cake is one of his faves, and raspberry mousse is one of mine, so I thought I’d bring them together in a cake full of love. Plus, raspberry and chocolate make a darn good combo.

I kinda just found a bunch of recipes, threw them together, and hoped for the best. But with cream cheese, chocolate, butter and raspberry, I didn’t really know how it could go wrong. And from the look on Nate’s face when he took his first bite, I’d say it was a success.

Nate gives it two thumbs up!

Happy Valentine’s Day! <3

Red Velvet Cake with Raspberry Mousse and Fluffy Cream Cheese Frosting

Recipe by Me

Cake

1 box Red Velvet Cake Mix
1 pkg chocolate instant pudding mix
1- 7 oz. container 2% greek yogurt
1/2 cup vegetable oil
1/2 cup applesauce or other fruit puree (I used stewed prune puree)
4 eggs, beaten
1/2 cup milk
1 tsp vanilla
1 cup mini chocolate chips

1/2 cup seedless raspberry jam (for cake assembly)

Raspberry Mousse

3/4 cup boiling water
1 pkg (3 oz) raspberry flavored JELLO
1 cup ice cubes
4 oz of 1/3 less fat cream cheese, softened
2 cups Non-dairy whipped topping, thawed (I used Cool Whip Free)

Frosting

8 oz. of 1/3 less fat cream cheese, room temperature
4 oz. butter, room temperature
8 oz. containter of non-dairy whipped topping (I used Cool Whip Free)
2 cups confectioners sugar
1 tsp vanilla

Cake:

Preheat oven to 350. Spray and flour two 9-in. round cake pans.

In a VERY large bowl, mix together everything except choclate chips. Stir in chocolate chips.

Divide batter between cake pans. Spread out batter and tap pan on counter once or twice to get air bubbles out.

Cook for around 30-45 min (depends on cake mix brand) or until tester comes out clean.

Cool on wire rack. When cool, remove from pans and cut each cake in half horizontally to form 4 cake round layers.

Mousse:

Line two 8-in. round pans with plastic wrap.

Add boiling water to gelatin mix. Stir 2 min until completely dissolved. Stir in ice until melted. When gelatin is cold and begins to congeal, remove remnants of ice that haven’t melted.

Blend cream cheese in bowl until smooth and creamy. Gradually beat in gelatin. Whisk is whipped topping after gelatin has slightly set.

Divide mousse between pans, spreading out evenly. Refrigerate 3-4 hours our until set.

Frosting:

Beat cream cheese and butter until creamy and blended.

Add powdered sugar and beat til well blended.

Add 3/4 of the whipped topping and beat well. Fold in remainder of whipped topping.

Refrigerate 1 hour.

Assembly:

Melt raspberry jam in microwave until spreadable but not hot. Put first cake layer on plate and spread with 1/3 of the jam.

Pipe a line of frosting around the outer edge of the round. Carefully flip 1 mousse round onto cake and remove plastic wrap.

Put next cake round on top of mousse layer. Spread with next 1/3 of jam, and then frosting to cover, about 1/4″ thick.

Put next cake round on top of frosting layer. Spread with rest of jam. Pipe another line of frosting around outer edge.

Flip next mousse layer onto cake. Put top layer on top of mousse layer.

Finish frosting cake with rest of frosting. Decorate as desired. Refrigerate again before cutting.


Mwah!